Chronicling the cleanup and restoration of our house and property in northern Michigan

Chronicling the cleanup and restoration of our house and property in northern Michigan
_____________________________________________________________________________________________________________

Friday, October 9, 2020

Well, hello old friend!

For anyone still out there, hello!  We hope that you're all healthy and happy.

I know we've been a long time away from the old blog.  I'm not sure why, really.  I enjoyed keeping it updated.  But, then, I just stopped.  Odd...

Man, so much has gone on around here since our last updates.  We've all but finished our main living space.  We did a full tear out and remodel of our kitchen, and replaced the flooring throughout the entire house.  We've redone the living room, including a complete reworking of the base and surround for the wood stove.  With both of these projects, we tackled things we hadn't done previously.

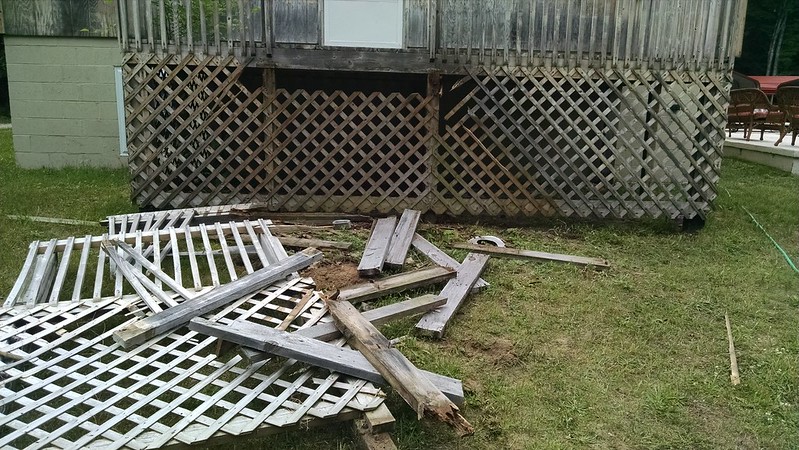
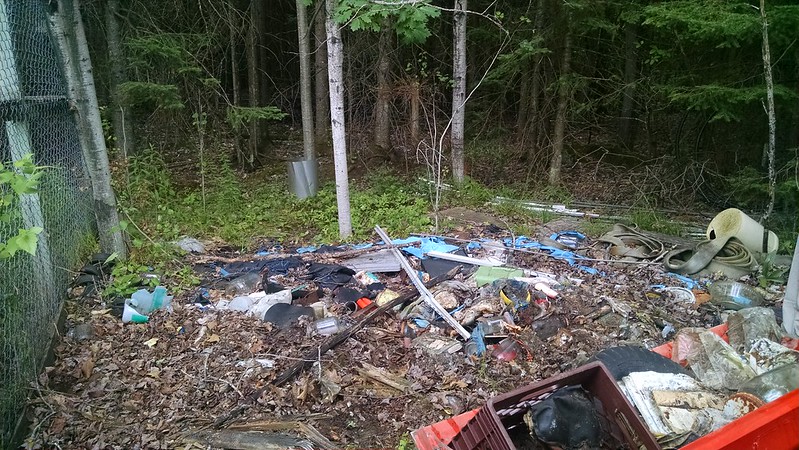
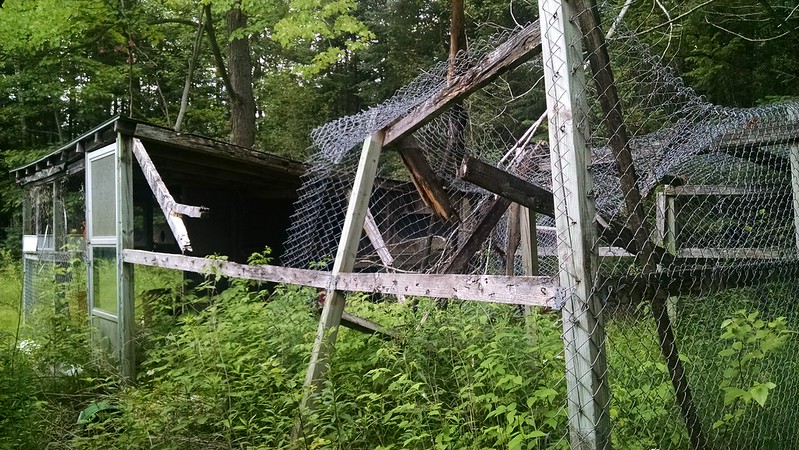
Outdoors at the homestead, we've finally rid ourselves of the last vestige of the previous owner.  There was a large, ramshackle chicken coop that was one serious eyesore.  We tore that sucker down, and filled a large dumpster and then some.  Now THAT felt good...getting that one final thing gone.

This being the year of the 'rona and the staying at home, we explored a new hobby.  We've taken up beekeeping.  We have two hives, and had what we think is a phenomenal first season.  In our first season, we managed to harvest 56.9 pounds of honey, while still leaving the bees in great shape for getting through a tough northern Michigan winter.  We've learned a ton, and have a ton and then some yet to learn.  Fortunately, the bees are very good teachers.

We added a second deer blind at the far rear of our property, which will allow friends and family to come up and hunt on the property.  We're very proud of the fact that we're now at eight years of having purchased no beef.  We've been living solely on the venison taken from our property, and we love to share that same opportunity with friends and family.

We're beginning to plan for our retirement, which is now within about 5-7 years.  We want to be able to see some of this amazing country we live in.  We took the leap, and bought a class C motorhome, which we'll be taking delivery on sometime later this month.  We're buying it now with the intention of having it paid off by the time we pull the pin on retirement.

We've certainly seen some losses since we last blogged here, with family members leaving us broken hearted and hurting.  But, we go on, and we let them remind us that our time here is limited and wonderful, and that we should be stockpiling as many good deeds and good memories as possible before we also move on.

We also saw the loss of a deer family pet.  We said goodbye to dear old Peanut about a year ago.  She was old pit mix mutt, and was nearly 15 when we said goodbye to her.  It's taken us this past year to grieve and then want to get another dog.  Just last month we added Bailey to our family, a cattle dog/pit mix rescue mutt.  Aside from some separation anxiety issues we're working through with him, he's fitting right in.

By and large, our lives are pretty damn good.  We're mostly healthy and remaining very active.  We have good, close friends who we get together with whenever possible.  We both have jobs that we value, and that bring us satisfaction.  We've set goals for ourselves and have been able to attain them, and have set new ones to work toward.  We're still very much in love, and still each other's best friend.  Long story short... life is very good, indeed.

I don't know how much I'll come back here to the old blog, but coming back with an update now just felt right somehow.  We'll see what the future holds...

Wednesday, October 12, 2016

Finishing Up The Deck

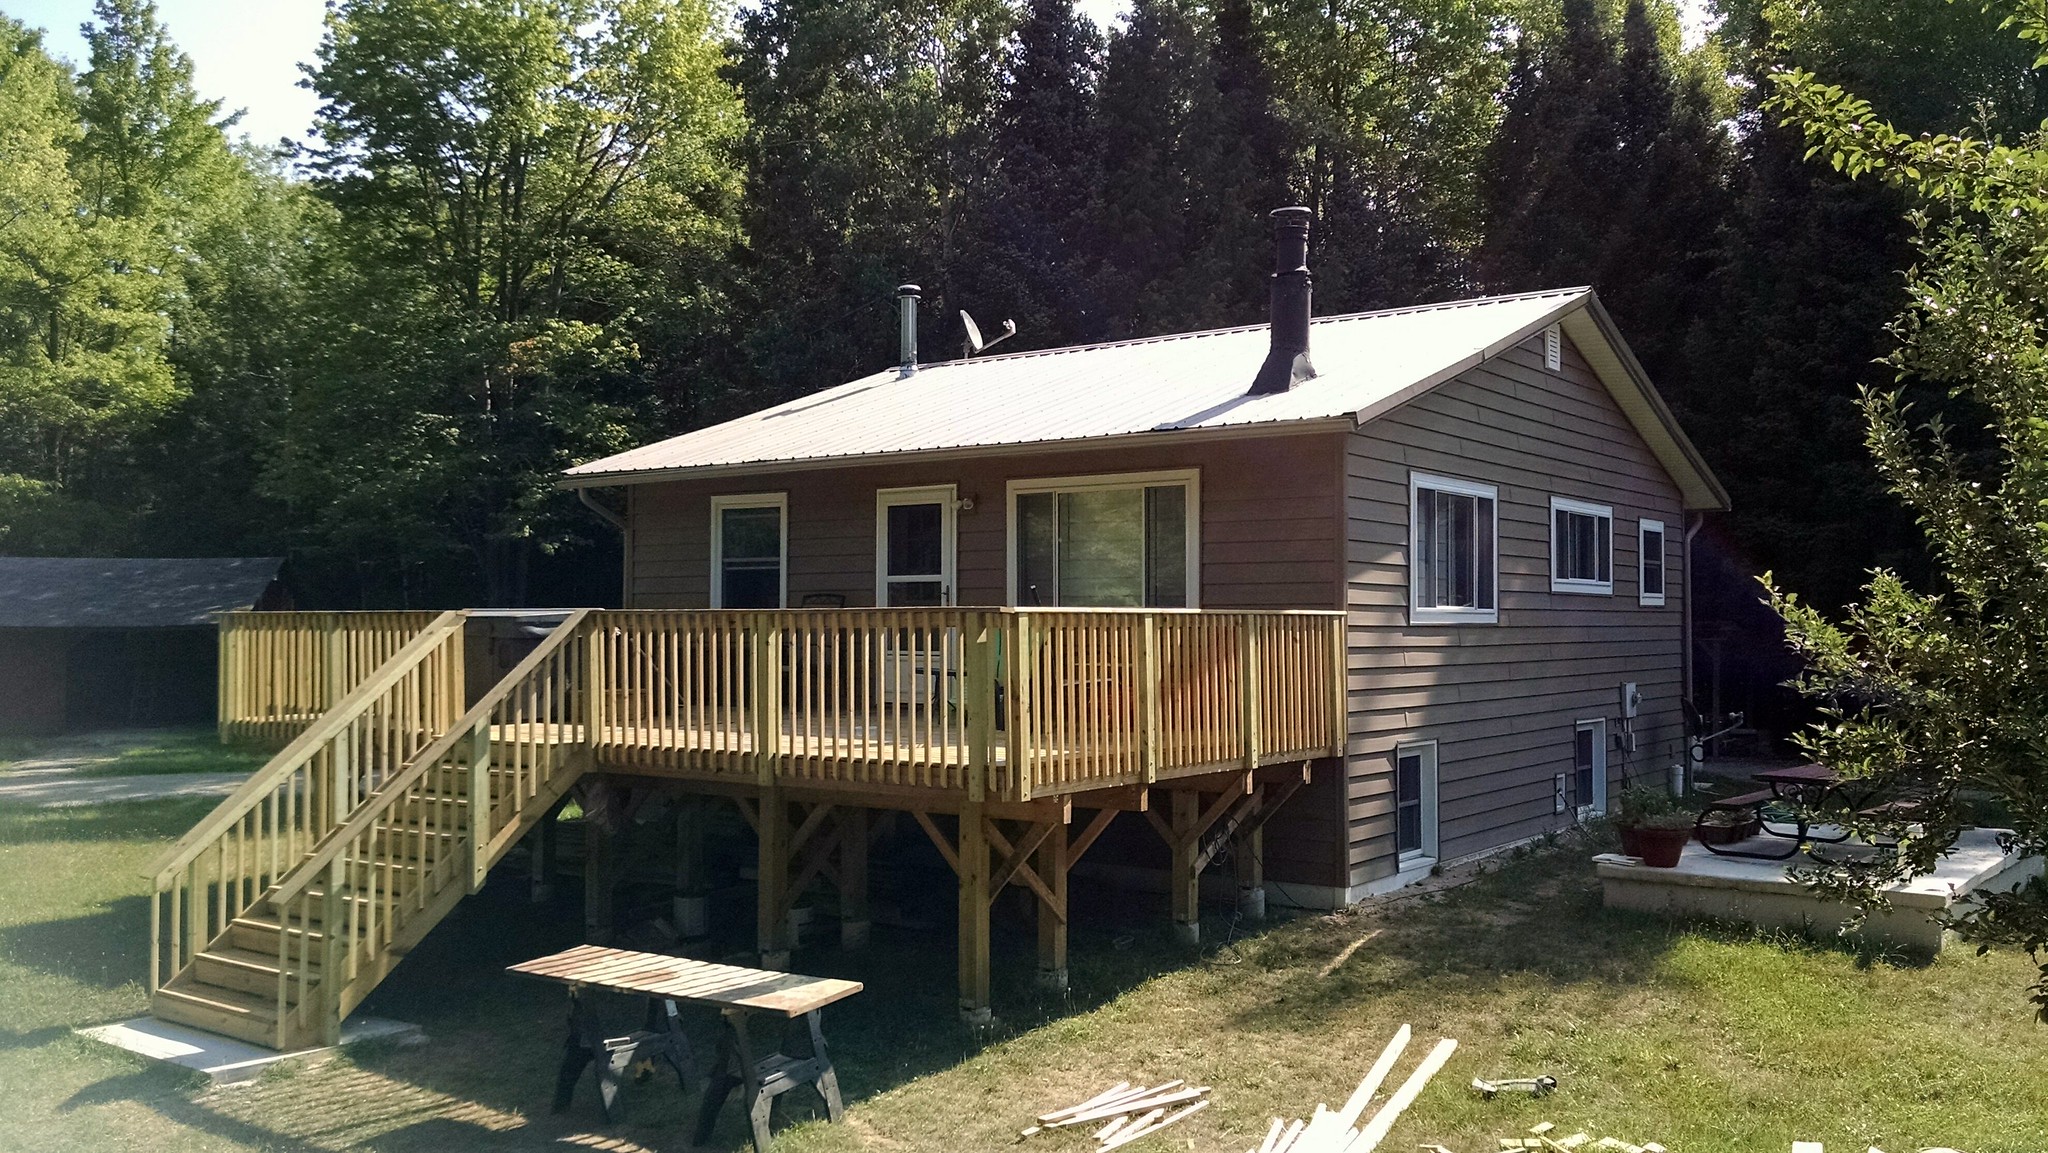
Hello!  Our last update had us getting the decking down on our new deck.  Well, I am VERY happy to report that the deck is now 100% complete.  We ran out of unseasonably warm weather to get it all done before winter hit, which left the stairs and railing for this summer.  Here are some pics of how we got it done, and the final product. 

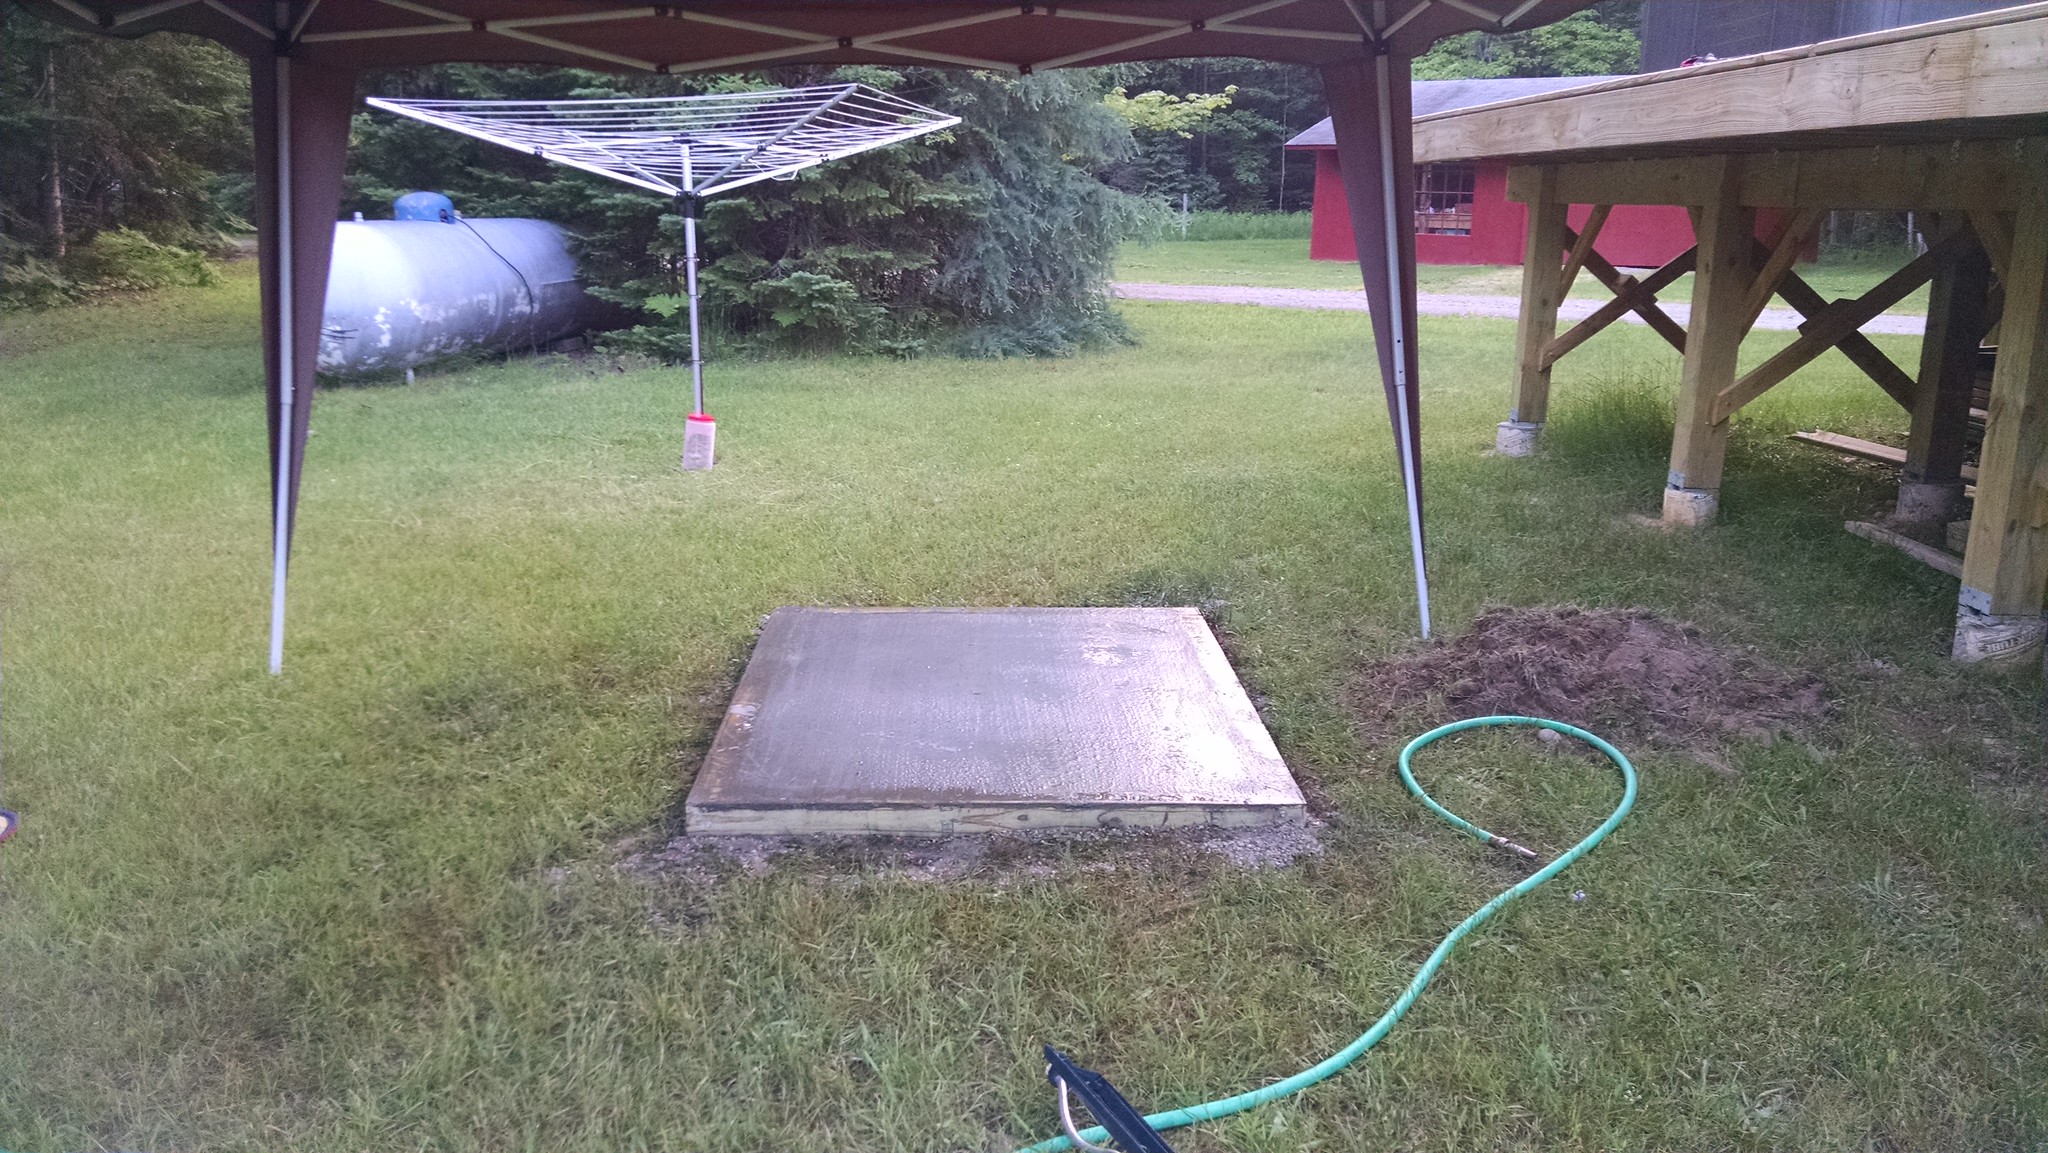
First, we needed to get a pad poured for the steps.

The pad poured, and wet curing.

The first stair stringer.  The goal was originally to have it hit the back of
pad, but a newbie error has it hitting the middle.  We'll live with it. :)

The stairs are just shy of five feet wide.  The math just about undid me
but it finally clicked!  

The stairs complete, and awaiting railing!
The posts all in place.

The top rails attached, and the balusters going on.

One side complete, and Shelly proudly showing it off.

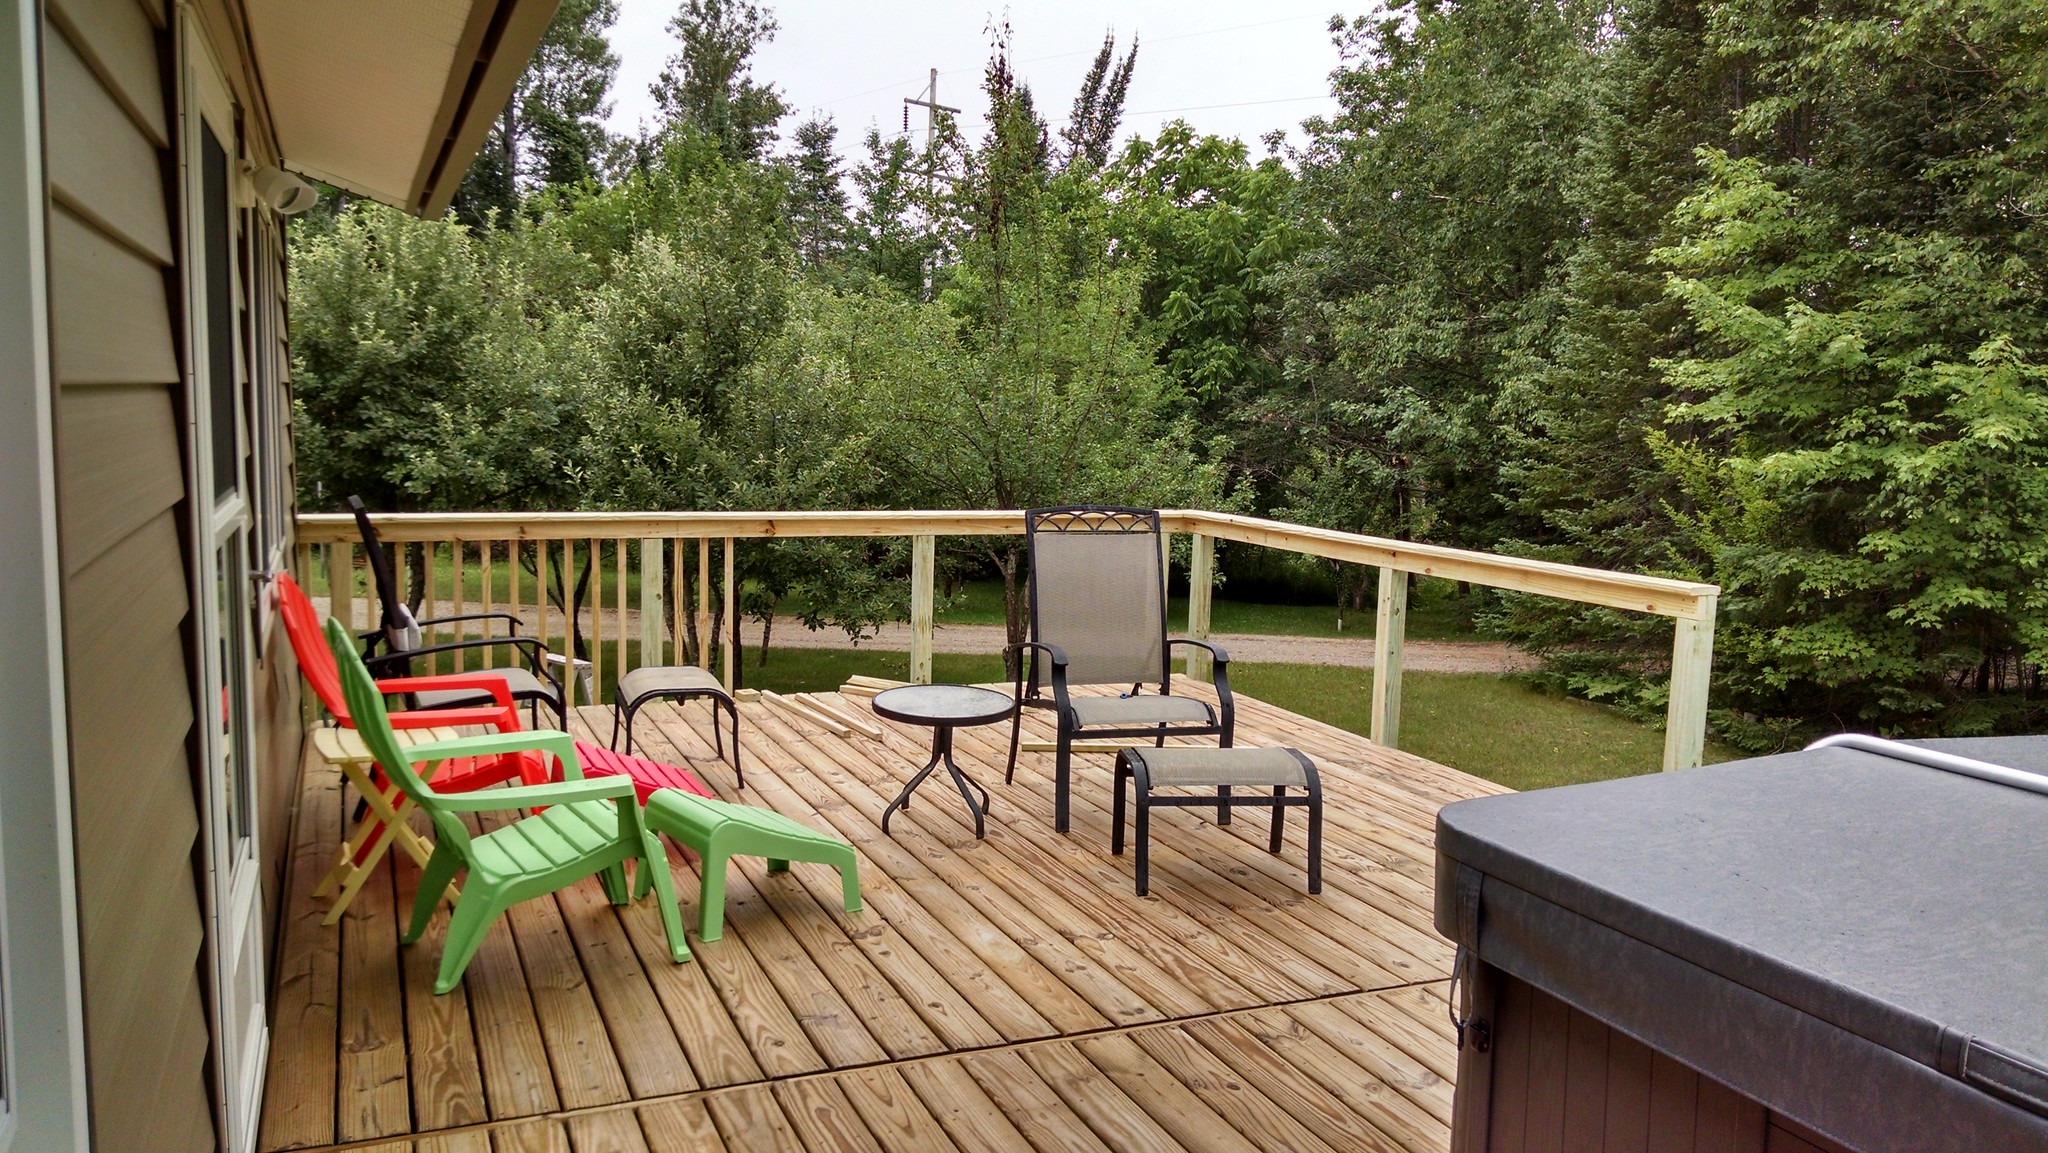
The deck railing complete...just the stairs to go!
One side down...one side to go...

That's it!  It's done!  Well...just some blocking and some electrical
work to do.

This project was the single largest home improvement endeavor we've ever attempted to tackle.  We've had a couple months now to enjoy it being done.  Shelly and I talk quite a bit about what we built...that we did it together...that we still like each other now that it's done.  Neither of us had ever built a deck.  But, we built a deck.  :)

Damn, we are so very proud of what we accomplished!!!!!


On to the next project...

Saturday, February 27, 2016

It's been a long time...and we built a deck!

It's been a very long time since I've been here.  I've thought often about coming back and updating the old blog, but for various and sundry reasons it just never happened.  It may sound like a lame excuse, but the main reason is that my employer up and went Google.  See, I was using my work laptop for all of the Shangri La updates, and when they went Google, the administrative settings wouldn't allow me to use Blogger...which is the service we use for this blog.  I didn't have a personal laptop, having given mine to our youngest son.  Fast forward to today, and you might ask what changed to have me writing this post.  :)

Both of our sons are out in the world and on their own, and are making us immeasurably proud.  Our oldest is gainfully employed by the U.S. government, enlisted in the Navy and working in IT.  Our youngest is gainfully employed by the great state of Ohio, working a technical support helpdesk for their statewide public safety communications system.  As you'd imagine with them working in these roles, they're both very tech savvy.  It also means that the old laptops they had when living at home were no longer up to their high standards.  Turn about is fair play, I guess, because I got their hand me downs.  I now have two personal laptops, and no good excuse for not updating the old blog.  :)

We've worked on several projects since the last update, but only one is truly significant...at least in its size and complexity.  We tore down and replaced the old deck.  We weren't planning to tackle this project this soon, especially with the basement finishing project now entering year three.  But, due to its age and poor workmanship the old deck just wasn't safe.  This set us upon what would turn out to be our most ambitious home improvement project to-date.  

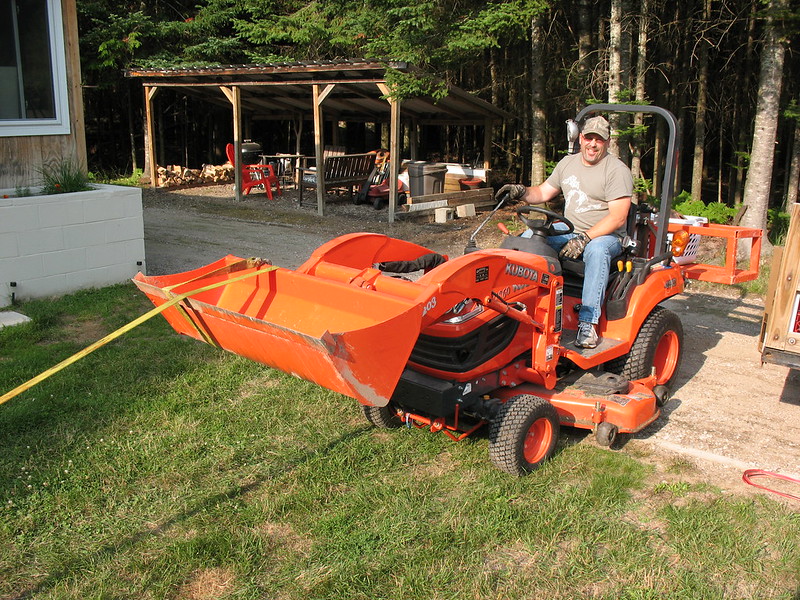
Tearing down the old deck was waaaayyyy too easy.  The stairs came down with just a swipe of the Kubota bucket.  The deck came apart with a screw gun.  The posts snapped right off at their bases.  Voila!  It's down!  Seeing how it was put together and how it had aged, we shouldn't ever have been on it...at all.

Building the new deck started with research.  We've never built a deck.  In fact, the framing in the basement is the first real carpentry we've ever attempted.  If you've read prior posts, though, you know that we don't shy away from challenges, and this was going to be out biggest.  With what we wanted to do with the deck it needed to be engineered and built for strength, stability, and durability.  

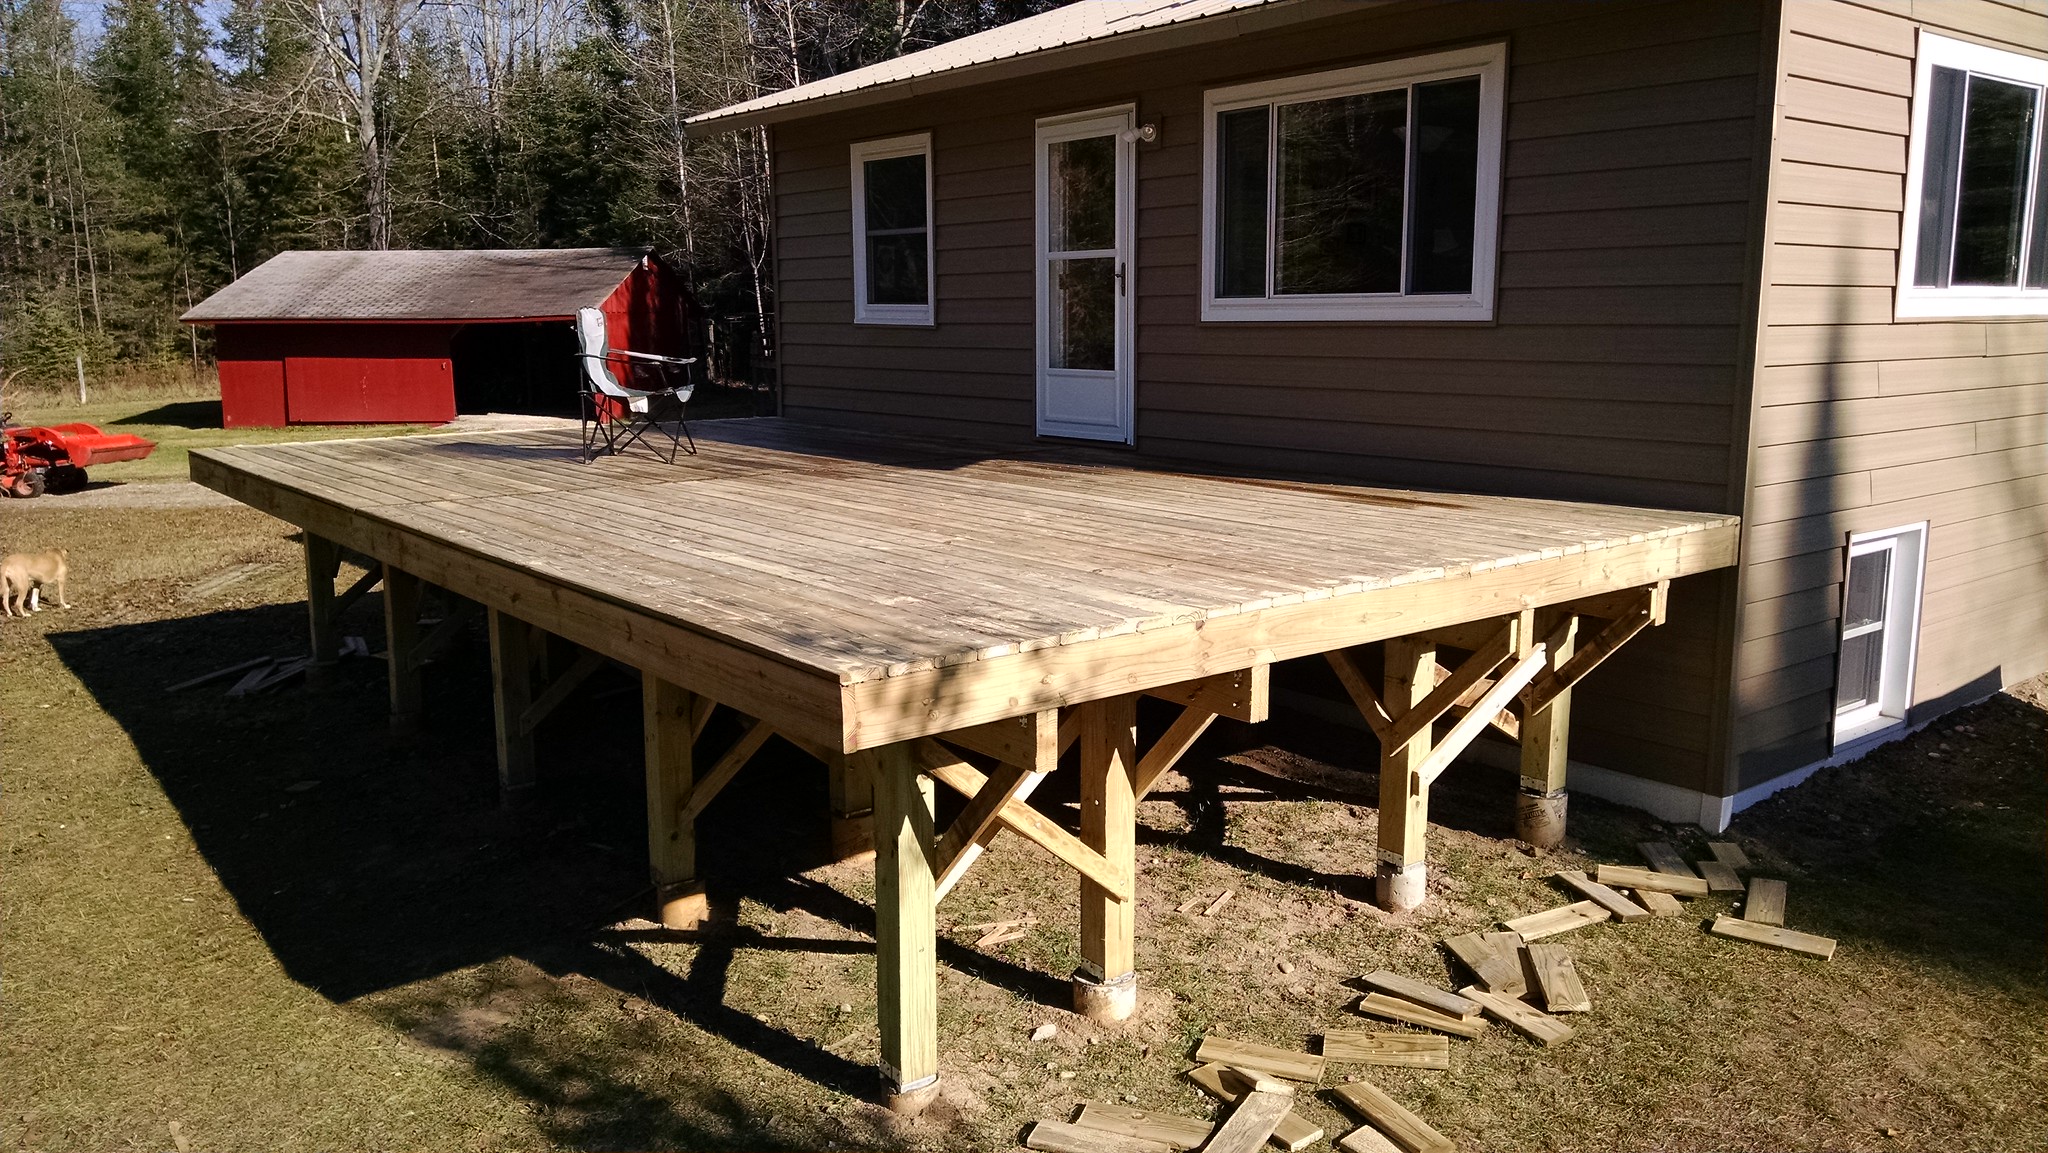
The deck was going to have to be BIG.  We wanted it the full width of the house, and we wanted it out from the house far enough that a hot tub would be out from under the eaves.  This would keep the snow from crashing onto the hot tub when sliding off the roof.  That put the deck at a width of 27' 6" and a depth of 15'.  The deck was also going to have to be tall.  Our front entry door is roughly 5 feet above ground level, and the deck needed to come right in under the door sill.  For an extra level of complexity, the deck would have to be free standing.  There is a window right in the path of where we would need to install a ledger board.  Our options were to go with a ledger board and not go full width, go with a ledger board and try to use a post support for the area by the window, or go full free standing.  With the window taking away the option for a full ledger board, we opted for free standing.  It has the upside of removing an area for possible water intrusion into the house, and with the extreme freeze/thaw/freeze we have up here that had our minds made up.

So, to summarize, we needed a deck that would be nearly 30 feet wide, 15 feet deep, 5 feet high, free standing, be strong and stable enough to hold up a hot tub, and be strong and stable enough to withstand the weight of the hot tub and potential snow load when snow comes cascading off the roof.

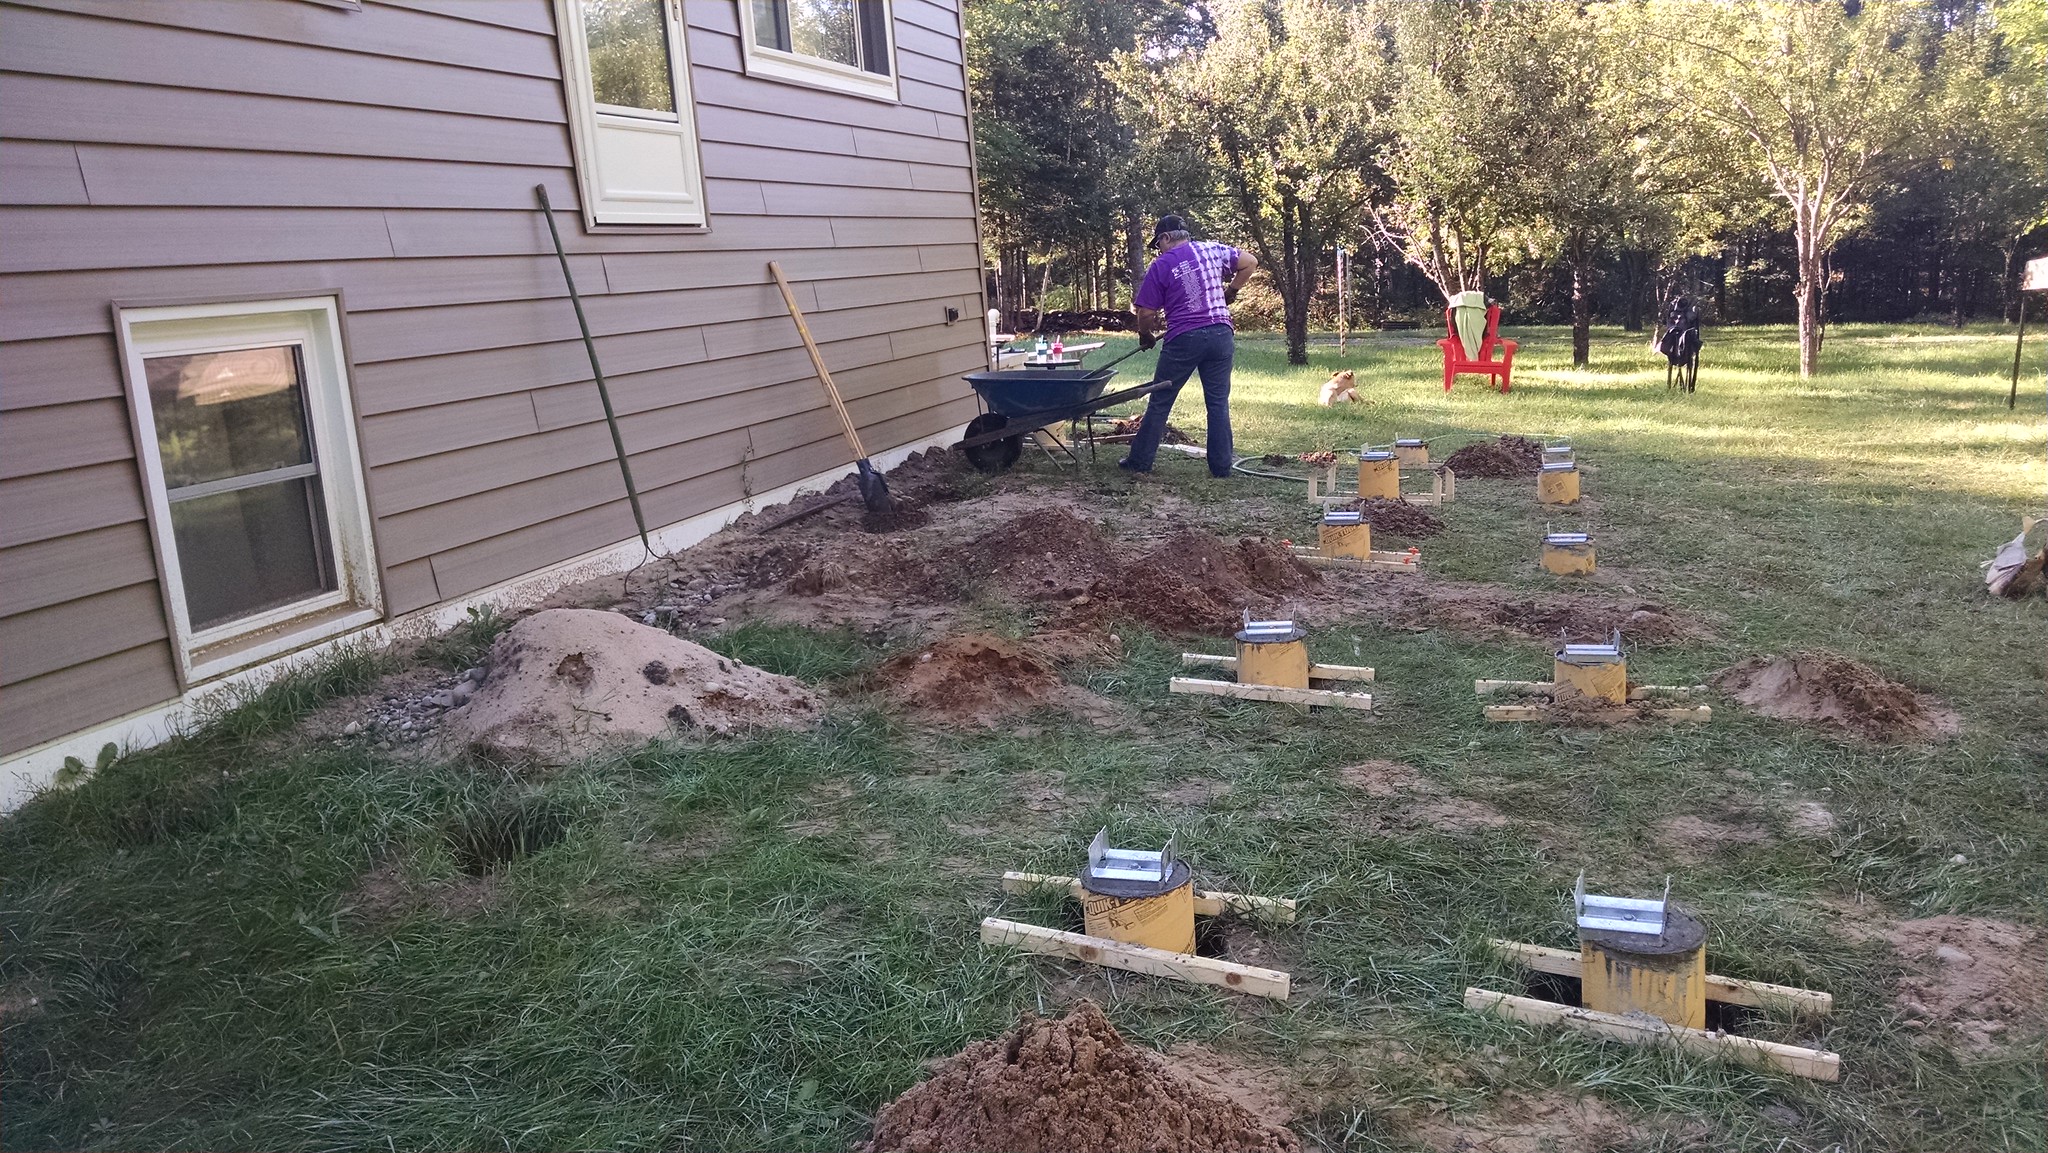
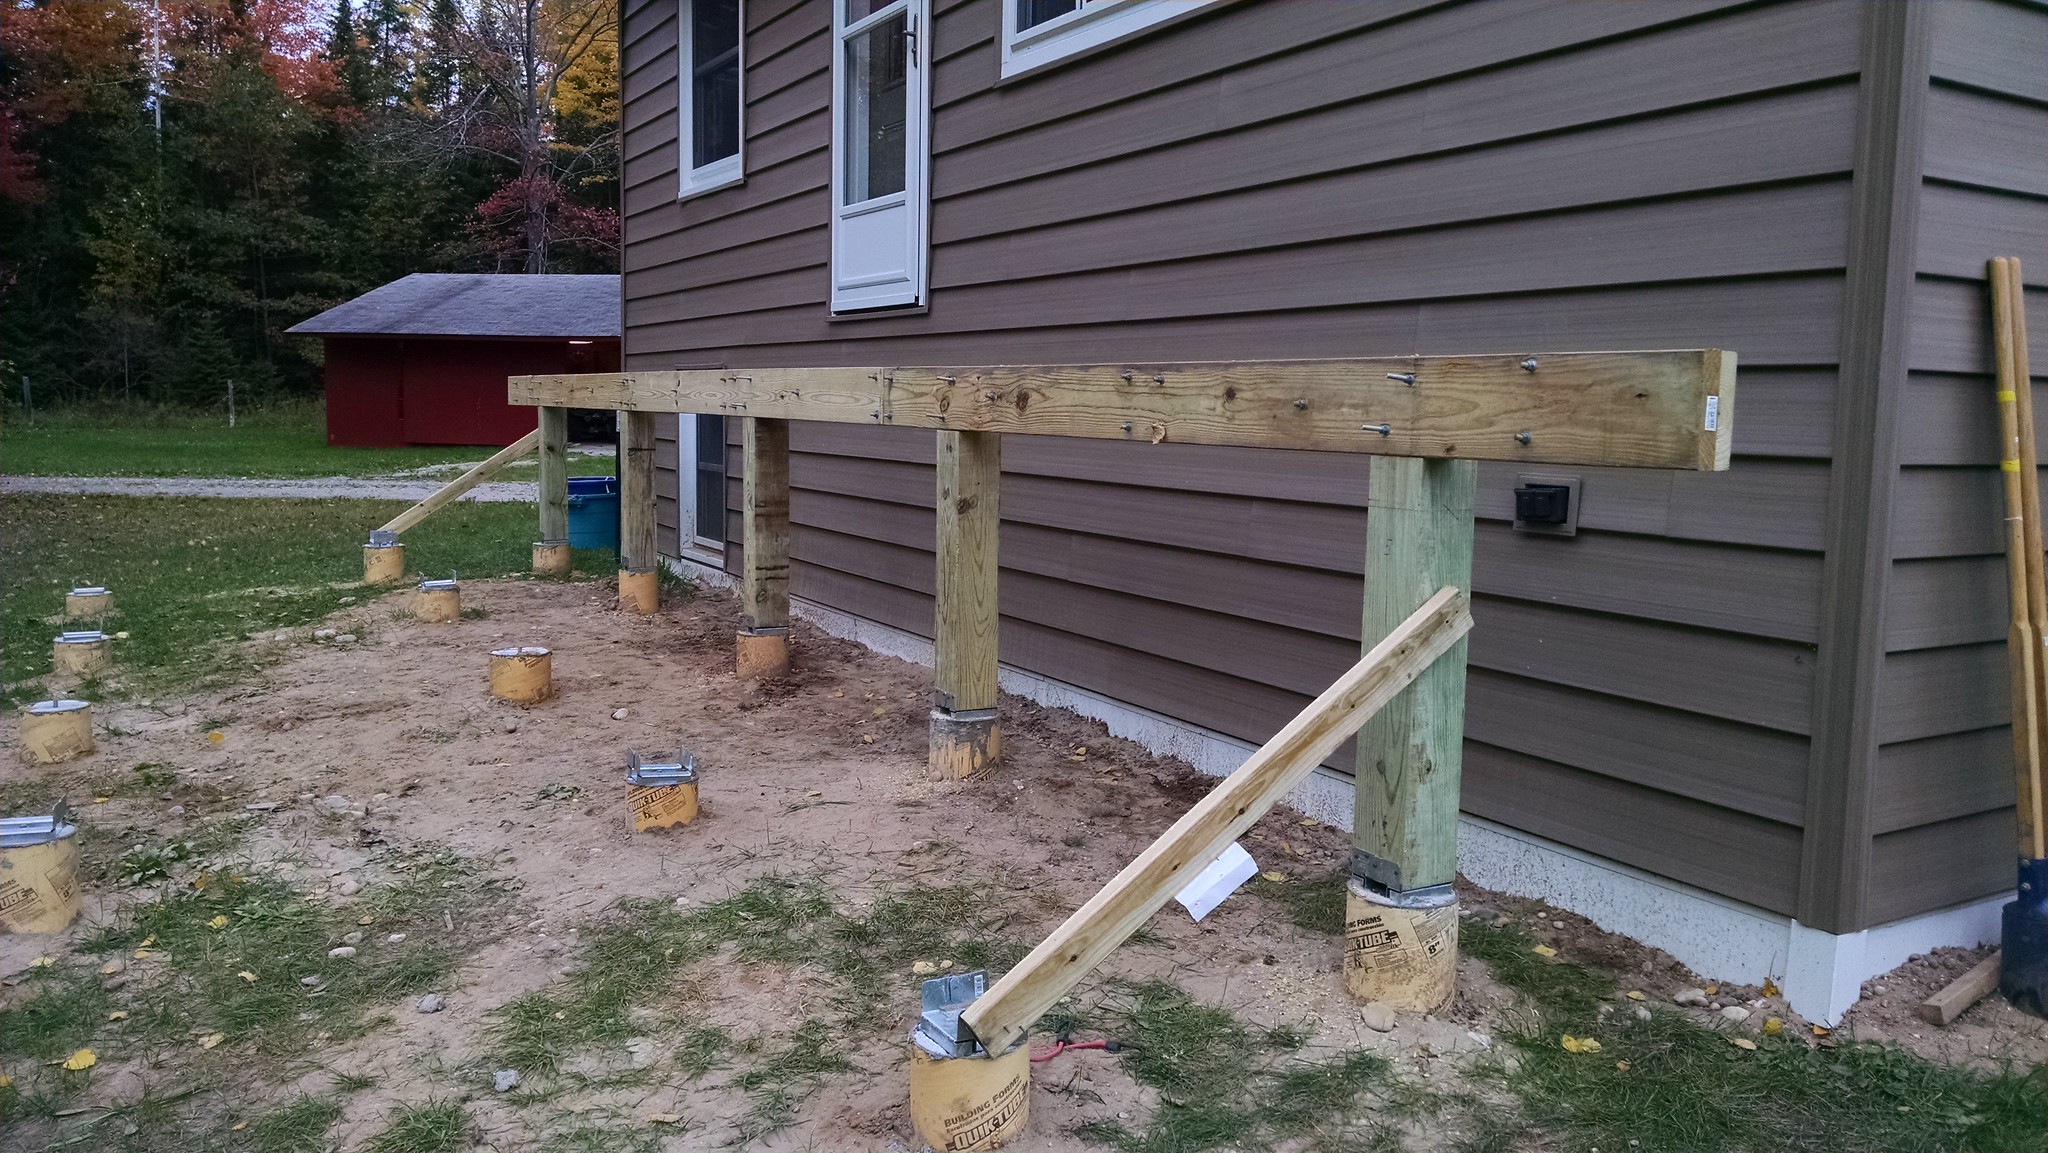
We started with 4' sonotubes, burying them close to 40" in the ground.  We tried to dig the holes with a power auger, but football sized stones stopped that right quick.  We wound up digging the 20 holes old school, with a manual post hole digger and a shovel.  Between the holes and mixing/pouring the concrete, this was absolutely the hardest part of the project.  By the end, we just wanted it to be over.

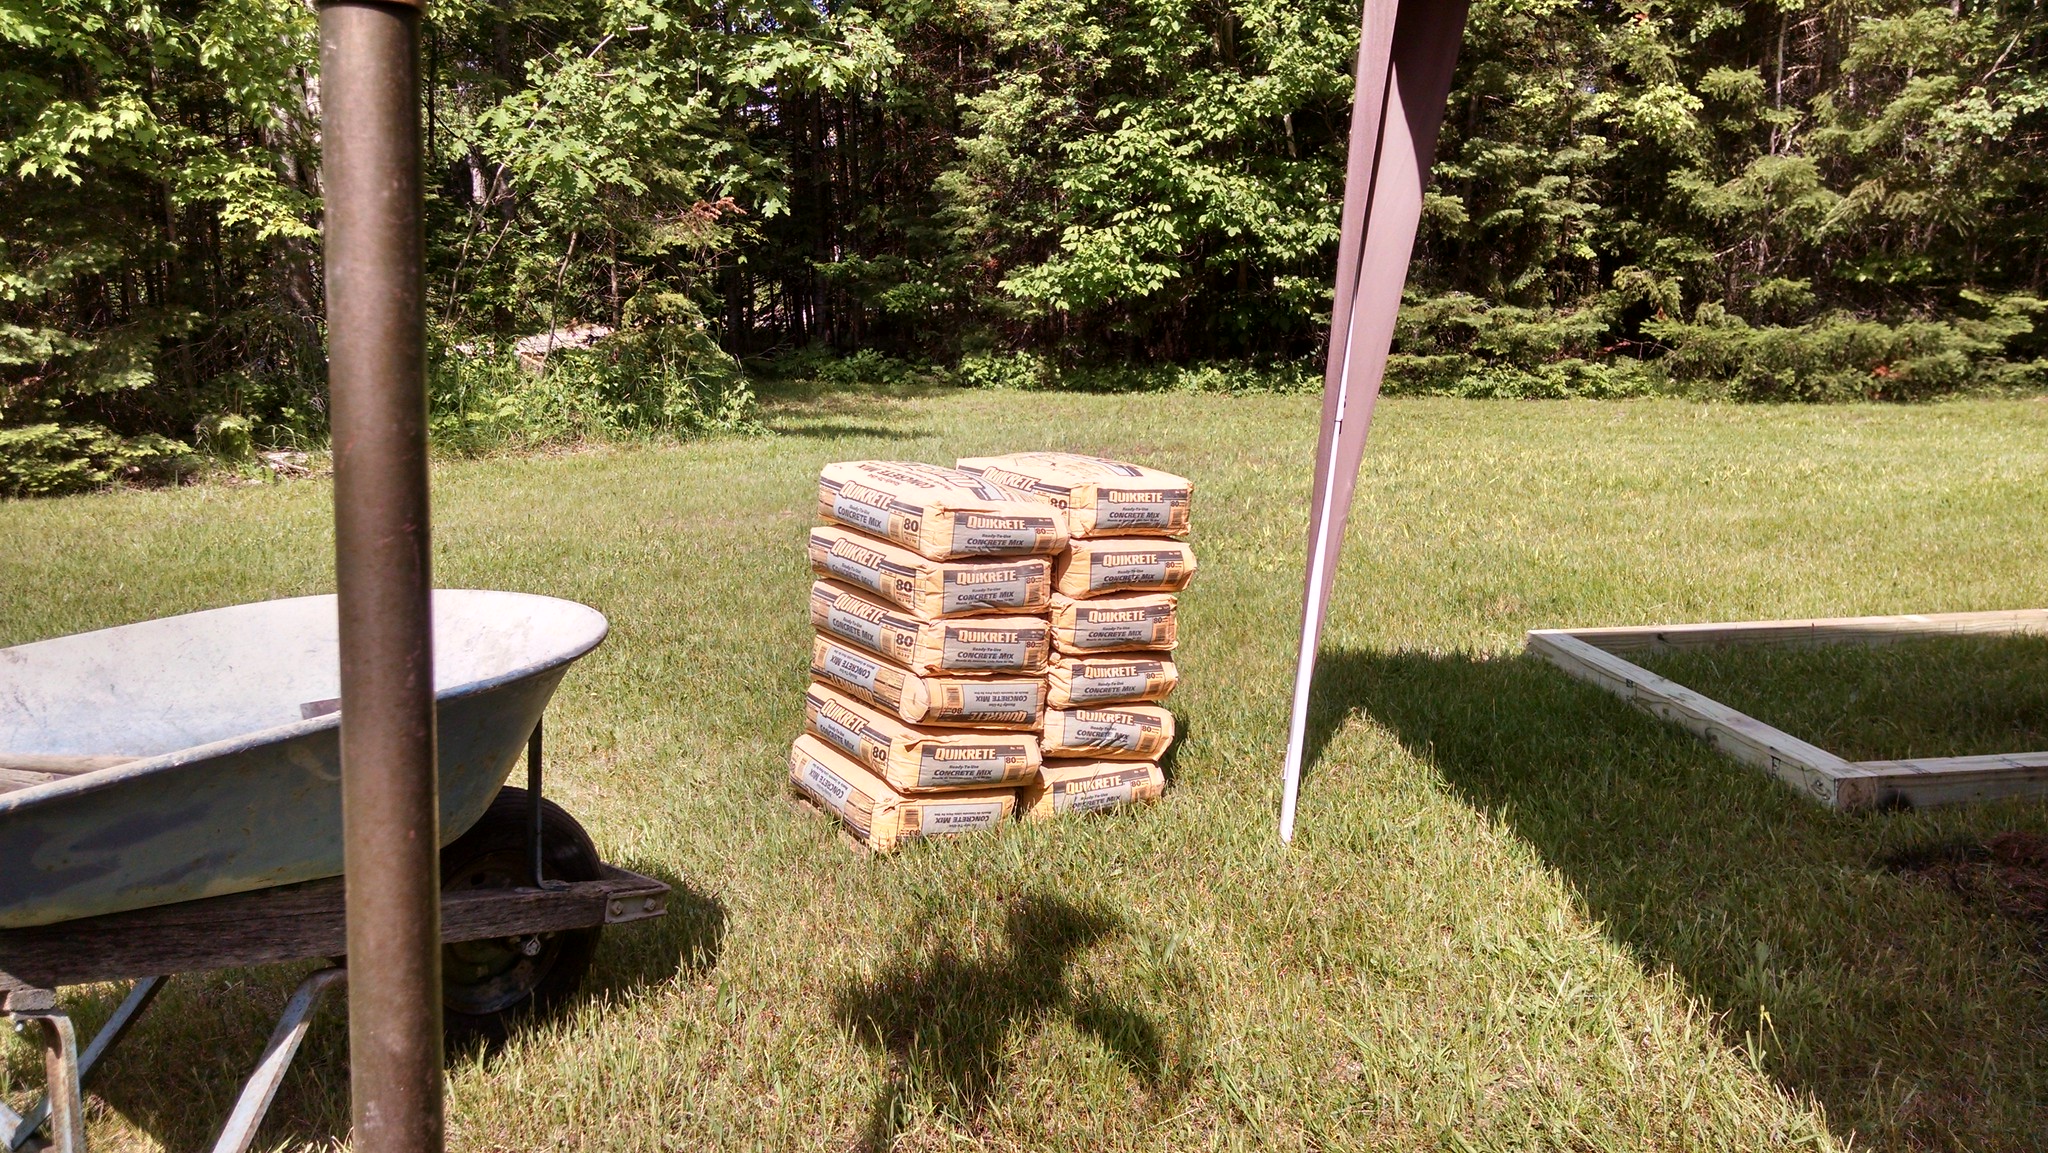
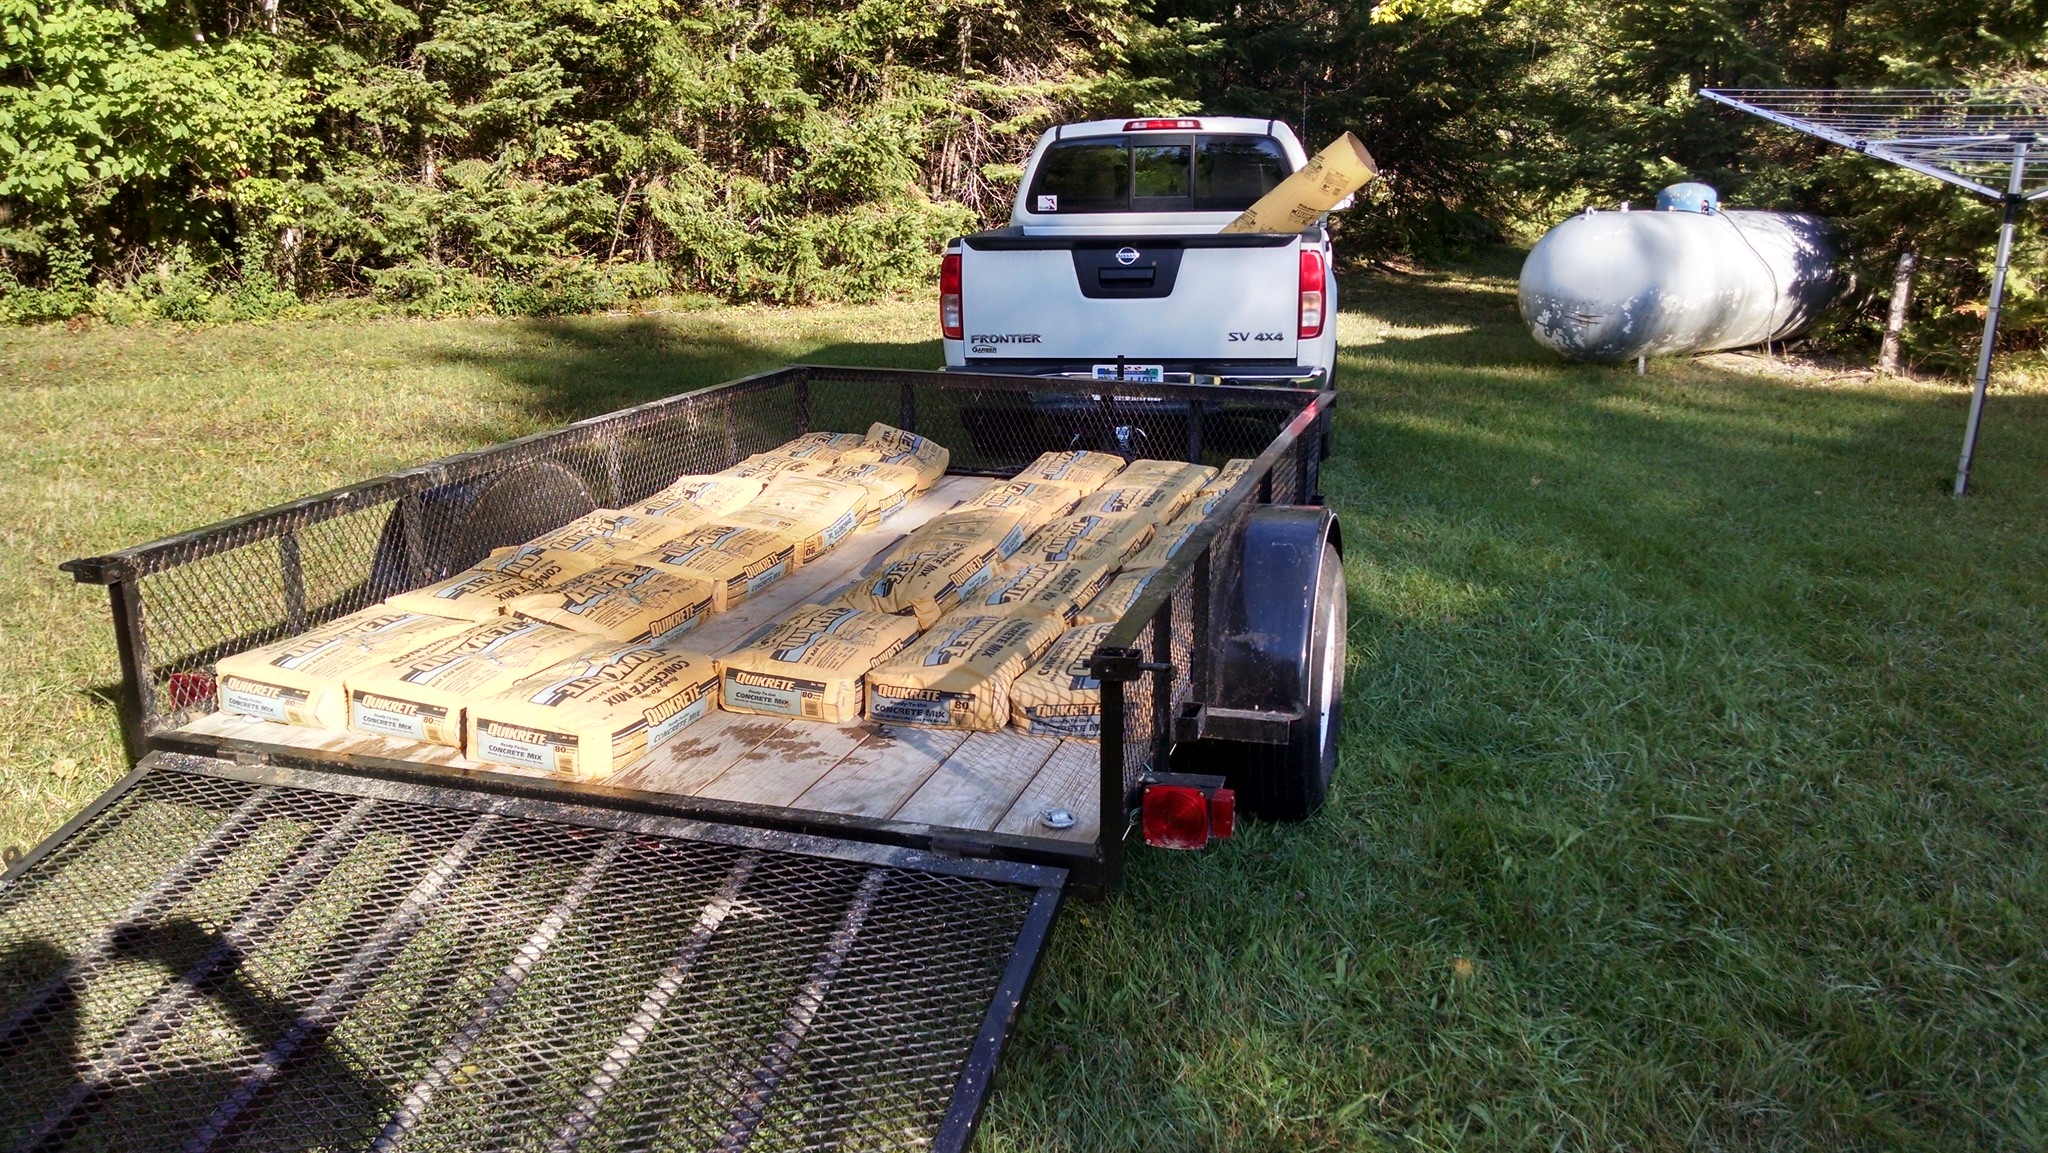
We hauled a few loads like this one.

This was every bit a team effort.  Shelly worked her tail off!

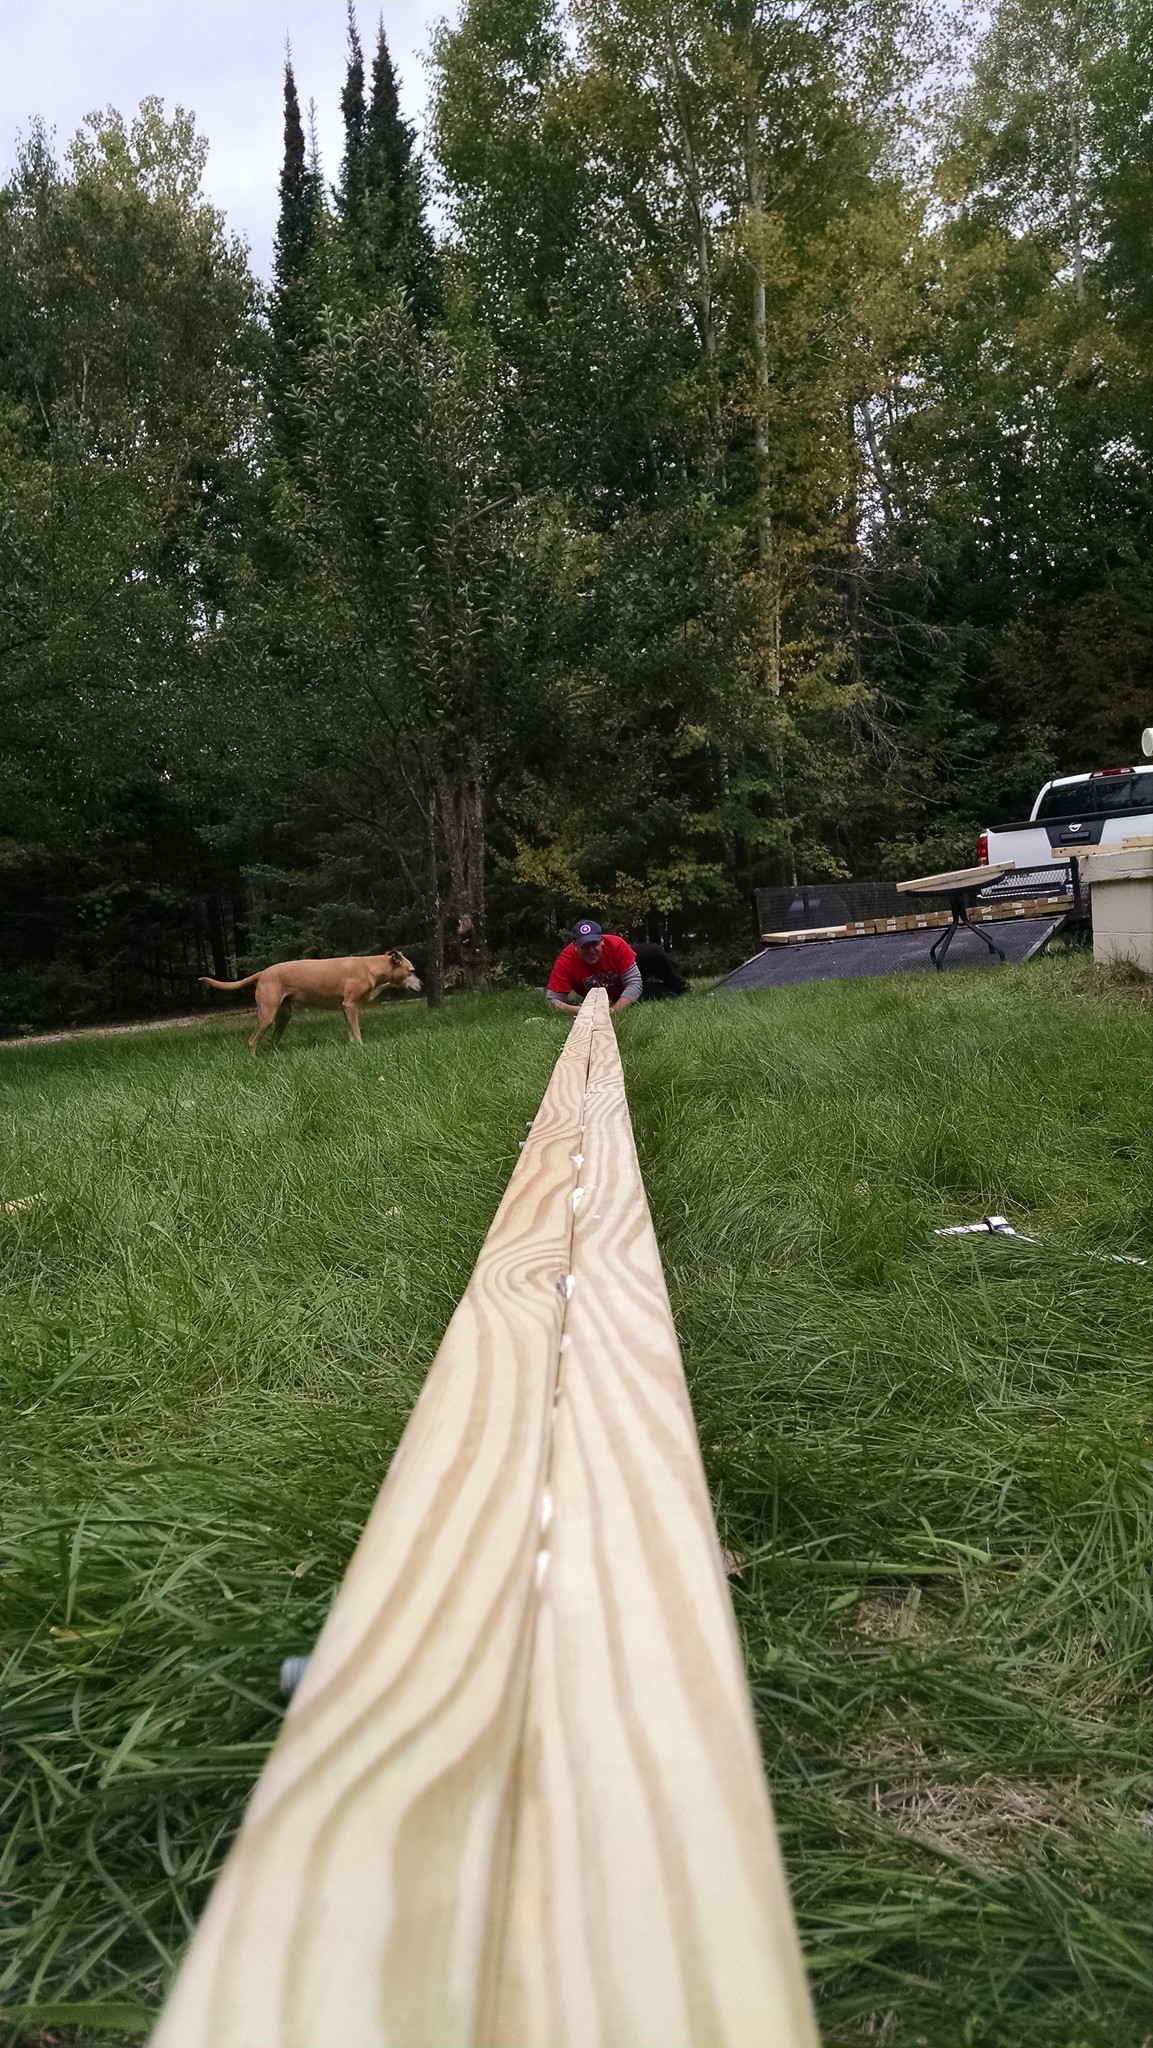
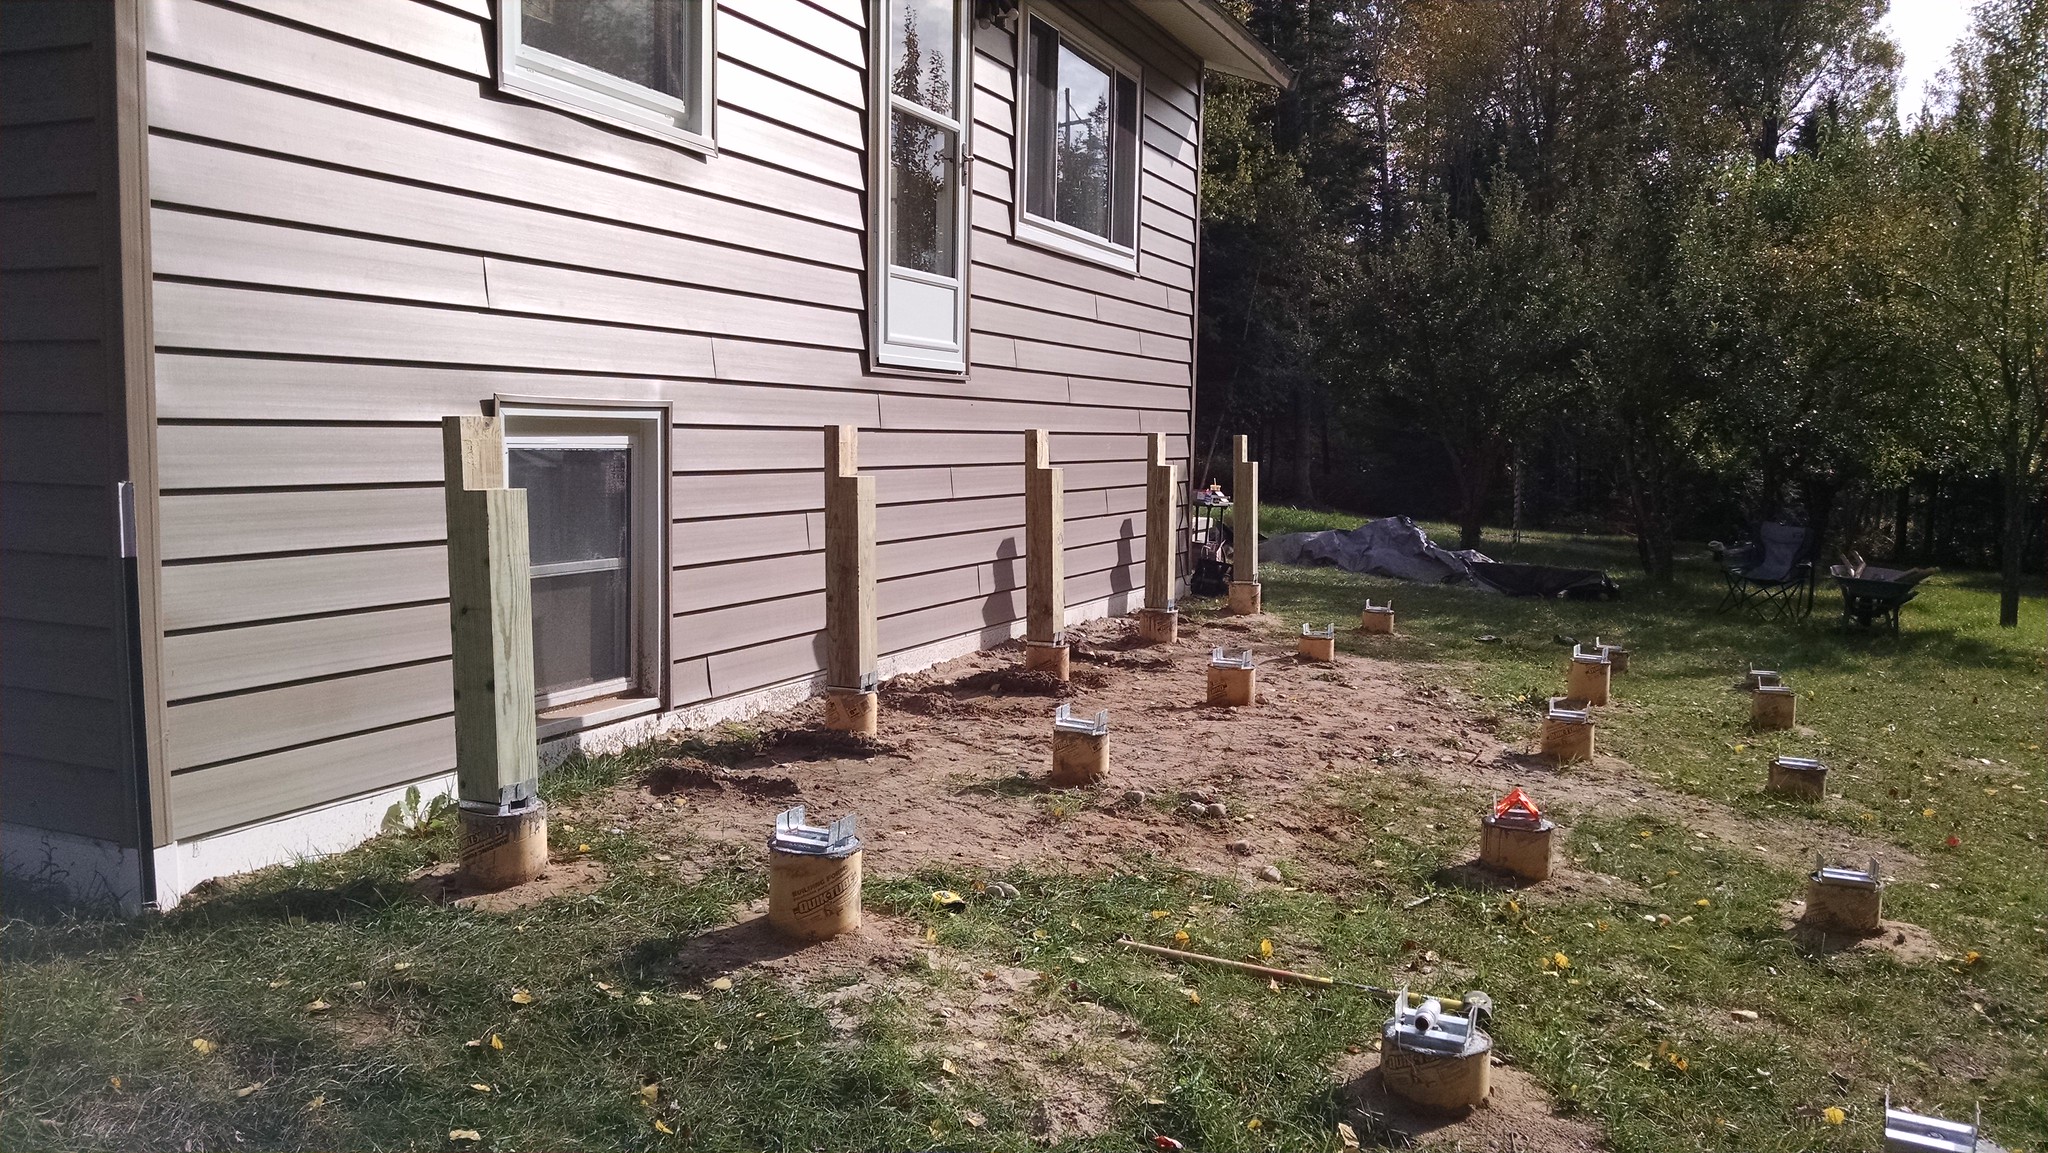
We were going to be using four beams, with five posts per beam.  The posts would be 6" x 6", and would be mounted on the footings with galvanized brackets.  The beam would be doubled 2" x 8"'s.  We mounted the beams to the top of the posts by notching the posts and securing them with 3/8" bolts.  We had to get pretty darn creative when lifting the beams into place.  Ratchet straps came in real darn handy.  We lifted one end up, ratcheted it in place, then lifted the other end and did the same.  We then drilled and bolted it in place, and removed the ratchet straps.


27' long, doubled 2" x 8" beam

 
The first row of posts, notched and ready for the first beam.
The first beam, mounted to the posts.

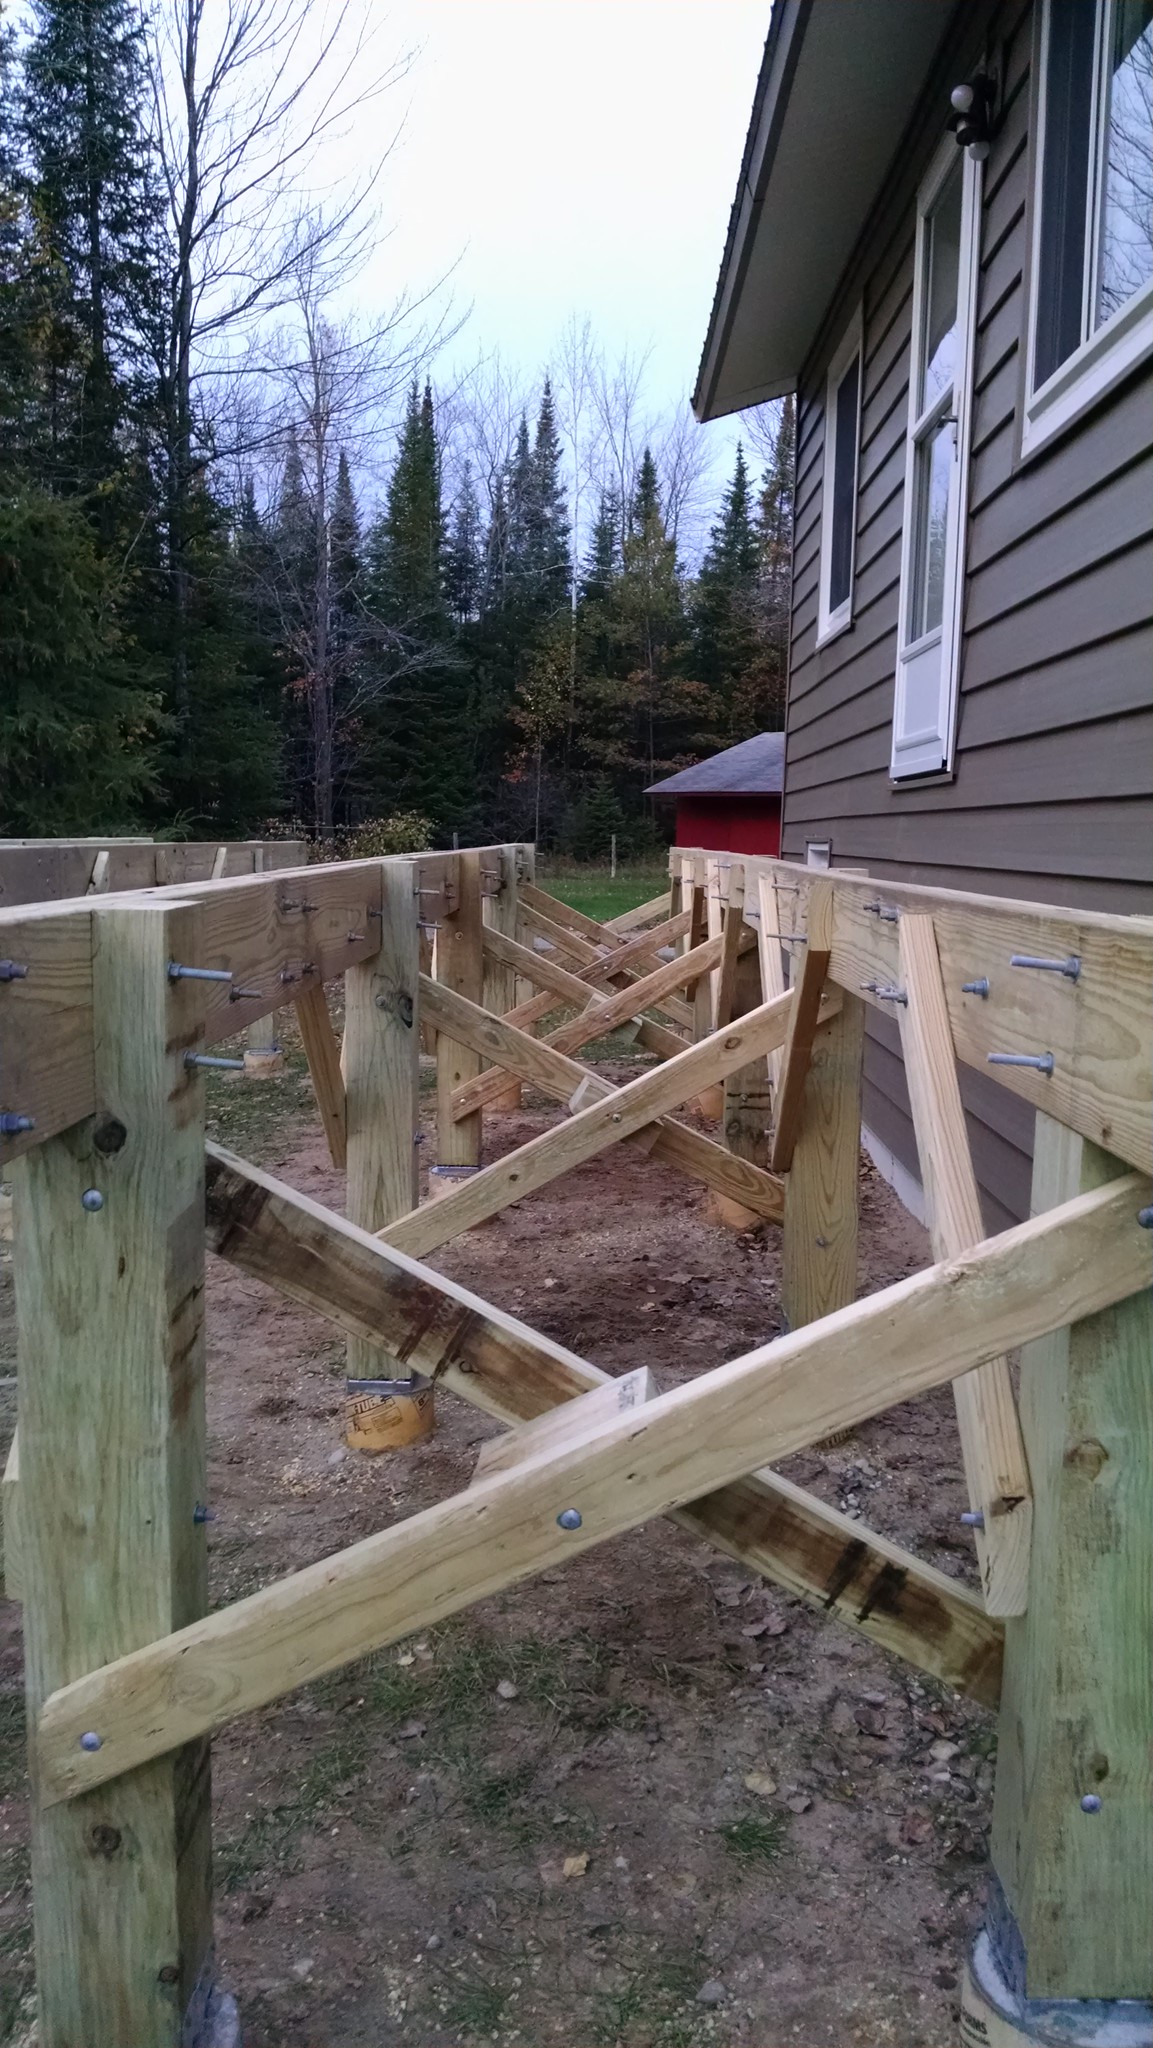
After getting the posts mounted we needed to get to work on the bracing.  Bottom line, when we're done this thing was not going to move...at all.  For side to side we used Y bracing, and for back to front we went with cross bracing.

The beams all mounted, and bracing started.
Cross bracing using 2" x 4" and 6" x 6" cutoffs to tie two braces together in the middle.

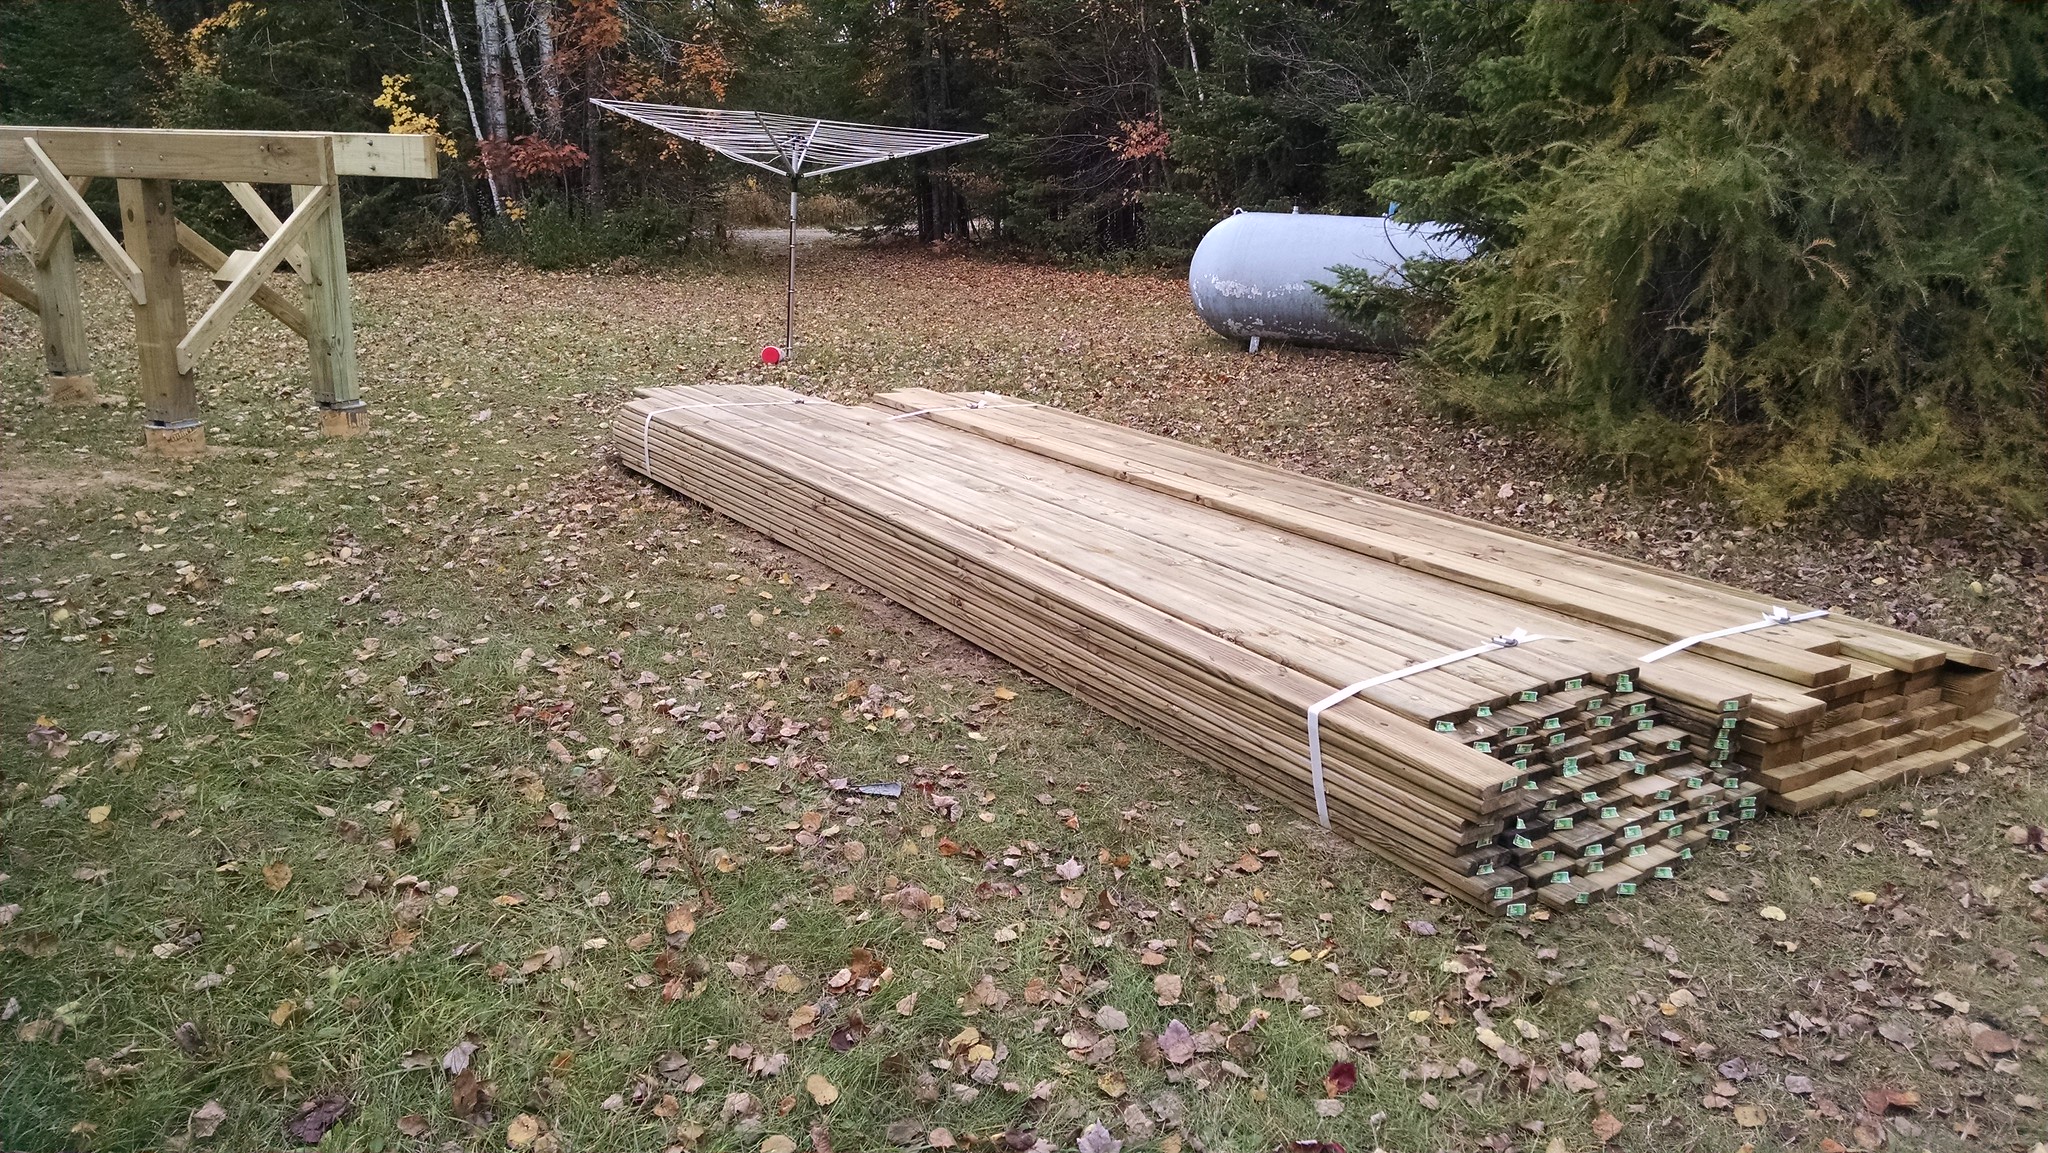
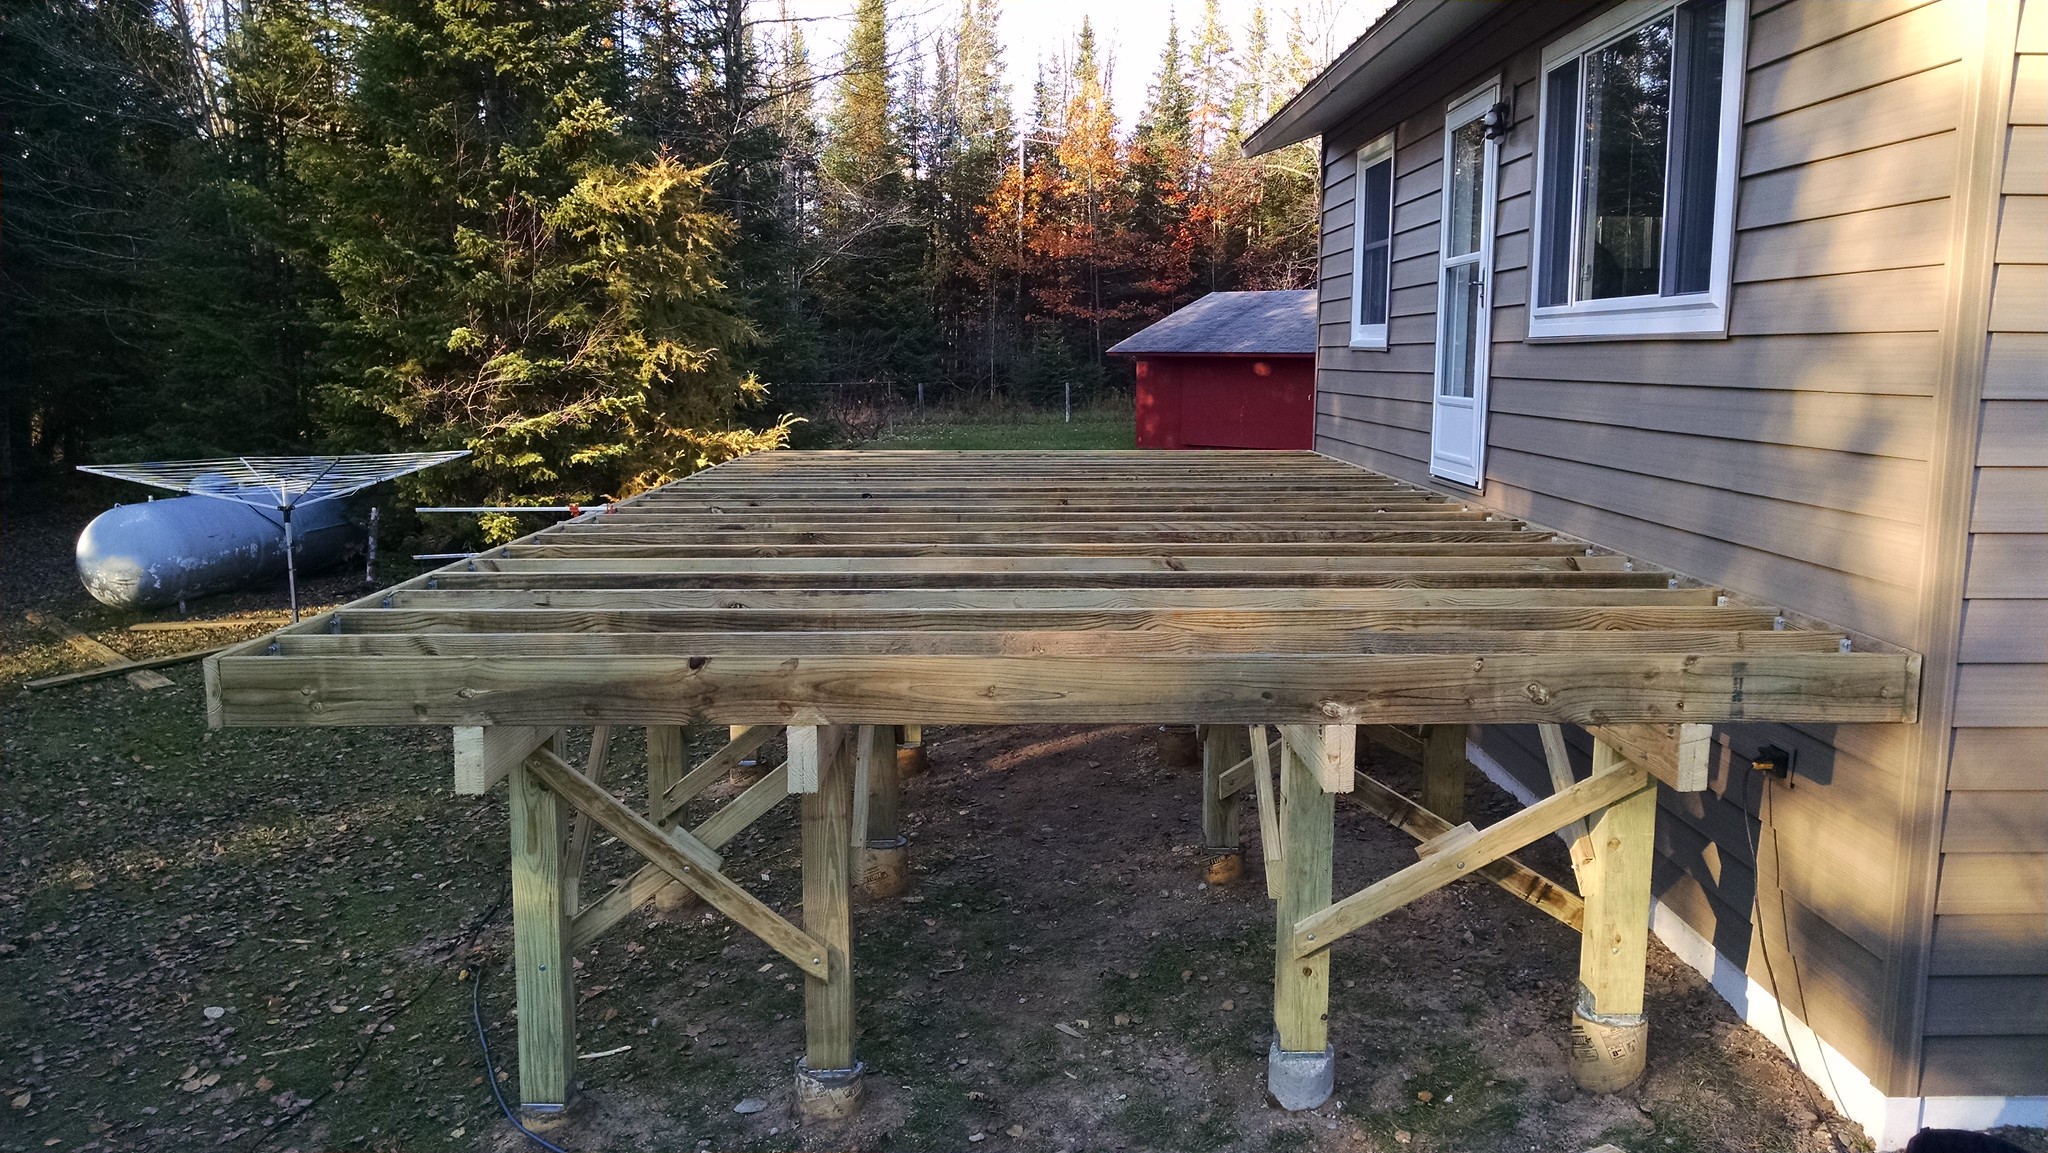
With the framework built and solidly braced it was time to start on the joists and decking.  All of this would be 2" x 8" for the joists, and 5/4 decking.  We needed it all in 15' lengths, so we had the local lumberyard deliver.  For the side where the hot tub will be, we spaced the joists at 12" on center.  For the rest of the deck we spaced them at 16" on center.  

15' long 2" x 8" joists, and 15' long 5/4 decking 

The joists, attached on the house side.

The joists, squared and complete.

The decking, laid in place, but not yet screwed down.

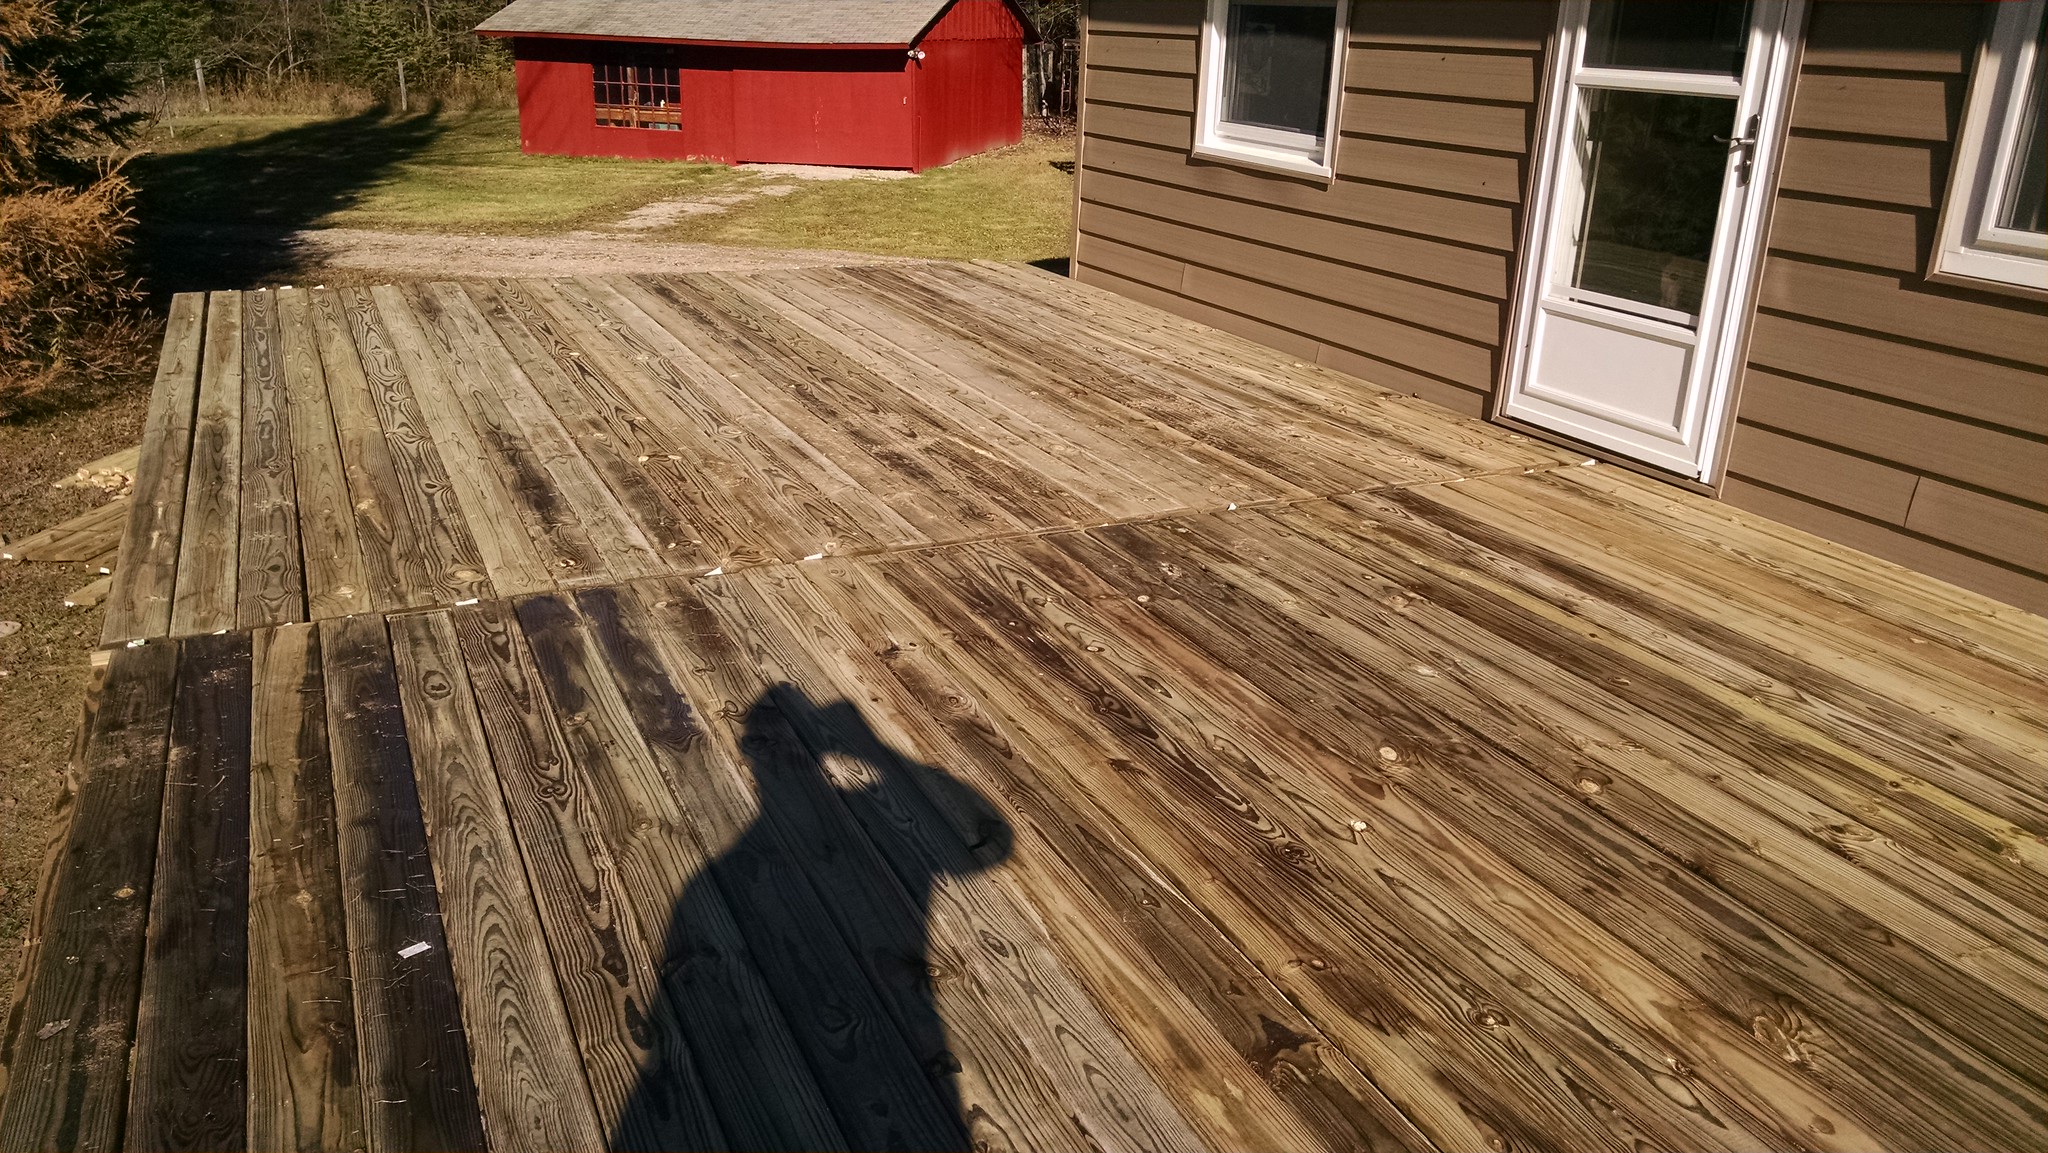
The decking is complete!

Having never done anything like this, it took us way longer than it probably could/should have.  We learned a TON doing this.  We reaffirmed to ourselves that we're a solid team, and that we truly can do anything we set our minds to.  We still have the railing and the stairs to complete.  We're holding off on the railing until we get the hot tub in place, and we're holding off on the stairs until the weather clears and the snow is gone.

The weather turned before we really had a chance to enjoy the deck, but we did manage to have one very cool evening.  When the decking was laying in place, even before we screwed it down, we hauled up a couple of camp chairs, cracked open a couple of beers, sat under a clear sky full of stars, and talked about what we accomplished and how much we were going to enjoy this thing we'd built.

Until next time!

Monday, December 15, 2014

...and then there was LIGHT!

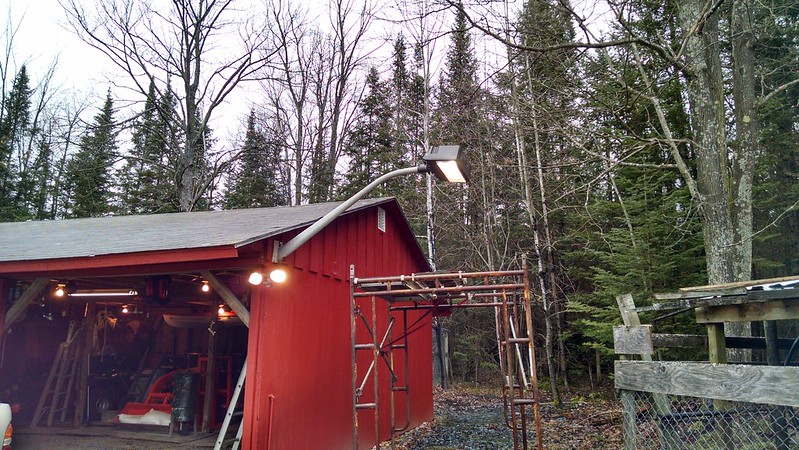
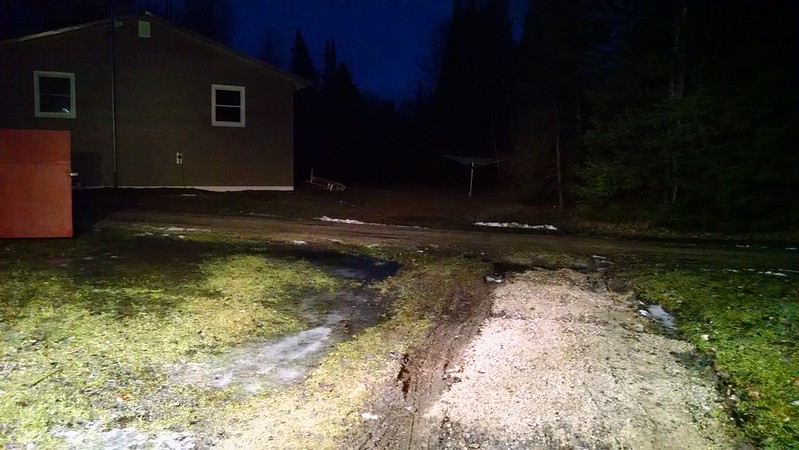
A very good family friend recently came up for deer hunting, and he showed up bearing gifts.  What he brought was a mercury vapor lamp parking lot light, including the roughly 6 foot long mounting arm.  For those that have never been out in the country, when it gets dark here it REALLY gets dark.  On a moonless night you quite literally can't see your hand in front of your face.  It can make working on projects or vehicles outdoors after sunset a real challenge.

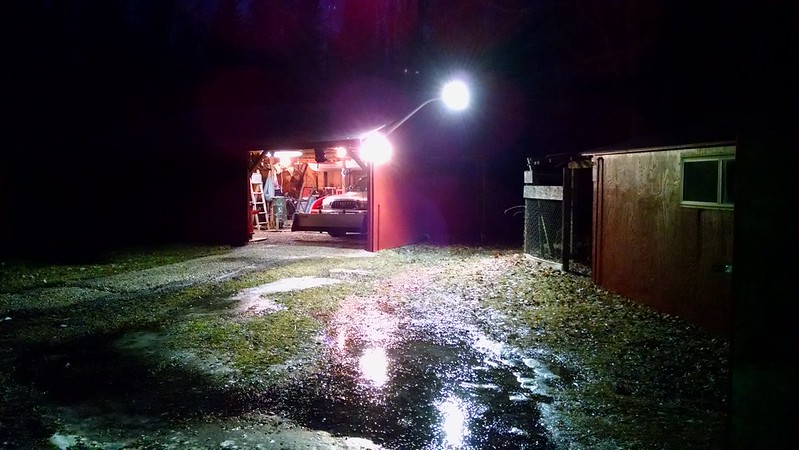
I took advantage of the unseasonably warm temperatures this weekend, and mounted the light to our larger outbuilding.  It's mounted so that it will light up the "courtyard" area between the two building.  As you'll see below, the results are truly...enlightening!


These pictures really don't even do it justice.  It is far brighter than it appears here, extending well into the yard in front of the house.  That area that it's lighting up between the two barns, it's on my list of spring projects.  I am going to have a load of gravel brought in to fill in that area.  I'll have to find a solution to all of the water first, likely a french drain to run the water to a lower area.  If I were to simply fill in this area all of the water would wind up filling the smaller outbuilding.  It's already damp enough in there.

Short and sweet for this update.  Until next time!

Thursday, December 11, 2014

Quick Update...Miscellaneous Projects

Shelly and I are moving again into "divide and conquer" mode.  We have some smaller projects to get done that just do not take two people.

Me...I'm working in the basement, finishing up the last of the painting on the exterior foundation walls and floors.  This is all in the laundry area of the basement.  As part of this project we have a large chest freezer in that area that we want to relocate across the basement, to put it in Shelly's canning/pantry area.  I'll be laying in all new wiring to make that happen, putting the freezer on its own breaker.  Eventually we're going to have a sub panel with a transfer switch put in, to power a select list of items off the generator.  The freezer is one item that'll get put on that sub panel.

Shelly is working on our master (and currently only) bathroom.  She's spackling and giving it a fresh coat of paint.  This is all just to tide us over until we can get to the full remodel.  We thought we could leave it be until we're able to get to that remodel, but it just looks too darn bad.  The basement has to get done first, so that we'll have a second bathroom to use while gutting the master.  But, we can't stand to look at it any longer, and to be quite honest we're embarrassed for people to see it looking like it is.

Shelly is also filling, sanding, and painting the new trim around the new front entry door.  We had the door installed by the builder as part of the siding project.  After seeing what they had to do to make it work with our 8" framed walls, I am SO VERY glad we decided to tack it on to that project.

Like the title said, just a quick update.  As usual I'll be posting pics of the completed work.

Until next time!  :)

Wednesday, November 5, 2014

A Not So Little Something On The Side!

Since moving here we have been mostly happy with our cedar siding.  We did a ton of work to bring it back from the brink...power washing, sealing, and even completing some unfinished construction.  What we're finding, though, is that wood siding and nature go just a little too well together.  Like, the birds and the bees...and the wasps and the yellow jackets...they think our house is someplace they'd like to live, or is something they'd like to eat.

We began exploring our options for siding the house, and decided that if we're going to make this investment we should be looking to the long term future.  That future includes us getting older, and maybe not being as capable of maintaining things we're able to maintain now.  That steered us towards looking at vinyl, but only if we could find the right product.  It had to be something that didn't look "cheap", and that still fit in with where we're living.

Also, we ( I ) had to come to grips with the fact that we just don't have the time it would take to make this a DIY project, at least not without putting off every other project we have going on.  Some of those projects couldn't wait for everything that would be needed to get this done.  I mean, this isn't just siding the house.  It's...
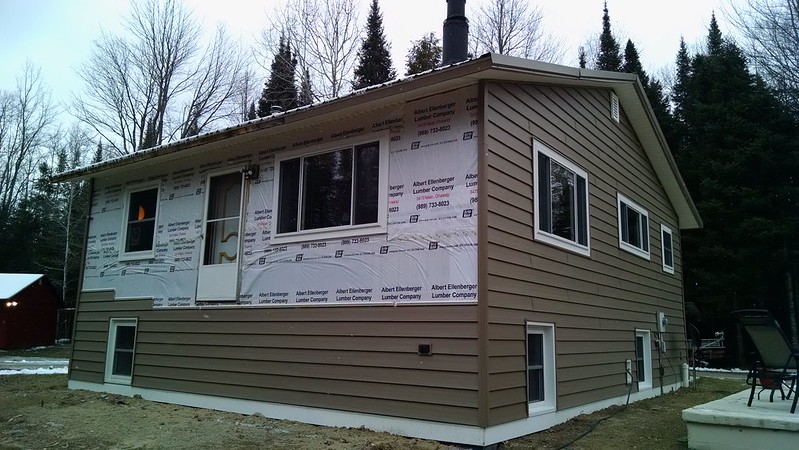
  • Tearing out the existing soffits, and installing all new vinyl soffits.
  • Aluminum cladding the fascia boards. 
  • Installing pressure treated furring strips and sheathing on the foundation to build it out to the depth of the existing cedar sheathing.
  • Wrapping the entire house with house wrap (Because why would you use anything but house wrap on a house, right?)
  • Installing all necessary flashing around electric meter, hose spigots, vents, etc...
  • Siding the entire house, all around and from the peak to the ground.
  • Installing a new front entry door and storm door.  
So, I swallowed my pride and beat down my anxiety, and we called a few contractors.  We ultimately contracted with Bandi Builders out of Cheboygan, Michigan.  We had to bite the bullet and take on some debt, but the cedar siding's failings were forcing us to do something.  Go big or go home, right?  :)

We initially had the idea that we'd side the house and have the foundation faced with natural stone.  Awesome, right?!  That plan went out the window when we got the quote for stone facing the foundation.  HOLY SCHNIKES!  That's how we wound up with the plan of continuing the siding all the way down the foundation.

The job isn't quite complete, but we're getting close enough that I couldn't hold off posting on it any longer.  We're in a holding pattern right now, waiting on the front entry door to return from the painter so that the front of the house can be finished.  We're having the exterior of the door painted to match the siding color.

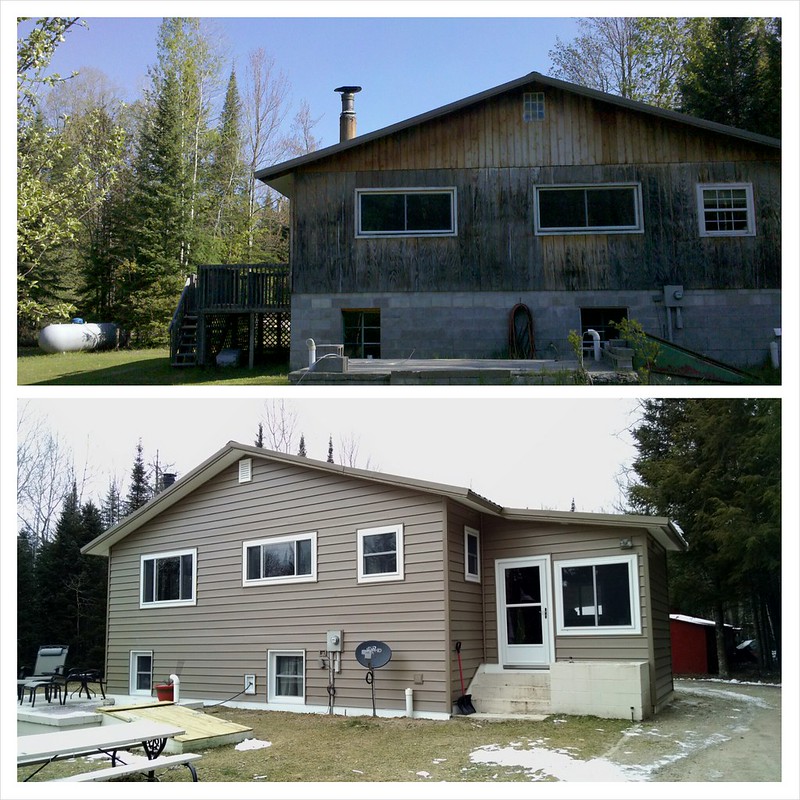
Let's start with a current picture of the "Before".  This was just prior to the start of the builders arriving.  The white marks on the foundation wall are from where I had gone around and sealed any cracks in the mortar.

click for larger image
Drumroll please....
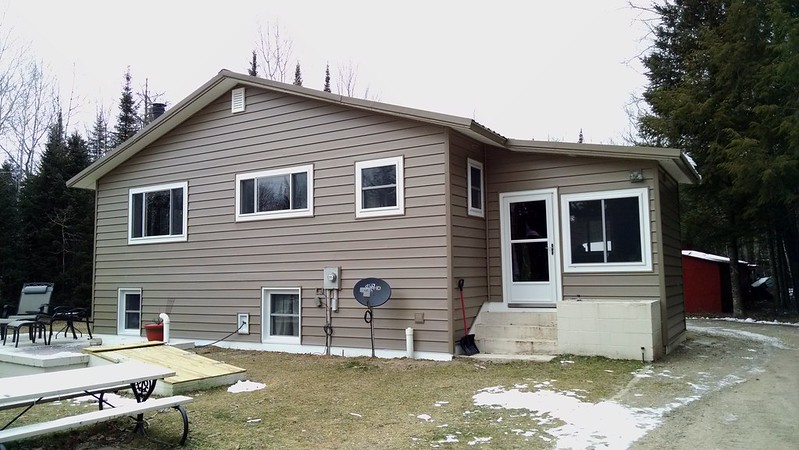
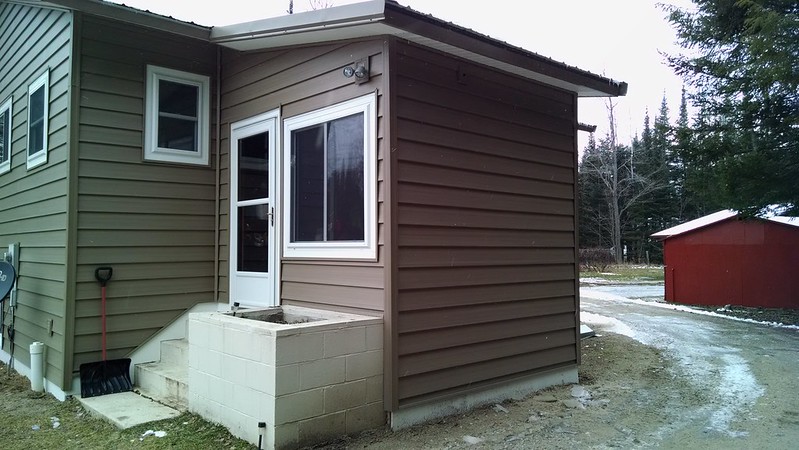
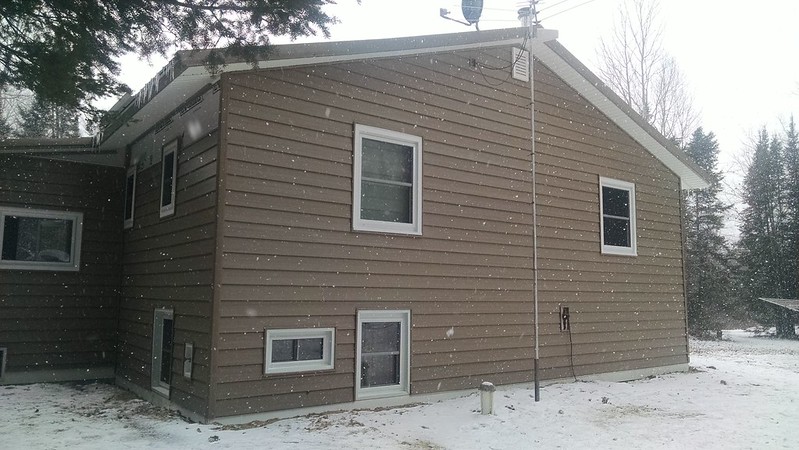
Here is the big reveal of the new and improved Shangri La!  The siding is made by CertainTeed.  It's their CedarBoards Insulated Siding product, and the color is Timber Blend.  We wanted to go with something maintenance free, but that would still fit in with its surroundings.  We are darn happy with the outcome.  :)
South Facing
East Facing

North Facing
West Facing
As I said above, we're waiting on the front entry door so that they can come back out and finish the work.  We tore the old deck down before construction started, and before it could fall down on its own.  We're making plans now for building a new one this spring/summer.  At the rear entrance, we'll be laying a textured finish onto the blockwork herb garden to the right of the steps, and painting it to match the siding.

As much as we dreaded this process, our dread was mostly unfounded.  The builder has been extremely responsive, and the crew has been professional in all respects.  We've noted a few things we want corrected...nothing serious or earth shattering...and they've responded well to our concerns.

We'll follow back up with y'all with shots of the finished, and likely snow covered product.

We'll leave you with this one final image.  :)


The top picture is the ultimate "before", from the spring of 2010, before we started putting our mark on the place to make it our home.

Until next time!

Monday, October 27, 2014

Pictorial Ketchup...Catsup...Catch Up!

We've had a very busy summer, and it got the better of me as far as keeping the blog updated.  Rather than get all wordy to try to get things caught up, how about I just put captions on a bunch of pictures of stuff we did.  Cool with y'all?  Excellent...here we go, then.

Our last update was back in April, so we'll pick up there.  Well, almost.  We actually got a bit distracted in May and June, even managing to get a bit of camping in.  So, we'll be picking things up in July.

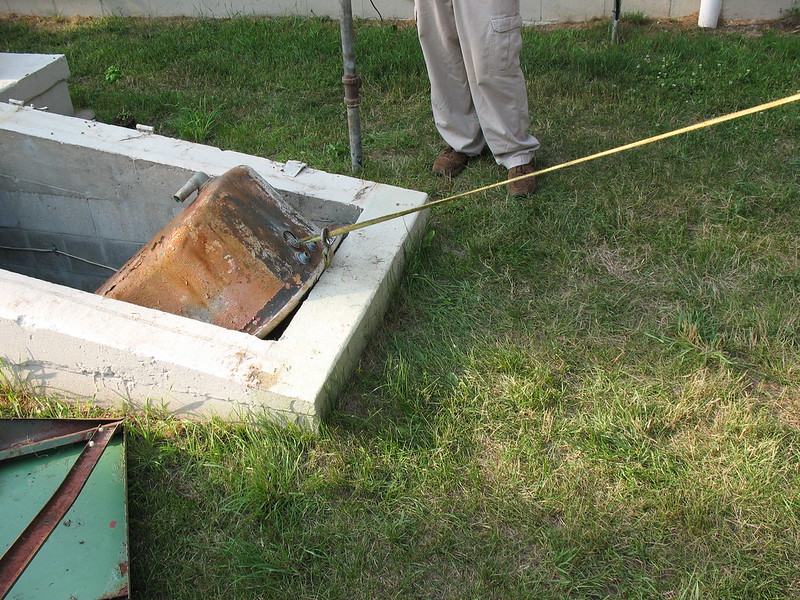
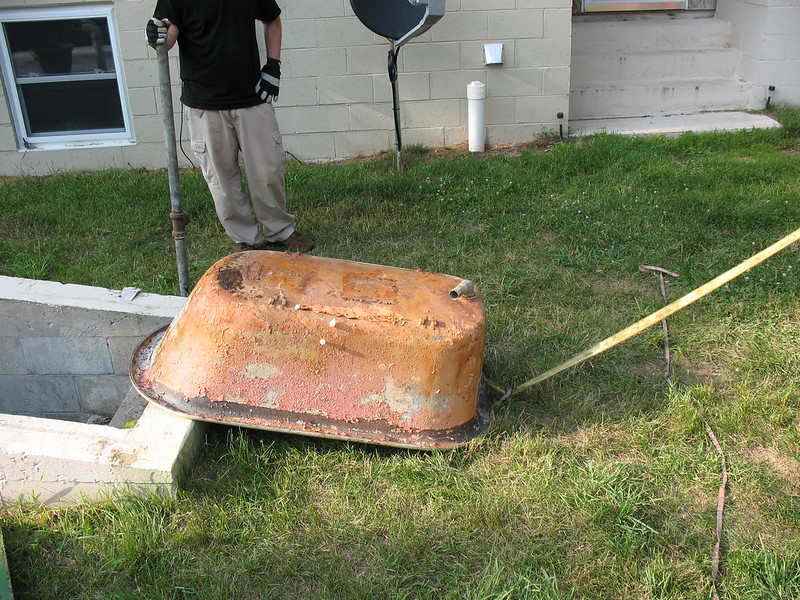
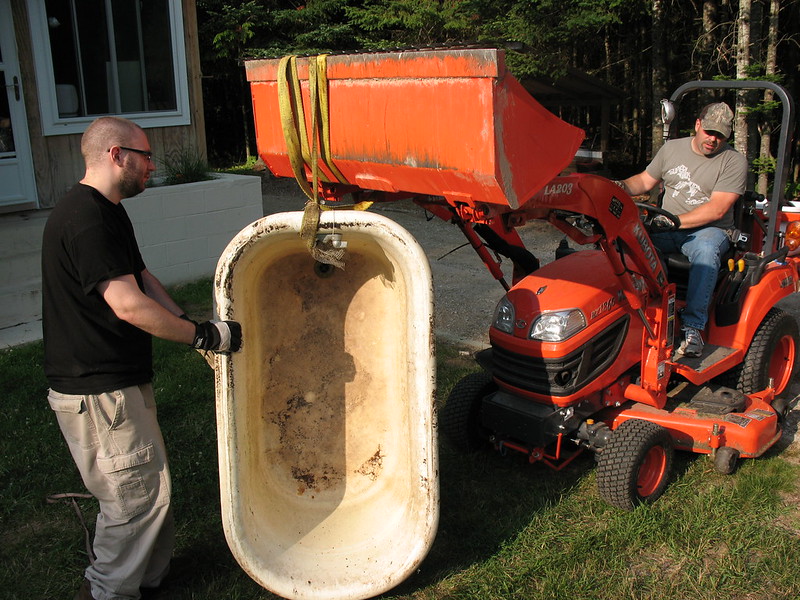
We put the Kubota to work, pulling a heavy steel bathtub out of our root cellar.
No.  That's not a typo.  A bathtub...in our root cellar.

Honestly, if it weren't for the Kubota I'm not sure how we'd have gotten
the tub out of there.  It wasn't cast iron.  It was thick steel.  There was
no way to break it up and haul it out.

If at this point you're really wondering, "Why in the heck was there a bathtub
in the root cellar?!" I'll clue you in.  The previous owner kept minnows in it
for fishing.  Seriously.

We contemplated making some kind of lawn art with it, but we decided instead
to make the local scrap guy's day.  :)

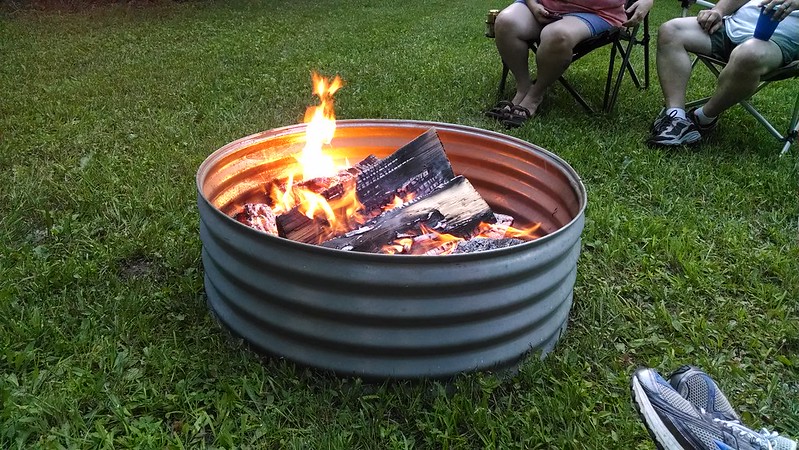
We had been wanting to build a fire pit for quite a while, but other projects have
been far more urgent.  This one required only a drive to the local Ace Hardware. :)


That's all we have for July.  Did I say we did quite a bit of camping this summer?  On to August!  We tackled a few more projects in August, both inside and outside.

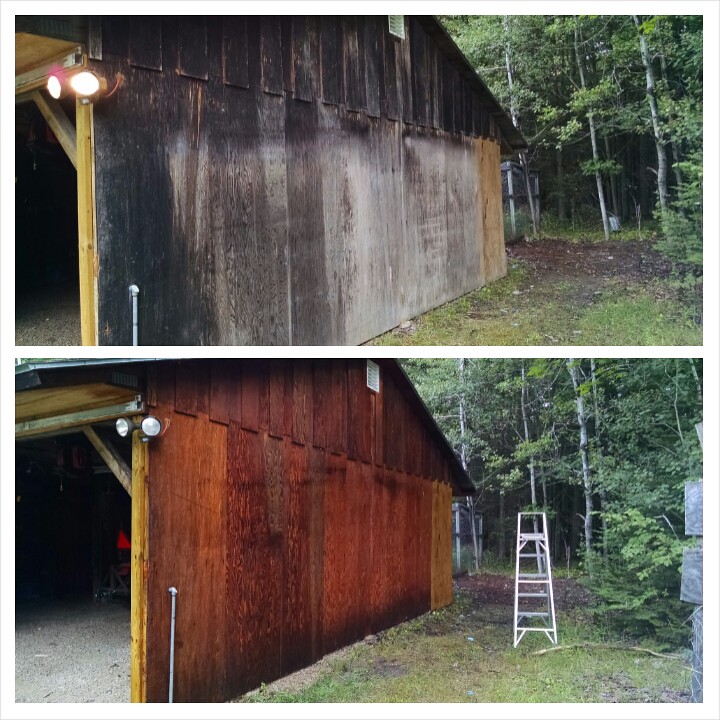
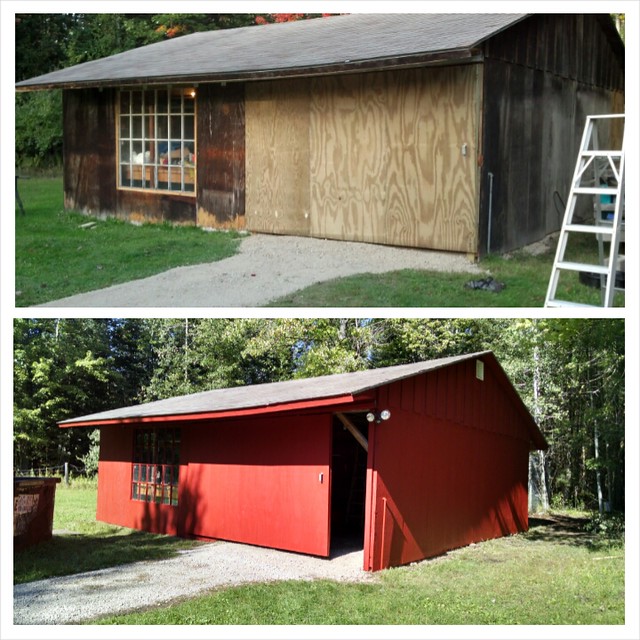
Work on the outbuildings continues.  We added venting to both the gables and the
soffits, and powerwashed all the mold and old sealant.

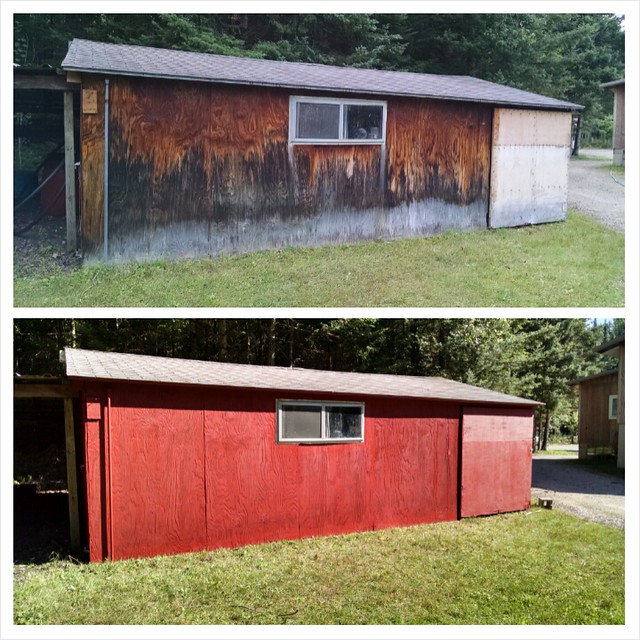
The other side of the larger outbuilding.

The smaller outbuilding.  Both buildings are now ready for painting, but that's
work for another month.

The stairs and landing on the front deck were in extremely bad shape.
Like, "Holy crap, don't stand on that!!!" bad of shape.

The Kubota continues to earn its keep.  It took less than 10 minutes to do this.
The tractor can't take all the credit.  The whole darn thing was held toegether
with just screws.  We'd later discover the entire deck was held together
the same way.  It's now gone....like, we have no deck and that first step
is a DOOZY.

The previous owner's own private landfill.  At least he
put down a pool tarp to put it all on.  Oh, the pool tarp disintegrated,
so we'll have to dig everything out of the dirt and mud by hand?
One huge freakin' mess, and no fun at all to clean up.


All cleared away.  Again, the Kubota earned its keep.  We were able to
fill the loader bucket and dump it all right into a dumpster.  All those
blue scraps?  The aforementioned pool liner.  

This beauty, here?  That's our chicken coop, and is a tear down project for
some future month.  I took the picture of it, so figured I'd share.  :)

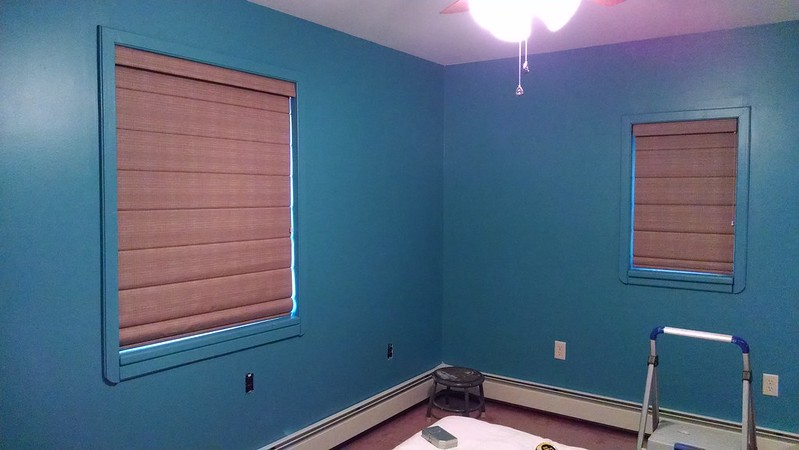
How 'bout we move inside.  This is something of a before and after shot.  These
are walls in our master bedroom.  That ugly pink is the original color.  [[shudder]]

The room got a complete re-do.  We bought new window treatments, replaced
all of the outlets and switches, dismantled and painted the baseboard heat
registers, and installed cork flooring.

A view of the rehabbed heat registers, and of the new flooring going in.

It was a busy August, huh?  :)  Onward to September!

The finished product on the large outbuilding, with a little before
and after action.

Ditto for the small outbuilding. 

We started cutting and clearing the woods around the house.  These were
completely grown right down to the ground, and were out all the way
to the driveway.  We did have some casualties on this project.
A family of bunnies had made a home in the overgrowth, and when
I cleared Peanut found them pretty quickly.  Oops.  At least they're
bunnies.  They'll make more.

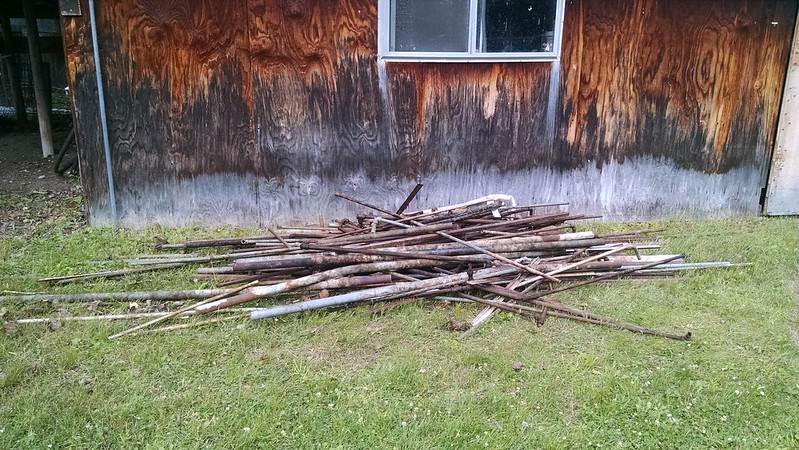
Along with the landfill removal, we also had to dig this pile of scrap pipe
out of the woods behind the barn.  Again, we made the scrap guy's day.

That takes care of September, and brings us right to October.  Let's get to it.


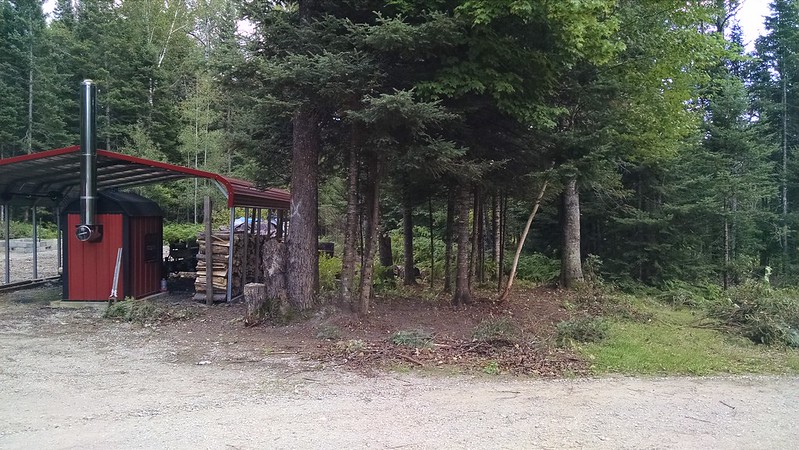
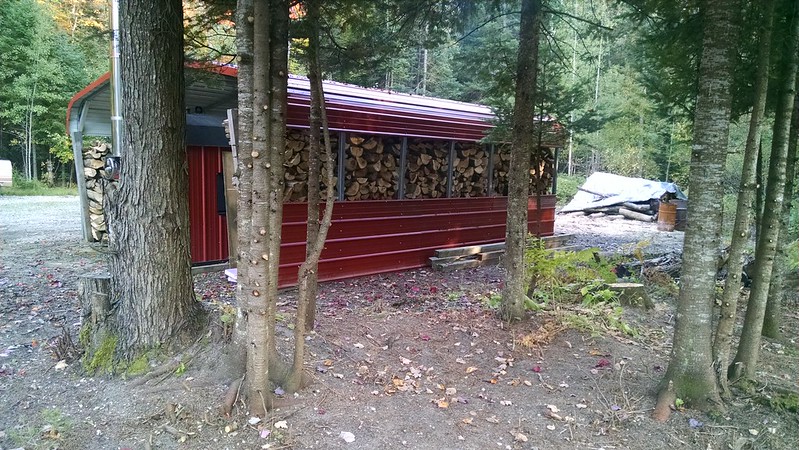
A good bit of October was spent getting ready for the heating season.  We
wound up with two more rows on the inside of what you see, giving us
about six full cord going in to the winter.  Shelly might even let me
start the boiler up soon! :)

Y'all might remember that old ratty wooden car port we tore down.  I saved
the metal roof panels from it, and they've found several new homes.  Two
deer blinds now have metal roofs, and our wood shed now has the half
wall you see...with a matching wall on the other side.

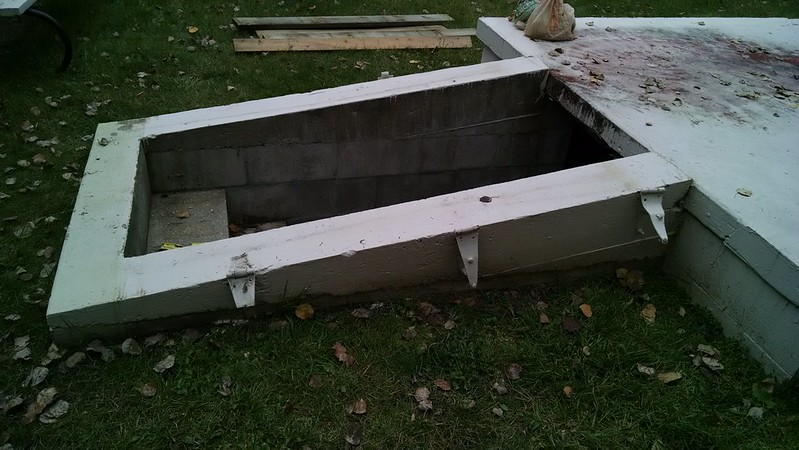
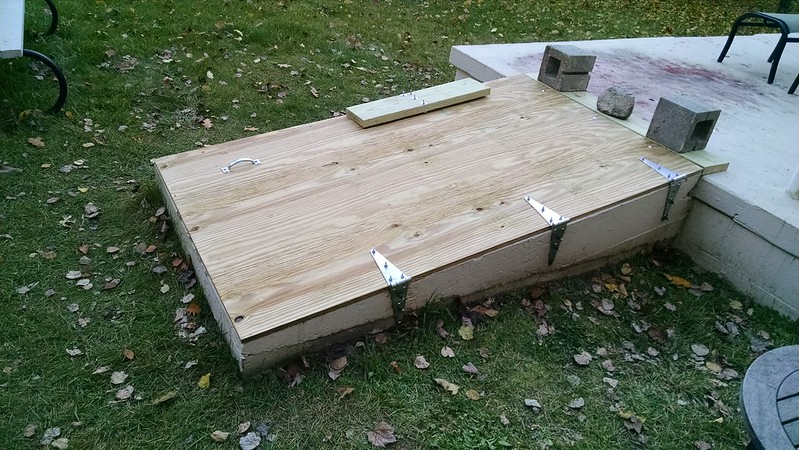
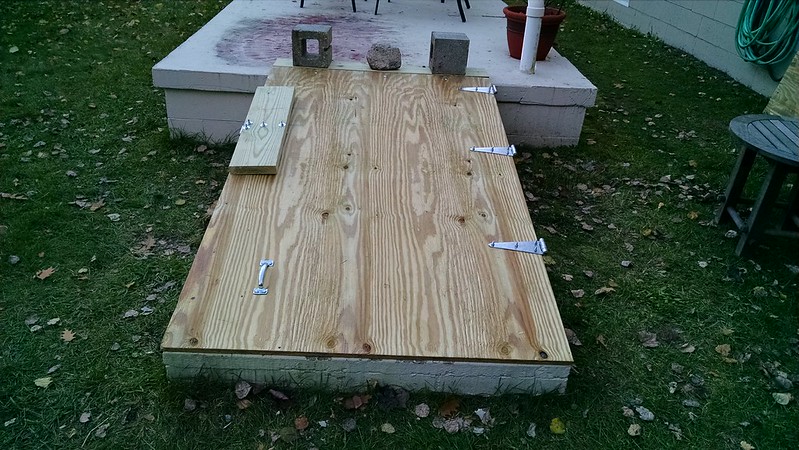
As you can see, we were sorely in need of a door on our root cellar.  The
hinges were beyond repair, but after getting them off we were able to use
the threaded studs mounted into the concrete.

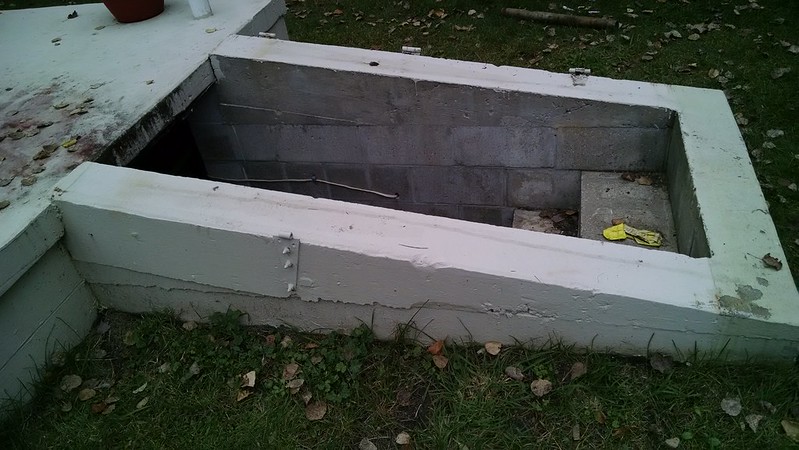
A view from the flip side.  We're figuring they used that half a hinge as some
kind of latch.

The door was an easy fit.  We just had to shorten the length on a pressure
treated sheet of plywood sheathing. 

We went with a pretty simple latch system.  We're not worried about anyone
breaking in.  We just want the door held down.  That's a section of treated
2"x6" mounted to a hing.  The hinge and the weight of the 2"x6" are plenty
to hold the door down.  

The new cellar door in all its splendor.  One thing not pictured, because it
wasn't done when I took the picture, is a hinged panel at the top of the door.
It covers the gap at the top of the door to keep out the weather.

So, that's it.  That's our summer of projects.  We did a few other things around here that didn't get their picture took.  Shelly worked her butt off in her garden...with great success, I might add.  I worked with a friend and the owner of the property attached to ours on restoring his deer blind and further reinforcing ours.  I moved my home office from the basement up to our spare bedroom, even replacing my plastic card table with a real desk.  We also moved our youngest son from Arizona back to the town we lived in Ohio before moving up here.  Our oldest son moved out, to move closer to his recruiter and to be on his own for a bit before leaving for the Navy in November.

Other than that, did I mention that we went camping this summer?  :)


Rustic camping at Tahquamenon Falls State Park

Until next time...and big changes are a comin' at old Shangri La.  Stay tuned!