Chronicling the cleanup and restoration of our house and property in northern Michigan

Chronicling the cleanup and restoration of our house and property in northern Michigan
_____________________________________________________________________________________________________________

Monday, April 7, 2014

Three Year Boiler Follow up

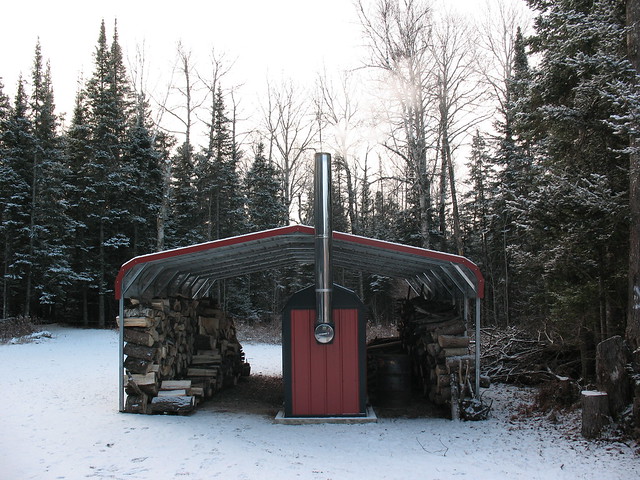
As we're winding down on our third season with our wood fired boiler I thought I would share some observations with you all.  First, if you're wondering "What's a wood fired boiler?" here is a blog post that gives the down and dirty details on our boiler.  How It Works: Wood Boiler Edition


We had our boiler installed in November of 2011 after researching several options. If you would like to see the options we looked at and why we chose the wood fired boiler, check out this post...A Heated Topic.  We had some money from the sale of our home in Ohio, and we were looking to make as large of an impact as possible with it.  Looking at the costs of heating with LP, we knew that addressing the heating system was a good place to target.  We had just paid to have our thousand gallon LP tank filled...THUD!

Our expectation at the time, based on the cost of running our existing LP boiler vs. the anticipated operating costs of the wood boiler, was that we would see a return on our investment within 4 years.  That first season we were able to burn mostly dead fall off of our property.  The next two seasons we've burned delivered pulp hardwood.


Each load of pulp wood is ten cord of 8' hardwood logs, and we're finding that we're burning five-six cord per season.  With adding some dead fall from the property, we're using just half of each ten cord load of pulp wood per season.  A load costs us $800, so we're spending only $400 per heating season for fuel.  Something to keep in mind, our heating season up here is six months long and temps get down below zero when we're deep into winter.  On the generous side for other costs, add in about $100 for gas for the chainsaw, annual door gasket replacement, etc...and we're looking at just $500 in operating cost for the six month long heating season.  That doesn't sound too bad, does it?  Here is where it really starts to sound good.  Depending on the cost of LP, we could have been spending anywhere from $3,000 to $5,000 per season.

The boiler and installation cost us roughly $12,000...with another $1,200 for the carport/wood shed.  Some simple math told us that we stood a very good shot at our estimated four year return on investment.  One thing we didn't expect were the HUGE jumps in LP costs this year.  With this year's price of LP factored in, we hit our ROI before the end of this...our third season.  Here's another cool thing.  The boiler has a 25 year warranty.  That means that it has paid for itself 22 years before the warranty will expire.  WINNING!  I can't think of any appliance that provides this speedy of a ROI with this length of a warranty.
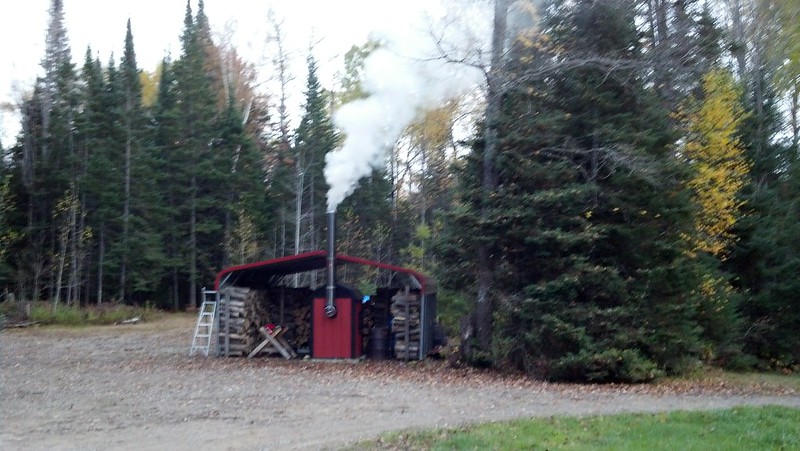

There is a price to be paid to achieve these savings...and it's all in labor.  All of that wood has to be cut, split, and stacked.  Every day the boiler has to be stoked twice per day...once first thing in the morning, and again just at bedtime.  Every two weeks the ash in the fire box needs to be emptied.  Twice a season the water must be tested...similarly to testing pool chemicals.  Once per season the door gasket has to be changed.  At the end of the season any creosote build up has to be removed from the inside of the fire box, the walls of the fire box oiled, and the chimney swept and capped.

However, our labor to run the wood boiler has realized a savings of over $12,000 in three years.  Cutting and stacking the wood?  That's a few weekends of work, and we could use the exercise.  Stoking the boiler?  We have to let the dog out anyway.  The rest of it is just a day or two of work.  I'd say that we are being paid extremely well for our effort.  :)

Until next time!

Monday, March 31, 2014

What's this...an update?! You bet it is!!!

Finally!  I am finally getting back to work on the seemingly never ending basement finishing project.  It's been long enough that a quick review of the project to-date is probably in order.  Our home is roughly 30' x 30', and has an unfinished basement.  It's more a partially buried foundation than a basement really, being only about 25% below grade and having five full size double hung windows.

We're actively using the space, so I've been working on one quarter at a time.  To date, in half of the basement, I have removed all of the old baseboard heat registers, removed and re-routed all electrical conduit and boxes that were mounted to the walls, sealed all of the holes in the walls from the removed electrical conduit and boxes as well as any cracks in the mortar, painted the walls with Dry Lok and the floor with concrete floor paint, insulated the exterior walls with 2" rigid foam insulation, and framed the exterior walls.  Below is the second quarter of the basement, with all of the above completed.


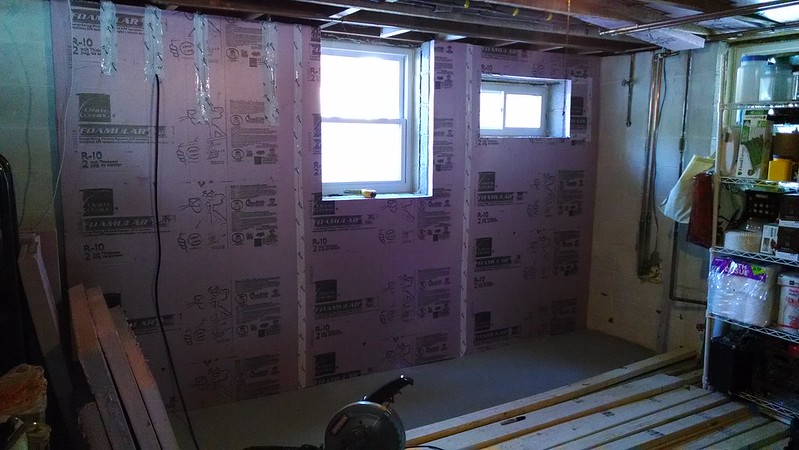
I'm well into the third quarter of the basement, and prior to this weekend I had done everything needed to get me to the point of insulation and framing.  Yesterday, on one of the two walls in that section, I added blocking at the top of the foundation wall to attach the top plate for the new wall, and installed the insulation.  I was hoping to get the framing done, but the insulation took longer than I anticipated.  I had to cut around two windows, two electrical conduit runs (providing power through the exterior wall and out to the well pump and barns), and an antenna cable.

Here are the requisite before and after shots of the space.

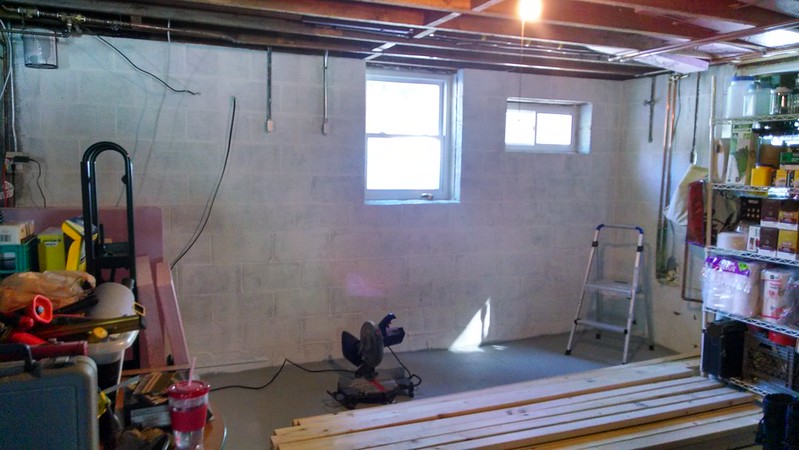
Before
After
I'll be framing out this section of wall then moving to the wall on the right.  I have some plumbing to reroute on that wall, but nothing too drastic.  I've already moved the main line coming in from the well pump to get it off the wall.  I now only need to cut and cap a line for an outdoor water spigot.  After framing I'll be replacing that spigot with a faucet with both hot & cold, fed from supply lines that used to feed to a sink located in the master bedroom.  Yes...a sink...in the master bedroom.  No complaints here, because I now have hot and cold supply lines with shutoff valves all ready to go, and I just need to tie into them to have hot and cold water outside.  Want to wash a car and need hot water?  No more going into the house to fill up that bucket.  :)

That odd, small window on the right in the picture was originally a metal door/chute for tossing in firewood for a wood stove.  The wood stove in the basement is long gone, and now so is the metal door...which was a major source of cold air intrusion.  I had considered bricking in the hole, but having the window installers slip a slider window in there saved me some labor and gives us just that much more natural light into the space.  It adds a cool little framing challenge for me, too.  One good decision I made with this project was assessing the difficulty of each section, and then starting with the easiest and working towards the hardest.  Now that I'm getting into the far more difficult half of the basement I have a bit more confidence from the experience gained in the first half.  :)

More to follow...and soon, I hope.


Monday, March 3, 2014

Because it's been a while...

I figured I'd pop on here just to let you all know we're still around.  There's just not much going on around here in the way of progress on old Shangri La.  It's been cold...bitterly cold.  It's been snowing...a lot.  I had hoped that I'd be providing updates on a winter's worth of progress on the basement finishing project, but things just didn't go down that way.

So, for those that are still around, know that we're still around.  Hopefully we'll have something to post here soon.  :)