Chronicling the cleanup and restoration of our house and property in northern Michigan

Chronicling the cleanup and restoration of our house and property in northern Michigan
_____________________________________________________________________________________________________________
Showing posts with label home improvement. Show all posts

Sunday, April 13, 2014

Third Quarter Finished!

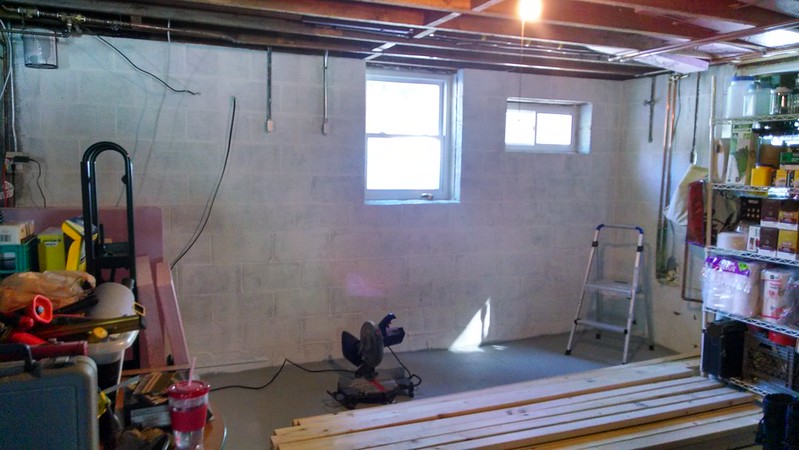
Our last update on the basement had one of the two walls in the third quarter of the basement insulated.  It looked like this here...


I've been able to make some pretty good progress the past two weekends.  The wall you see above is now fully framed.  The rack you see to the right in this picture is four foot wide, and full of canning supplies and canned goods...and there is another one to the right of it, just as loaded.  Those have been moved to the wall above, making way for me to dive into the other wall.  Man, am I glad we had the foresight to buy wheeled shelving.

I had to tackle more than just the framing on the second wall.  First, since I would be working by the boiler pipes and I was tired of burning my arm on them, I bought enough pipe insulation to cover all of the boiler pipes.  I also covered the main line coming in from the well, because in the summer with the humidity up this pipe would sweat and drip water on the floor.  Problem solved!

Boiler feed and return lines on the left.  Well pump supply line on the right.
Ever since getting the boiler we've had a problem with our bedroom above the boiler pipes being too warm.  That's especially true this time of year, when the weather is warming up and the house remains naturally warmer at night.  The water coming in from the wood fired boiler is an average 170 degrees, and with the majority of the horizontal lines running along the basement ceiling directly under our bedroom, that heat was radiating up through the floor and making it just a bit too toasty.  In addition to the pipes you see in the picture, all of the pipes running horizontally across the ceiling are now also wrapped.  The difference has been immediately noticeable.

I also had to remove and cap a water line running to an outdoor spigot.  As I've mentioned previously, I'll be running new hot and cold lines to a new hot/cold outdoor faucet.  Seriously...I am way too stoked about having a faucet with hot water outside.  :)  As you can see in the pic above, by this point I also had the wall fully insulated.

With all of the above done, there was nothing left to do but start on the framing.  I started on it and finished it today.  :)  Check it out.
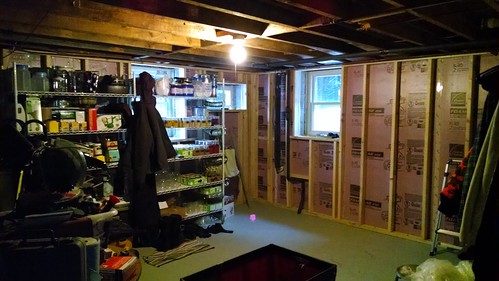


The boiler and water pipes will run along the outside of the drywall.  I'll be making a small bulkhead/closet in that corner, to cover the pipes and still give access to the main well pump shutoff valve.  I really had to play with the spacing of the studs, to maintain 16" on center and still have them fall where the pipes weren't.

I had considered running all new lines to contain them within the wall.  That thought was very brief...like milliseconds.    Seriously, those lines represent our heat and our water supply.  With me, plumbing projects always end up taking far longer than anticipated, and costing far more than budgeted.  We'd have been freezing, thirsty, stinky, and broke if I hadn't opted for the bulkhead/closet.  ;)

The PVC waste pipe and cleanout you see on the right in the lower picture will be in a yet-to-be-built good sized closet.  We thought about just enclosing that and some other existing plumbing in that area in a bulkhead, but we could really use the storage space.  So, a closet it is!

The next section I'll be framing is far and away the most difficult.  I'll have several large obstacles to deal with...like a washer, a dryer, a chest freezer, a sink, a circuit panel, and more plumbing and electric attached to the walls.  All of this is why I chose to do this section last.  I'm going to need everything I've learned so far to keep me from completely mucking it up.

It sure does feel good to be making some progress!  :)

Until next time...

Monday, March 31, 2014

What's this...an update?! You bet it is!!!

Finally!  I am finally getting back to work on the seemingly never ending basement finishing project.  It's been long enough that a quick review of the project to-date is probably in order.  Our home is roughly 30' x 30', and has an unfinished basement.  It's more a partially buried foundation than a basement really, being only about 25% below grade and having five full size double hung windows.

We're actively using the space, so I've been working on one quarter at a time.  To date, in half of the basement, I have removed all of the old baseboard heat registers, removed and re-routed all electrical conduit and boxes that were mounted to the walls, sealed all of the holes in the walls from the removed electrical conduit and boxes as well as any cracks in the mortar, painted the walls with Dry Lok and the floor with concrete floor paint, insulated the exterior walls with 2" rigid foam insulation, and framed the exterior walls.  Below is the second quarter of the basement, with all of the above completed.


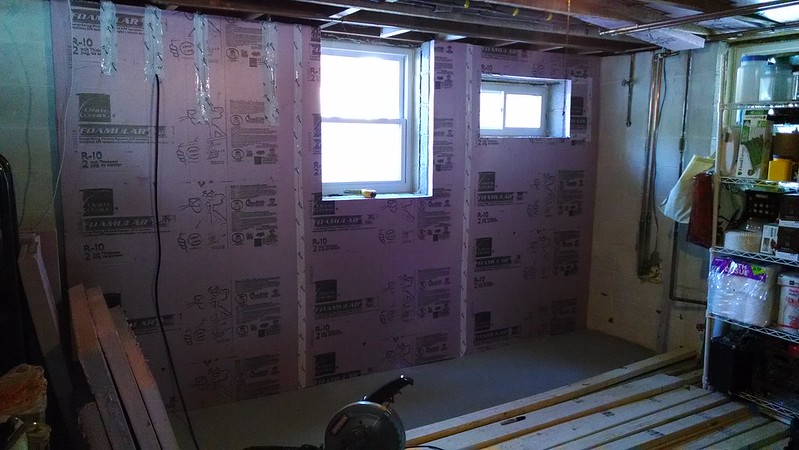
I'm well into the third quarter of the basement, and prior to this weekend I had done everything needed to get me to the point of insulation and framing.  Yesterday, on one of the two walls in that section, I added blocking at the top of the foundation wall to attach the top plate for the new wall, and installed the insulation.  I was hoping to get the framing done, but the insulation took longer than I anticipated.  I had to cut around two windows, two electrical conduit runs (providing power through the exterior wall and out to the well pump and barns), and an antenna cable.

Here are the requisite before and after shots of the space.

Before
After
I'll be framing out this section of wall then moving to the wall on the right.  I have some plumbing to reroute on that wall, but nothing too drastic.  I've already moved the main line coming in from the well pump to get it off the wall.  I now only need to cut and cap a line for an outdoor water spigot.  After framing I'll be replacing that spigot with a faucet with both hot & cold, fed from supply lines that used to feed to a sink located in the master bedroom.  Yes...a sink...in the master bedroom.  No complaints here, because I now have hot and cold supply lines with shutoff valves all ready to go, and I just need to tie into them to have hot and cold water outside.  Want to wash a car and need hot water?  No more going into the house to fill up that bucket.  :)

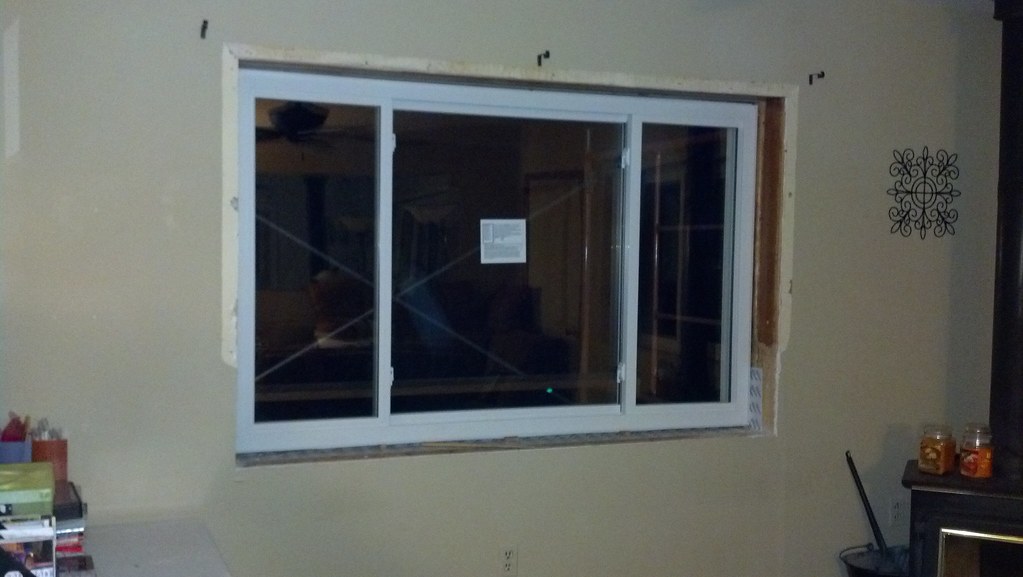
That odd, small window on the right in the picture was originally a metal door/chute for tossing in firewood for a wood stove.  The wood stove in the basement is long gone, and now so is the metal door...which was a major source of cold air intrusion.  I had considered bricking in the hole, but having the window installers slip a slider window in there saved me some labor and gives us just that much more natural light into the space.  It adds a cool little framing challenge for me, too.  One good decision I made with this project was assessing the difficulty of each section, and then starting with the easiest and working towards the hardest.  Now that I'm getting into the far more difficult half of the basement I have a bit more confidence from the experience gained in the first half.  :)

More to follow...and soon, I hope.


Sunday, December 8, 2013

Changing Plans and Tackling A New Room

We really thought we had nailed down our main winter project, but we've decided now to put the basement project on hold for a little longer.  With our son Michael leaving soon I no longer need to build a home office.  Instead we're going to use the second upstairs bedroom as my office, with a queen sized futon also in there for whenever we need a room for guests.  For those that might not know, our house (not counting the basement) is only 700 square feet.  We truly can't afford to have any unused or barely used rooms, so the spare bedroom as a dual-use space makes great sense.  We're still noodling around with how we want to reconfigure our basement plan, but it's looking like it'll be significantly simplified.

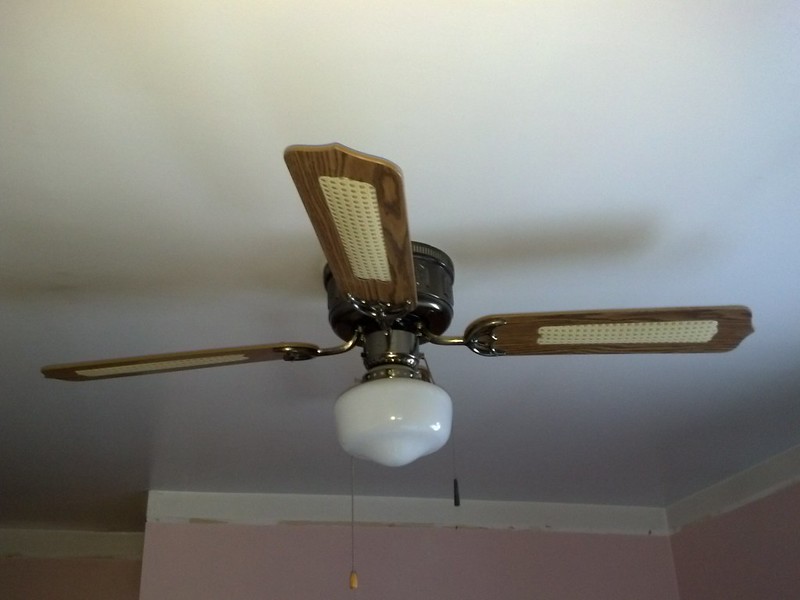
So, with no set plans for the basement, what room should we tackle now?  If you said master bedroom...DING, DING, DING...we have a winner!  I knocked two things off the project list this weekend...painting the ceiling, and removing and replacing the old ceiling fan.  The previous owner was a HUGE fan (no pun intended) of gloss paint...everywhere...including the ceiling.  Here are a few "before" pics.

We're not overly fond of the 80's vintage ceiling fan.  It's got to GO!
Check out the shine on that ceiling!
As you can see from the above pic, the ceiling had one heckuva shine to it with that gloss paint.  It also had a gray cast to it.  We're fairly certain this is the original paint from when the house was built in the 80's.  That gray cast is about thirty years of wood stove soot that we couldn't scrub out, even using TSP.  You can also see where I removed the old fan, then removed the light fixture from it and wired it back in to give myself some light while painting.  We went with a flat white paint for the ceiling.  Clean and simple.  We've picked out the color for the walls, but we're going to make y'all wait to see it until after we're done.  Neener. ;)  One thing is certain.  It won't be anything remotely like the pink walls you see in the pics.  :)

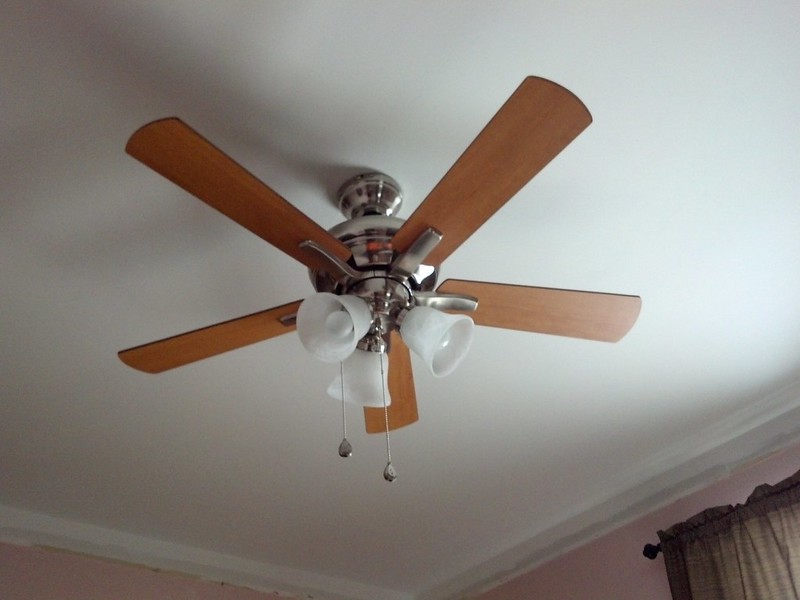
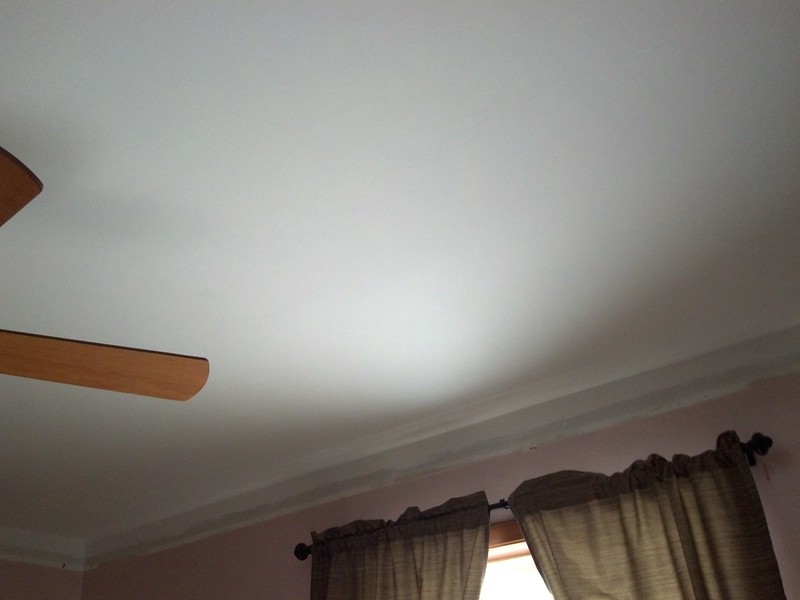
Here is the finished product, after some minor sanding, two coats of flat white paint, and a new fan/light installed.

Harbor Breeze, Lansing model, purchased at  Lowes
No more shiny!
We chose this ceiling fan because it matched up real well with the night stands and bedside lamps we already have.  It should also go very nicely with the cork flooring we'll eventually be laying down.

I know that it's nothing earth shattering as projects go, but its impact will be felt daily.  Perhaps starting off with a smaller project is the best way to ease back into this.  That might be the right of it, because it feels very good to be back.  :)

Thanks for reading.  Until next time.  :)

Sunday, June 2, 2013

It's all good, and then some...

Well, how about that.  It's only been two months since our last update.  That's an improvement...right?  :)

We've been living up here at Shangri La now for a little over a year and a half.  That's not a ton of time, but it's long enough to know whether this move was a good or bad idea.  Remember, this move wasn't about leaving our home in Ohio.  It was about moving here.  Had we had a bad experience in Ohio we could have called this a success right out of the gate...right?  There are things, and most definitely people, we miss in Ohio.  Shelly and I have talked at length, though, and we both agree that the positives for us far outweigh the negatives.  This move has been, and is, a good thing for us.


We're well into spring, and we've been continuing to tackle smaller, but needed, projects.  That is, when we're not dodging raindrops and high winds.  It is most definitely spring in northern Michigan.  Tightening our belts has paid off, and we managed to pay off quite a bit.  We're on much more solid financial footing, and are beginning again to think about tackling some of our larger projects.  Before talking about any of that, let's get caught up on what we've been doing around here.

One of the things we needed to pay down was the purchase and installation of new windows.  Between last fall and this spring we had new windows installed throughout the house and basement.  We had a combination of metal framed casement, wood, and old vinyl, with the latter being very poorly installed.  We now have vinyl insulated throughout the entire house, and the difference has been nothing short of astounding.  You may recall that I had to rip out all of the baseboard heat in the basement for the finishing project.  That leaves the pipes coming into the house from the wood fired boiler as the sole source of heat down there.  With just that for heat the basement remained between 60-65° throughout the winter.  Before the new windows the basement saw winter time temps between 40-45°, so the windows were definitely a good investment.


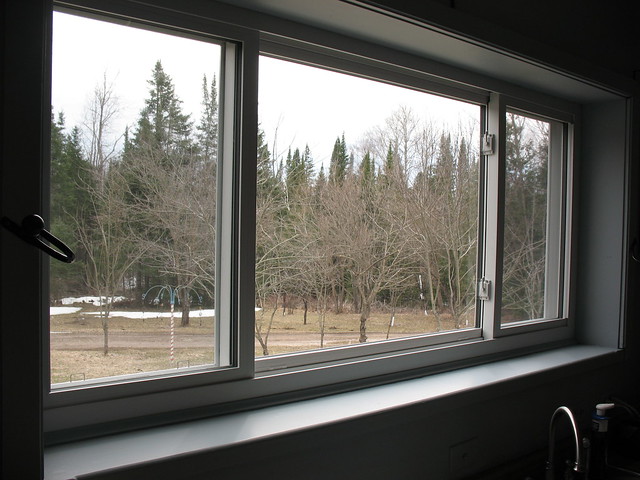
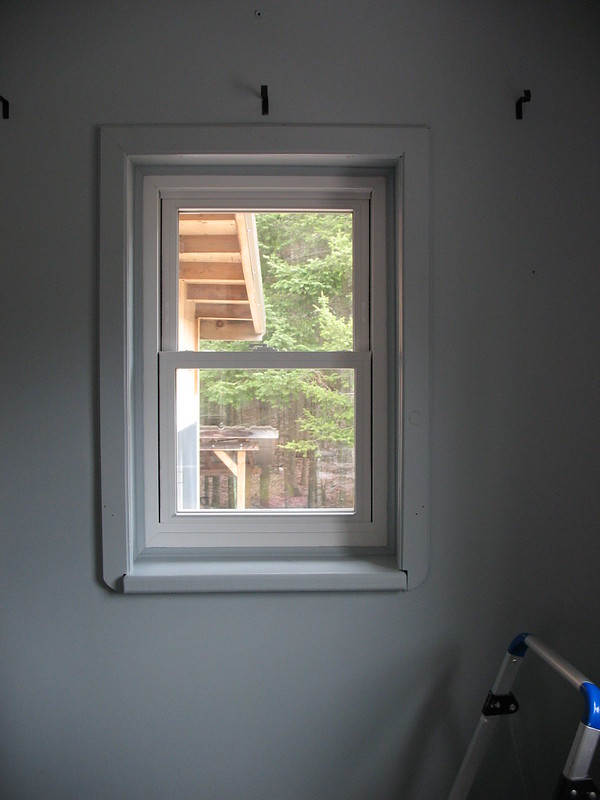
After the installation of the new windows the wood trim needed attention.  Shelly puttied, sanded and painted the trim in the rooms we've already finished.  The difference is stunning.  I always believed that window trim should be a different color than the walls, and stand out.  Shelly has convinced me otherwise.  She painted the trim the same color as the walls, making the view outside the focal point.  I freely admit it...Shelly was right, and I was wrong.  :)

Before
After
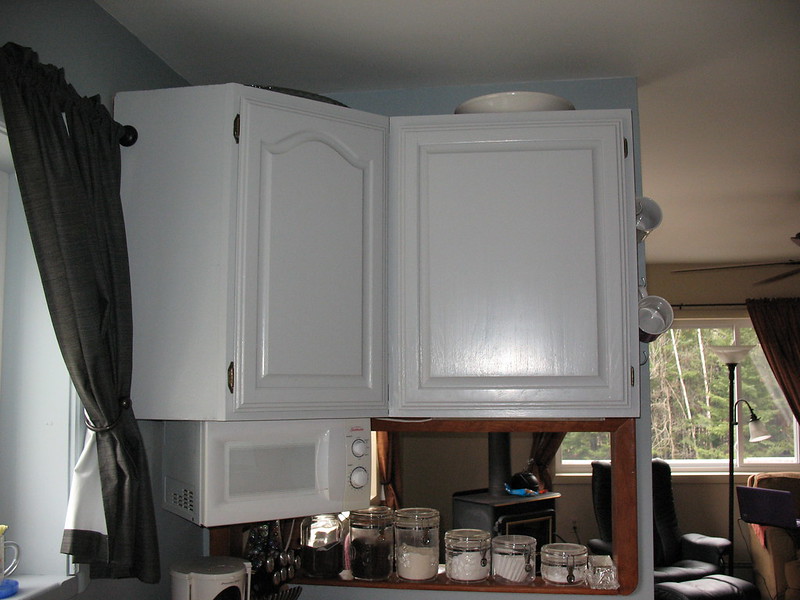
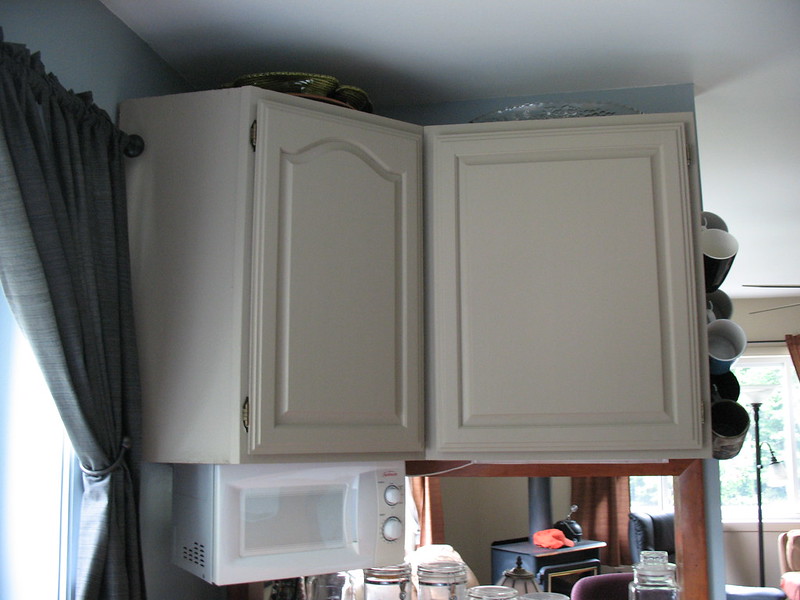
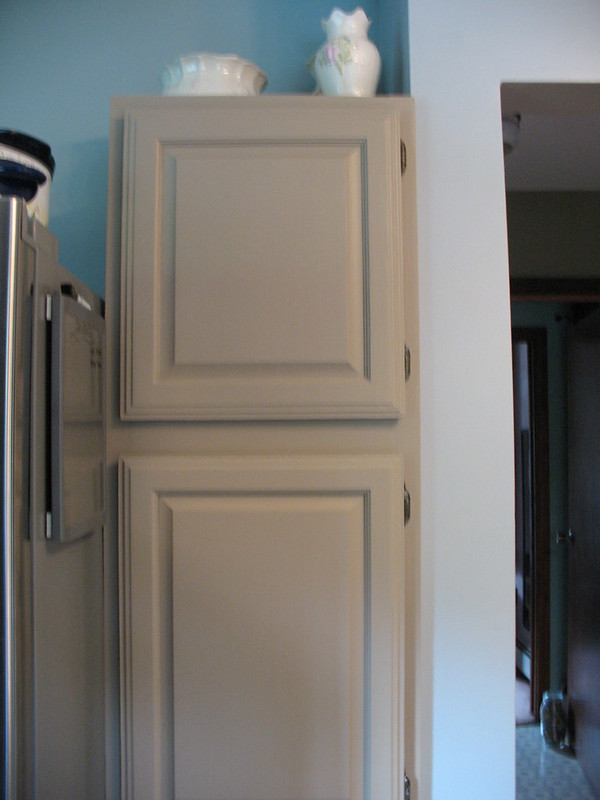
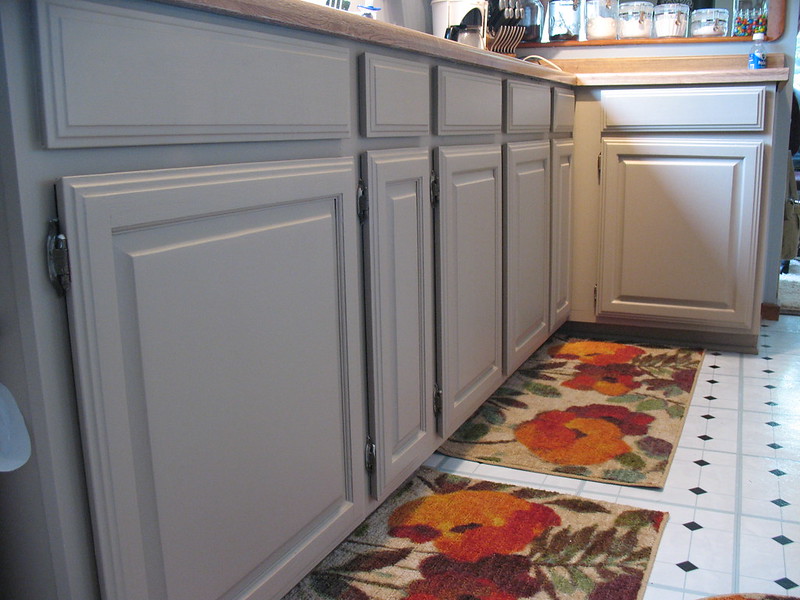
Shelly also painted the kitchen cupboards...twice.  The first color she chose was too close to the color of the walls, and it looked a bit too washed out.  Window trim blending in with the walls = good thing.  Cupboards, not so much.  The second coat looks fantastic.

First paint job


Second paint job


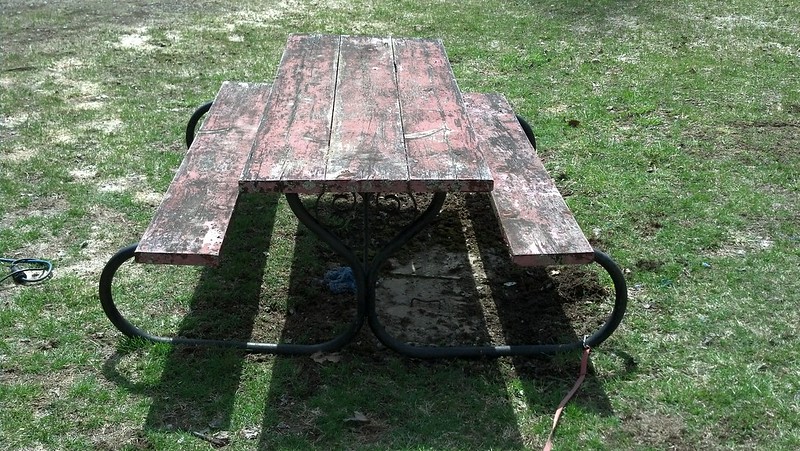
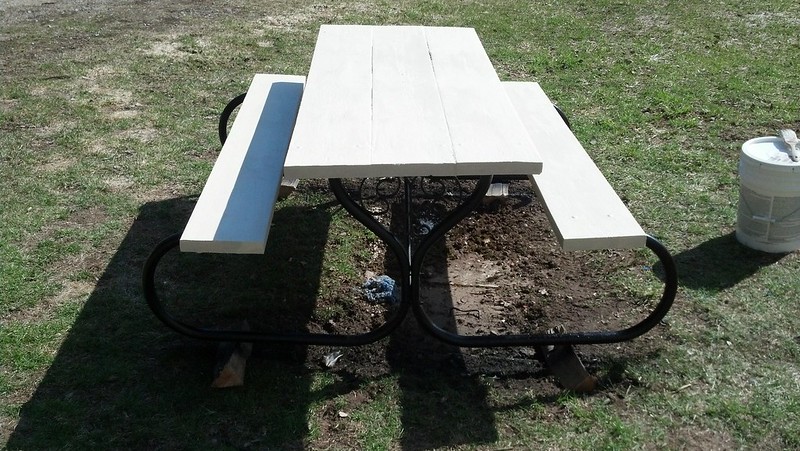
We have an older picnic table that had seen better days.  The wood planks were really showing their wear, with most of the paint flaking or completely gone.  I took the belt sander to the benches and the table top and wire brushed the metal frame.  I then painted the table top and benches with some Dry Lok from the basement project, and gave the metal frame a good coating of Rustoleum.  I had all of the materials on hand for this job, so this was a nice return on a free project.

Before
After
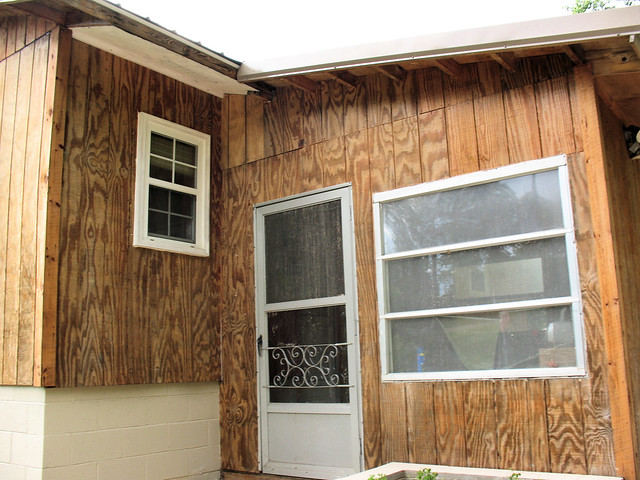
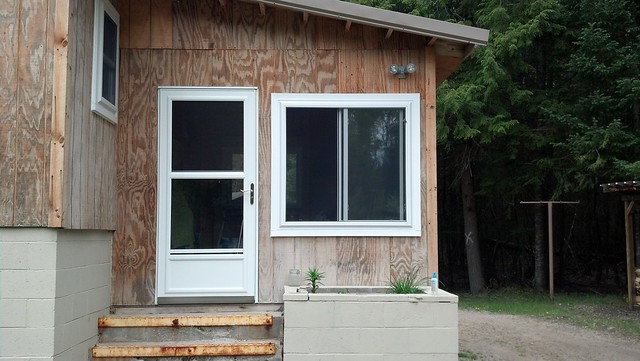
Our enclosed back porch is our primary entrance.  The storm door was a simple, old aluminum storm door, and as first impressions go we certainly could do better.  We installed a swanky new door with a retractable screen.  We also changed up the door so that it opens from the opposite direction.  We had replaced a door in Ohio with something similar, but the job then was far simpler.  Since then the manufacturers have stopped making left and right opening doors.  They now make one door and put the responsibility of making it left or right opening on the installer.  It's sad, really.  They're not charging any less for the door, yet they're giving the consumer far less.  Oh, well.  It turned out well, and we're happy with the look and feel of it.  

Before - Old aluminum door and old windows
After - New door and new window.  The steps will be the next
thing to get done.  We've already started on them.  ;)
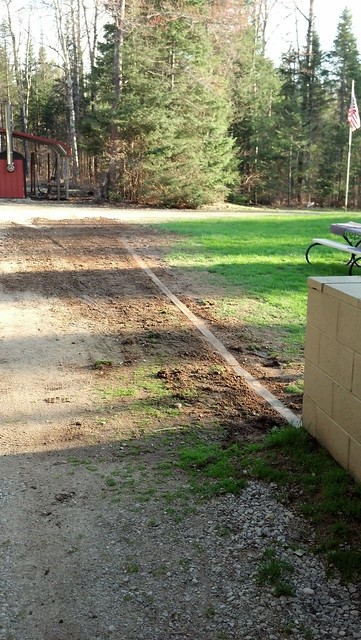
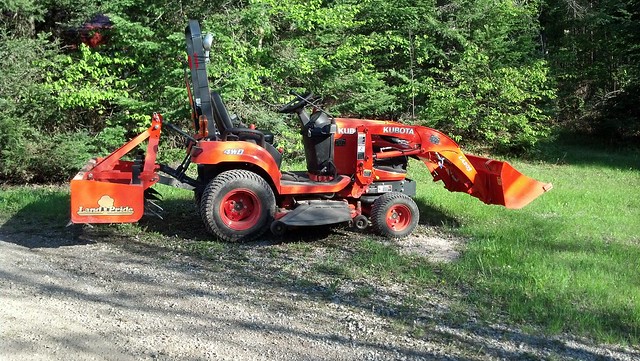
The yard close to the house, where it meets the driveway, was a bit too undefined for my taste.  I wanted to install some type of border to better separate the yard from the gravel drive, but I also needed it to be flush with the ground so that I wouldn't catch the plow on it in the winter time.  I wound up using 4"x4" treated lumber.  The front end loader on the Kubota made quick work of the needed trench.  I'm pretty darn happy with how it turned out.  Another nice return on a free project.


Separate from the house, we've been working on our fruit trees and our garden.  I posted previously on pruning the fruit trees, and they're coming along nicely.  The tree with the pink blossoms is an ornamental crab apple tree.  I was fearful that after aggressively pruning it this winter that it wouldn't come back.  It not only came back...it's thriving.  


We're working on a garden again for this year.  We learned several things from last year's failed garden.  First and foremost, we SERIOUSLY downsized for this year.  Boy, did we get overzealous last year.  We started this year by laying a dark tarp down for over a month, to try to kill off the grass before tilling.  Our garden last year was about five times the size of what you see here, and last year we tilled the grass and weeds right into the soil.  It seems obvious now, the things we did wrong, but last year we didn't even know what we didn't know.  We're learning.  :)


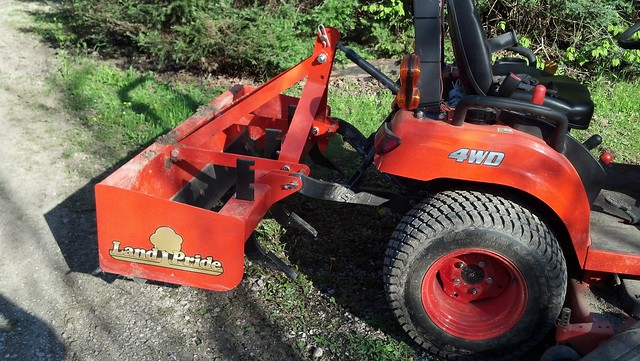
We recently did make one larger purchase.  We needed to be able to maintain our 1/8 of a mile driveway.  I have been hunting for a good deal on a box blade, to mount to the three point hitch on the tractor.  We got to the point with the driveway that waiting for a good deal was no longer possible.  The ruts and potholes were getting away from us.  We did our research, and bought a 54" Land Pride box blade.  We have absolutely no buyer's remorse.  This is the exact tool that we needed.  With just several passes, the driveway was smooth, and rut and pothole free.  It also brought quite a bit of gravel back to the surface.  We were ready to have a sizable load of gravel brought in.  We'll still need some, but now just for spot fill.  


There are a bunch more pictures of the work we've done.  If you'd like to see them click on our Pictures & Video page, then click on "February 2009 to Present" under Picture Archive.  You'll be taken to our Shangri La photo album on Flickr.  :)

That's pretty much it for this installment.    We have a few other things we're working on, but I'll save those for a later installment.  Until next time!

Saturday, January 19, 2013

Blog of eternal stench Part II...Project Complete

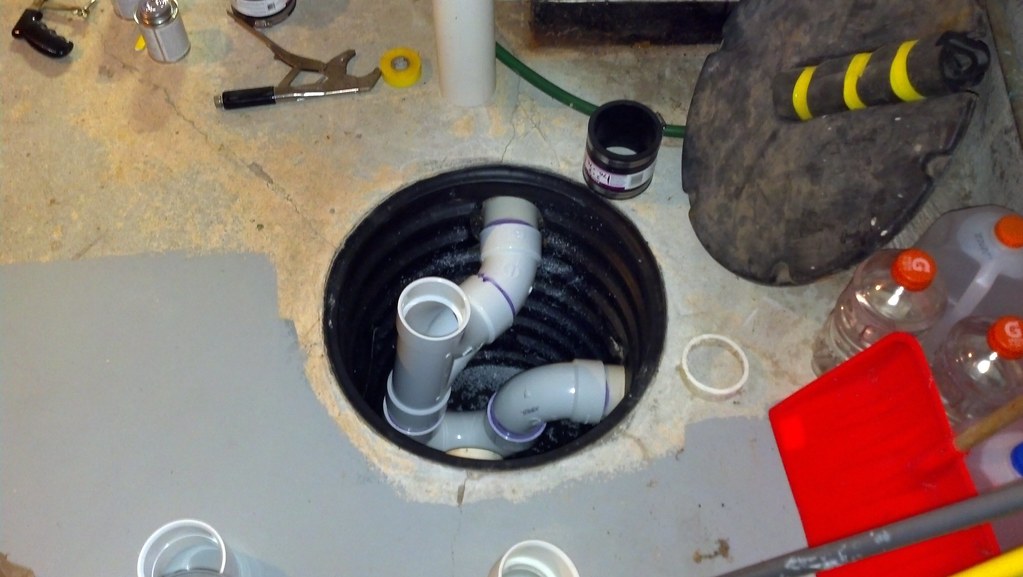
I was able to finish up the Blog of eternal stench... project today, completing the plumbing to bypass the basement cistern.  I had to make a judgement call on one of the two floor drain lines.  One of the drains is perfectly placed in the laundry area.  The second drain is in the middle of the floor, sitting uselessly in our workout area under rubber jigsaw-type floor tiles.  I didn't have enough room in the cistern to plumb everything in 3" PVC with that drain line tied in, and I really wanted to keep everything at 3".  I figure the larger the diameter of the drain the fewer issues I'll have with clogs.  I despise clogs.  Decision made...the one floor drain in the laundry area is all we need.
Here is the finished product on the plumbing.


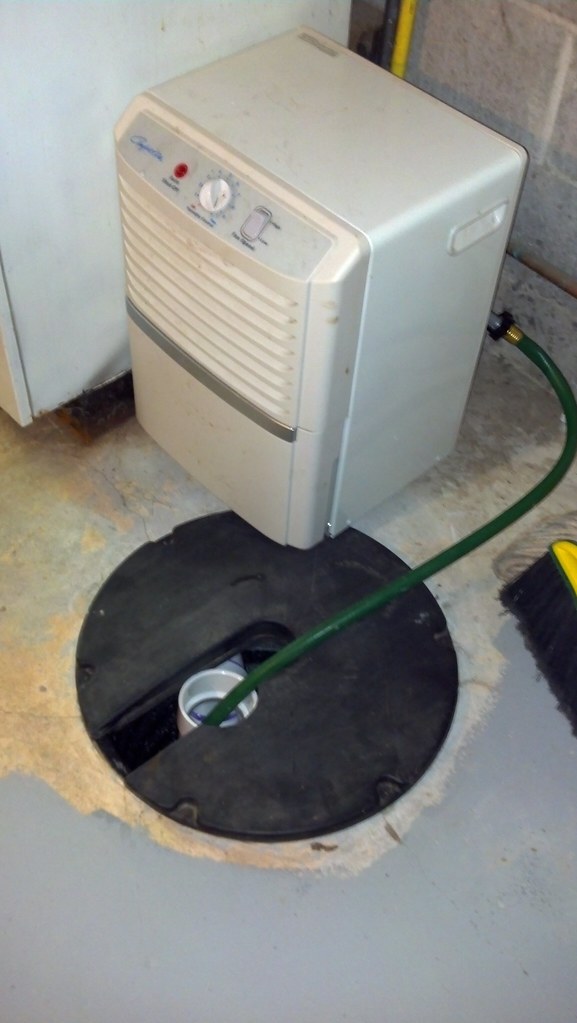
I went with a tee to give me an easily accessible cleanout, which will also double as a drainage point for the dehumidifier.  Here's the finished product.


I really couldn't be happier with how this project turned out.  No more standing water...no more freezing cold air jetting out of the drain pipe...and NO MORE STENCH.

Until next time.  :)

Saturday, December 8, 2012

Regular blog updates? Yeah, we suck at that.

From what I've seen of the blogs I follow, one of the things they do consistently different than we do...they actually update their blogs more than three times a year.    So, do we step up our game, or do we reconcile ourselves to the fact that we truly suck at blogging?  I'm not prepared to commit one way or the other just yet, but lately we're sure leaning toward suckage.

In an effort to correct our downward slide, I'm going to try to catch us up.  Let's see...when was the last update.  July?!!!  Crap.

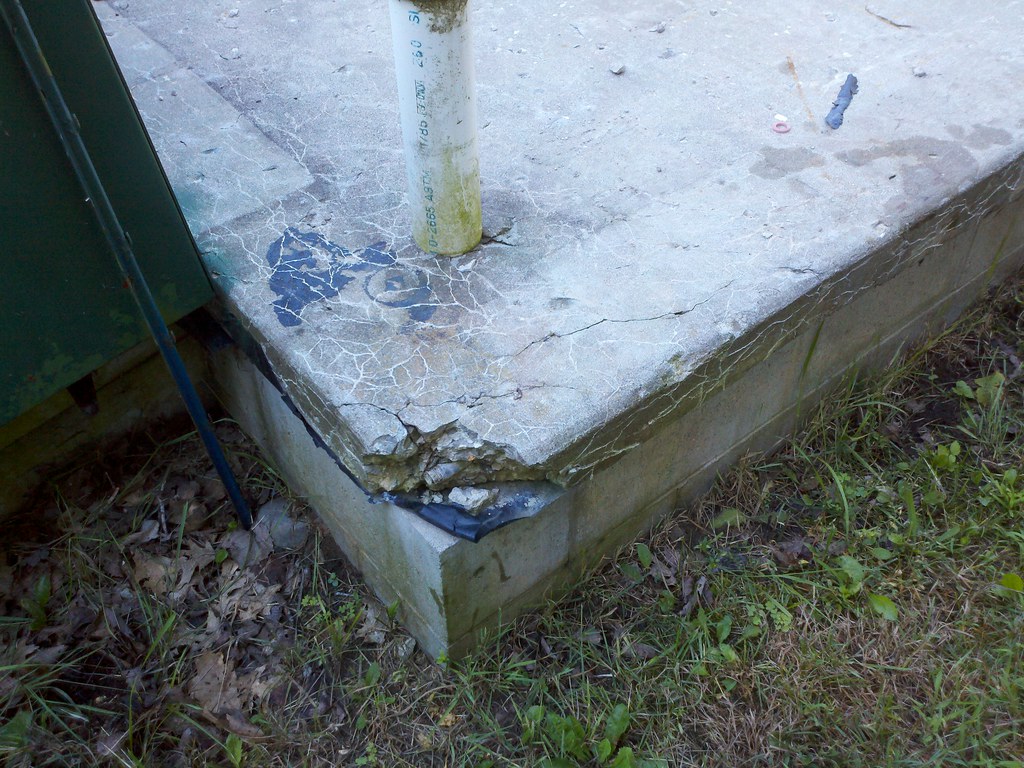
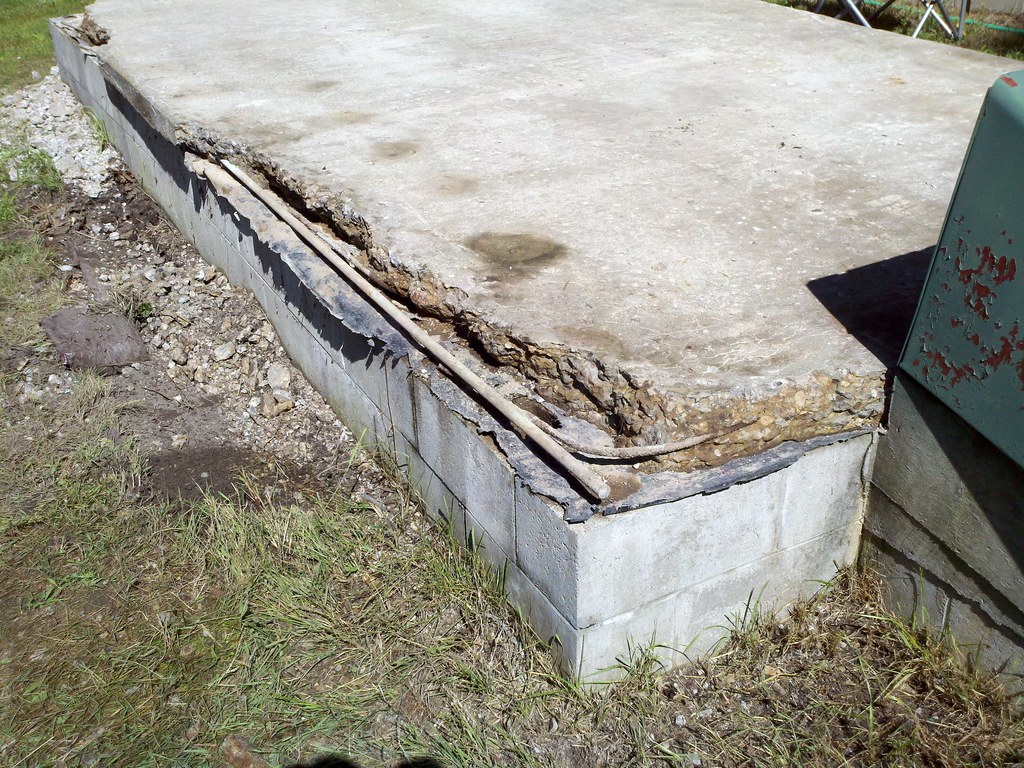
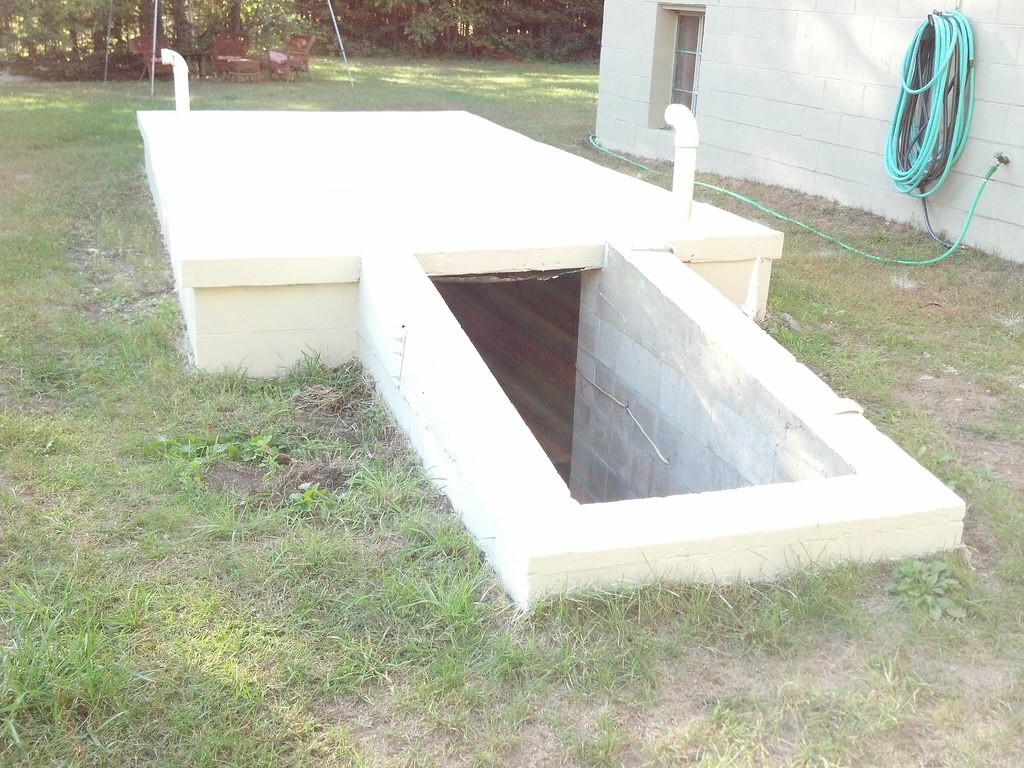
The roof of our root cellar was in need of some work, so BACK IN JULY we tore into it...literally.  It's a concrete roof, and it was deteriorating badly at the corners. We started by chiseling until we made it back to solid concrete.  This also exposed the re-rod, which we needed to do to effectively tie the new concrete to the old.  Here are some shots of the before and during the chiseling.  This is our first ever concrete project, so if any of you know the proper way to do this...well, please don't be overly critical.  We were winging it.  :)


This is what the above corner looked like as well, before chiseling.

Finally done chiseling down to solid concrete.
Forms for the new concrete.
Freshly poured concrete.
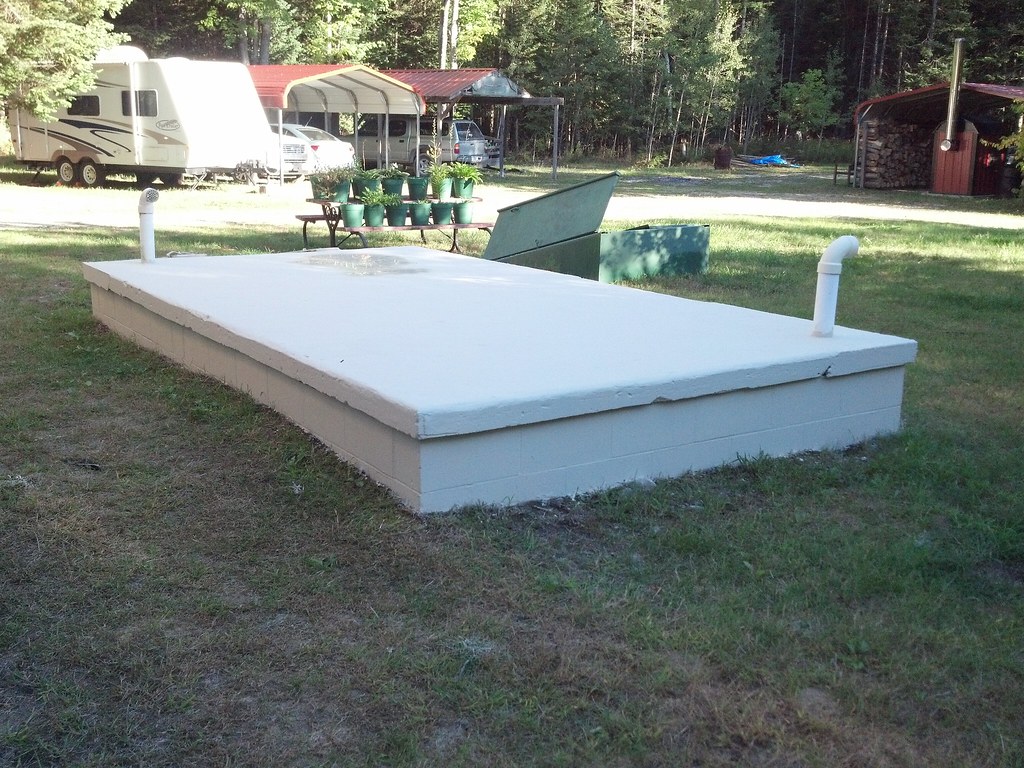
After allowing the concrete to cure for over a month, we painted the entire cellar with Dry Lok.  Here is the finished product.


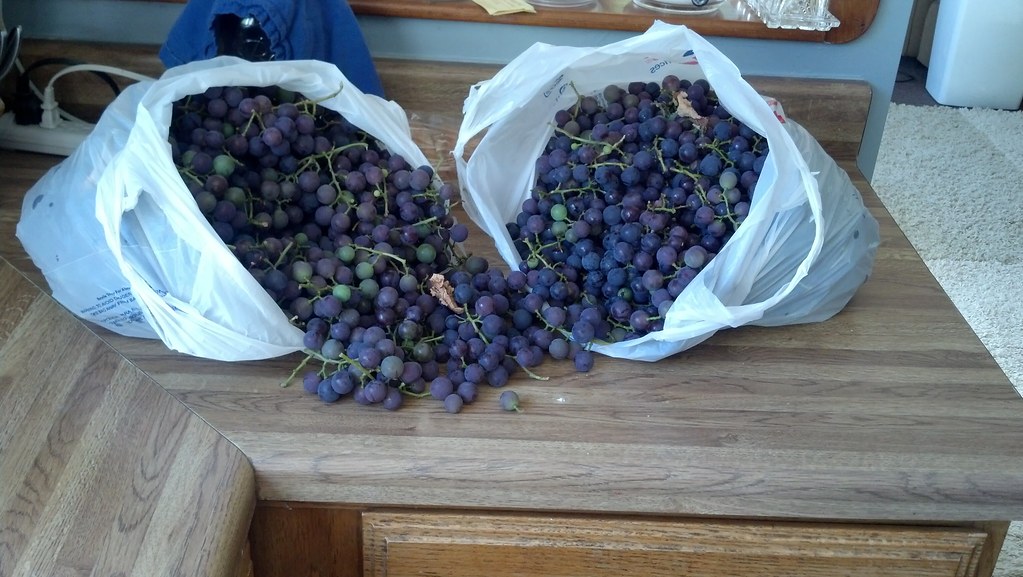
Below is a picture of our grape harvest.  We have two nice sized vines, but only one of them produced this year.  The weird weather this year wreaked havoc on our fruit harvest.  We were pretty disappointed when our apple and pear trees produced absolutely nothing.  Shelly was able to make some flippin' awesome grape jelly from the grapes we did manage to harvest, and she made some equally awesome apple jelly with apples from a local orchard.


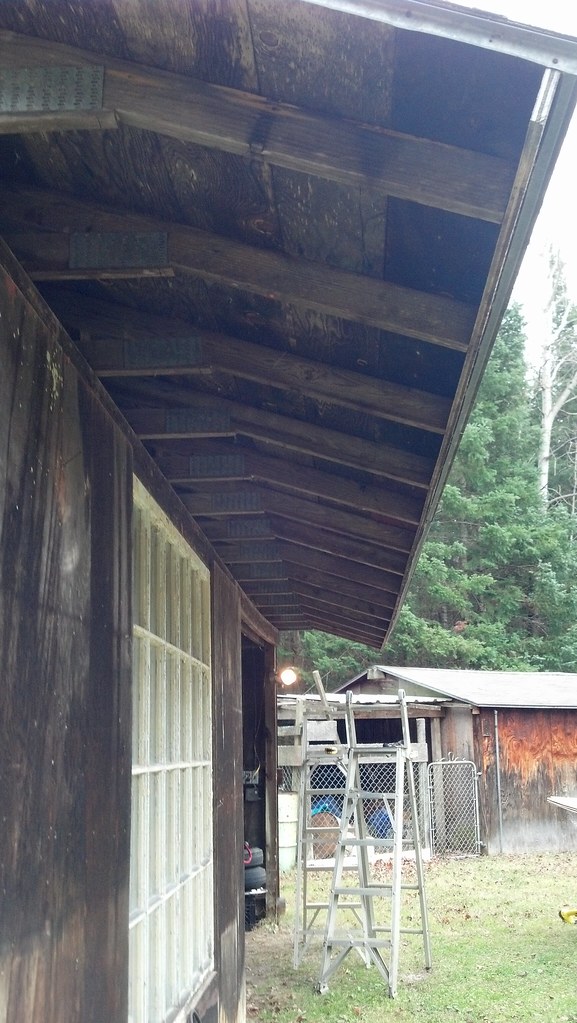
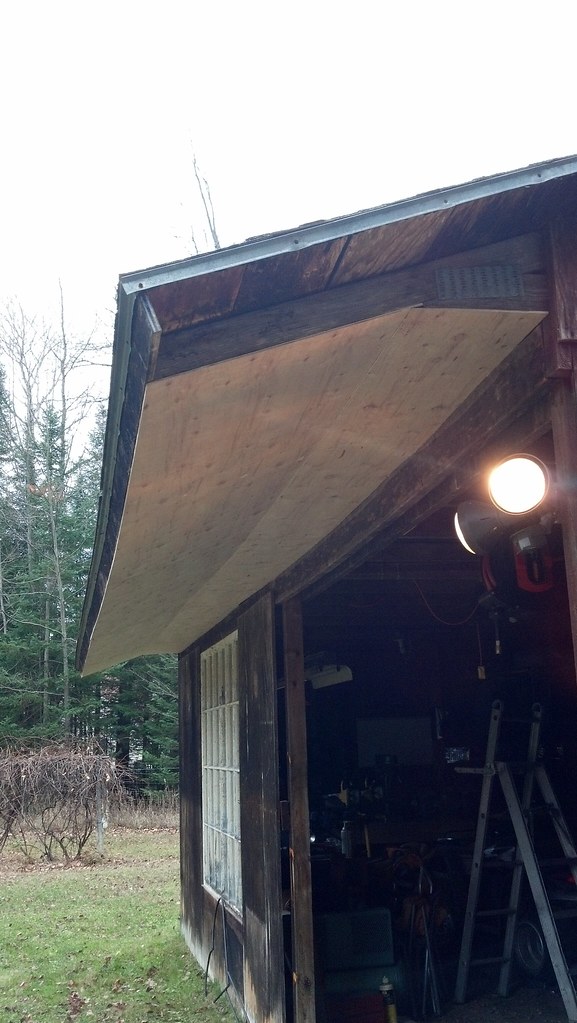
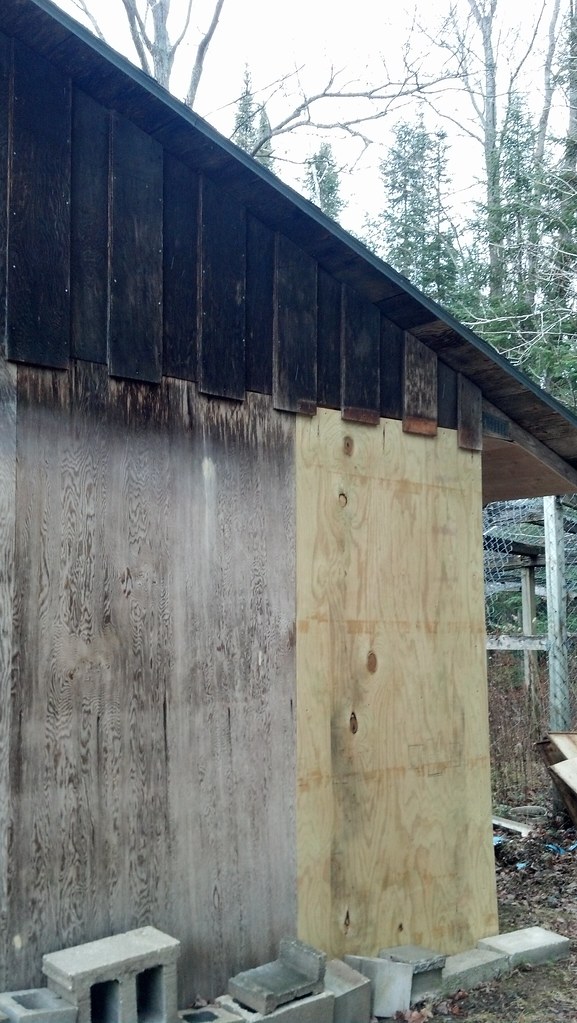
November was a busy month around here.  We had new windows installed, I did some work on our deer blind, we cut and stacked about five cord of firewood, and accomplished some much needed work on the larger barn.

One of two new living room windows.  We had the openings enlarged
on both windows, lowering the sills.  You can see where the old trim was
and where it ended on the bottom.  This was immediately after installation.
They're now trimmed out and painted.  The difference is stunning.
We're now able to look out at our woods while sitting on the couch.
Before we had to stand up.  :p
The wood siding was beginning to de-laminate, and there was a pile
of vinyl siding lying in the woods by the blind.  Soooo...I bought
the trim and vinyl sided the blind!  I also primed and painted the
scaffolding, and added the corner bracing you see on the wooden
vertical support.
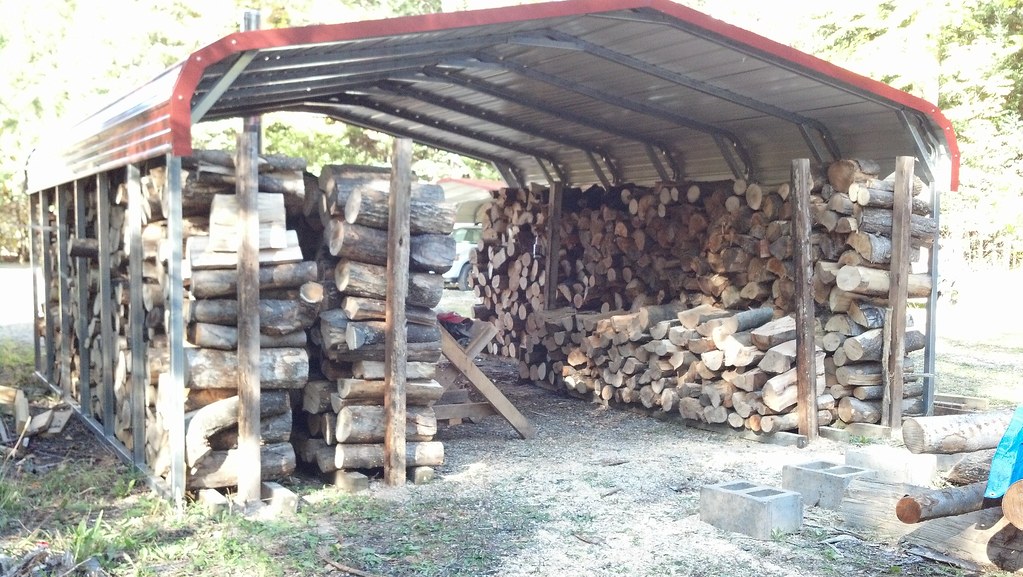
On our way to having six cords put back for the heating season.
Barn soffit - Before
Barn soffit - After
Trim added.  I ripped this from lumber that was laying around.
This corner of the barn was never completed, with small
pieces slapped up and large areas opened to wind and weather.
It feels good to have that done!
This is the header over the door.  This spans 11 feet, and
before working on it, it was just two 2x6's.  I was able to sledge
hammer the 4x4 between the two 2x6's, and nail it in place.
With the long doorway span and the inadequate structure with the 2x6's,
the roof was beginning to sag quite a bit.  This shored it up considerably.
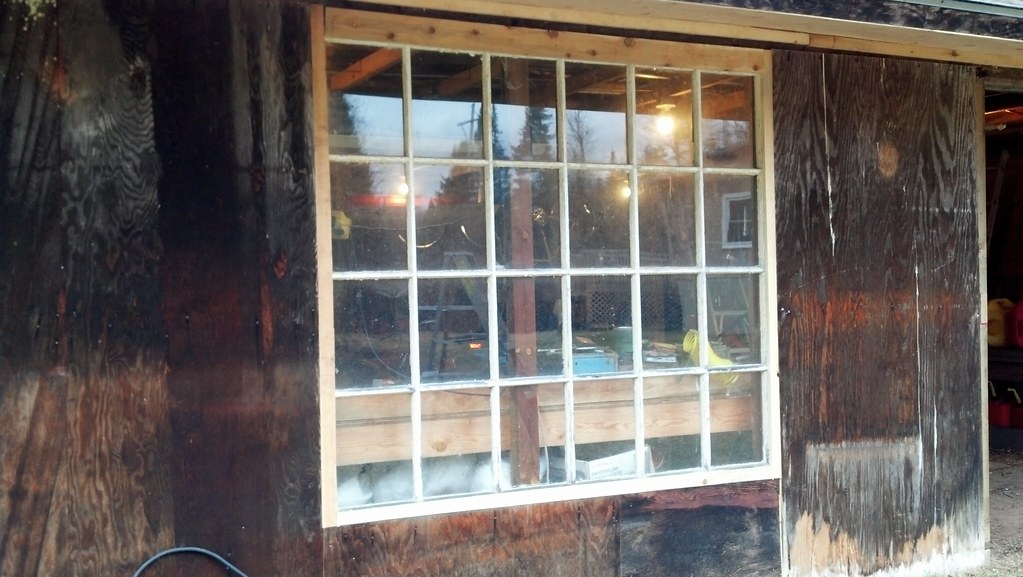
There were some large gaps around the window.  I trimmed it out
to fill the gaps, and to beef up the structure.
A shot showing all of the improvements.  Now, I just need a door!
Those are all of the pictures I could find for what we did.  Shelly did quite a bit of painting, in the entryway and in the living room after the installation of the new windows.  We also installed new light switches in the entryway, as part of our commitment to ourselves to check and upgrade the electrical as part of every project.  I'll get some pictures posted in a day or so, showing all of the new windows and Shelly's work on the interior.

The basement project has been on hold for the summer.  We figured it best to tackle outdoor projects while we had the weather for it, and move back to the basement when the snow flies.  I'll be diving back down there VERY shortly.  :)

That's all for now.  I'd tell you that I'll post again soon, but I'm not sure any of you would believe me.  Can't say that I'd blame you, of course.  So, until next time...whenever that might be!  ;)