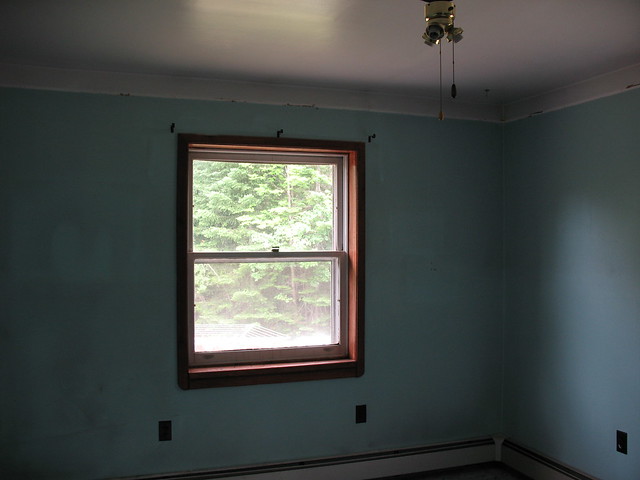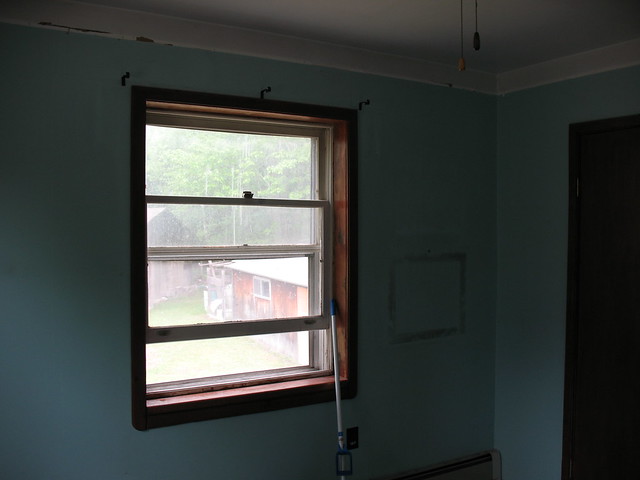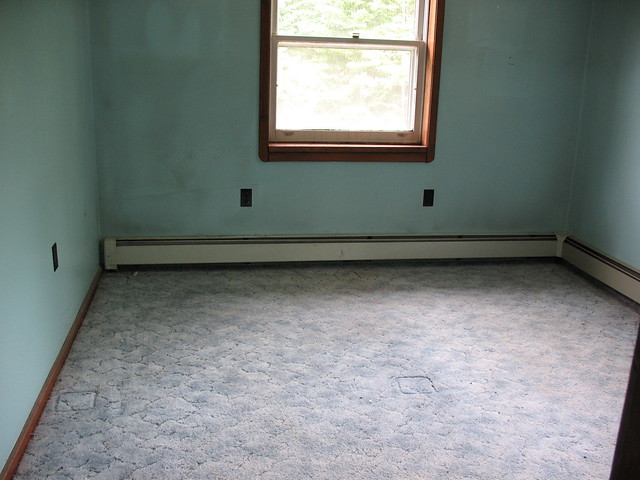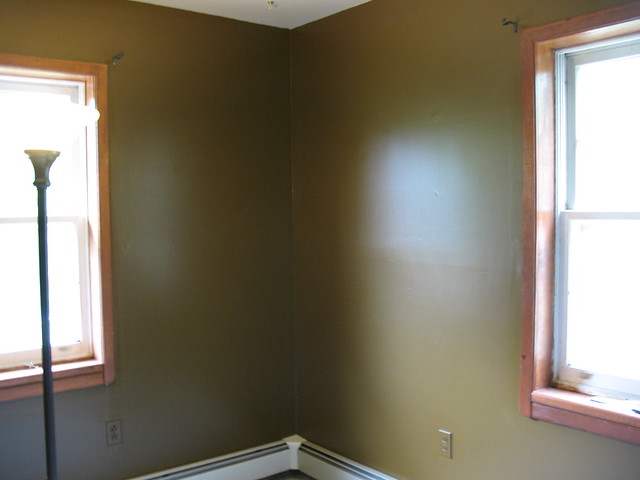
Chronicling the cleanup and restoration of our house and property in northern Michigan

Chronicling the cleanup and restoration of our house and property in northern Michigan
_____________________________________________________________________________________________________________
Showing posts with label basement finishing. Show all posts

Sunday, April 13, 2014

Third Quarter Finished!

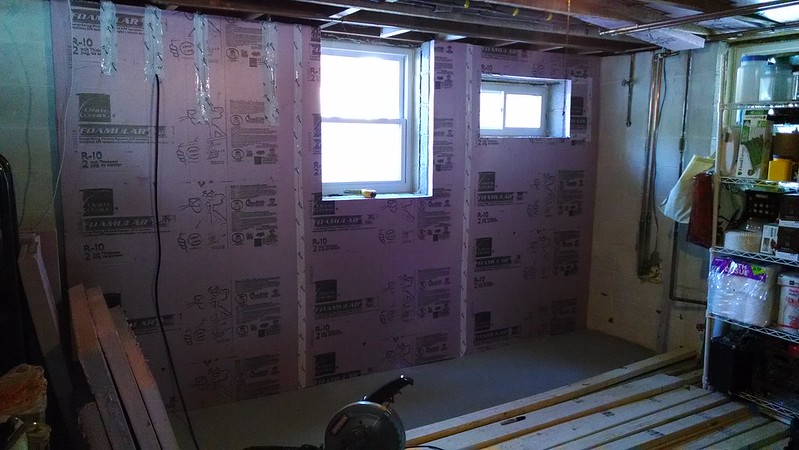
Our last update on the basement had one of the two walls in the third quarter of the basement insulated.  It looked like this here...


I've been able to make some pretty good progress the past two weekends.  The wall you see above is now fully framed.  The rack you see to the right in this picture is four foot wide, and full of canning supplies and canned goods...and there is another one to the right of it, just as loaded.  Those have been moved to the wall above, making way for me to dive into the other wall.  Man, am I glad we had the foresight to buy wheeled shelving.

I had to tackle more than just the framing on the second wall.  First, since I would be working by the boiler pipes and I was tired of burning my arm on them, I bought enough pipe insulation to cover all of the boiler pipes.  I also covered the main line coming in from the well, because in the summer with the humidity up this pipe would sweat and drip water on the floor.  Problem solved!

Boiler feed and return lines on the left.  Well pump supply line on the right.
Ever since getting the boiler we've had a problem with our bedroom above the boiler pipes being too warm.  That's especially true this time of year, when the weather is warming up and the house remains naturally warmer at night.  The water coming in from the wood fired boiler is an average 170 degrees, and with the majority of the horizontal lines running along the basement ceiling directly under our bedroom, that heat was radiating up through the floor and making it just a bit too toasty.  In addition to the pipes you see in the picture, all of the pipes running horizontally across the ceiling are now also wrapped.  The difference has been immediately noticeable.

I also had to remove and cap a water line running to an outdoor spigot.  As I've mentioned previously, I'll be running new hot and cold lines to a new hot/cold outdoor faucet.  Seriously...I am way too stoked about having a faucet with hot water outside.  :)  As you can see in the pic above, by this point I also had the wall fully insulated.

With all of the above done, there was nothing left to do but start on the framing.  I started on it and finished it today.  :)  Check it out.
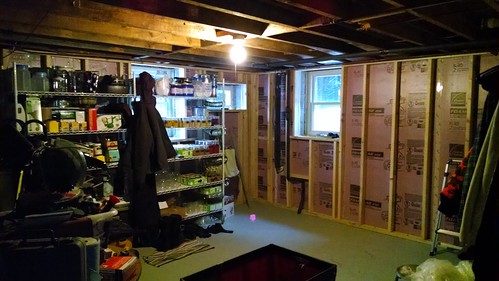


The boiler and water pipes will run along the outside of the drywall.  I'll be making a small bulkhead/closet in that corner, to cover the pipes and still give access to the main well pump shutoff valve.  I really had to play with the spacing of the studs, to maintain 16" on center and still have them fall where the pipes weren't.

I had considered running all new lines to contain them within the wall.  That thought was very brief...like milliseconds.    Seriously, those lines represent our heat and our water supply.  With me, plumbing projects always end up taking far longer than anticipated, and costing far more than budgeted.  We'd have been freezing, thirsty, stinky, and broke if I hadn't opted for the bulkhead/closet.  ;)

The PVC waste pipe and cleanout you see on the right in the lower picture will be in a yet-to-be-built good sized closet.  We thought about just enclosing that and some other existing plumbing in that area in a bulkhead, but we could really use the storage space.  So, a closet it is!

The next section I'll be framing is far and away the most difficult.  I'll have several large obstacles to deal with...like a washer, a dryer, a chest freezer, a sink, a circuit panel, and more plumbing and electric attached to the walls.  All of this is why I chose to do this section last.  I'm going to need everything I've learned so far to keep me from completely mucking it up.

It sure does feel good to be making some progress!  :)

Until next time...

Monday, March 31, 2014

What's this...an update?! You bet it is!!!

Finally!  I am finally getting back to work on the seemingly never ending basement finishing project.  It's been long enough that a quick review of the project to-date is probably in order.  Our home is roughly 30' x 30', and has an unfinished basement.  It's more a partially buried foundation than a basement really, being only about 25% below grade and having five full size double hung windows.

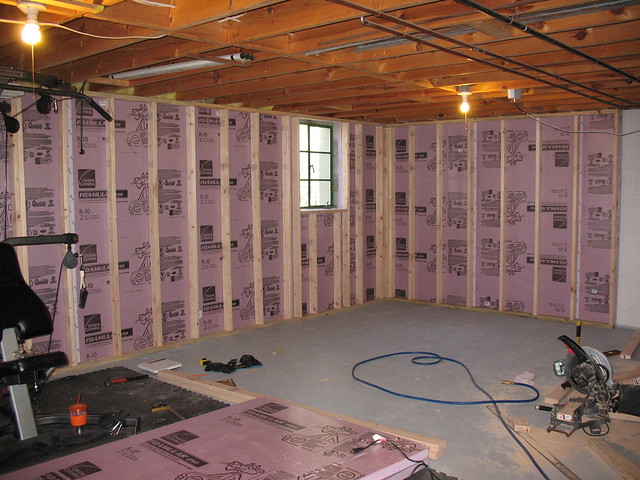
We're actively using the space, so I've been working on one quarter at a time.  To date, in half of the basement, I have removed all of the old baseboard heat registers, removed and re-routed all electrical conduit and boxes that were mounted to the walls, sealed all of the holes in the walls from the removed electrical conduit and boxes as well as any cracks in the mortar, painted the walls with Dry Lok and the floor with concrete floor paint, insulated the exterior walls with 2" rigid foam insulation, and framed the exterior walls.  Below is the second quarter of the basement, with all of the above completed.


I'm well into the third quarter of the basement, and prior to this weekend I had done everything needed to get me to the point of insulation and framing.  Yesterday, on one of the two walls in that section, I added blocking at the top of the foundation wall to attach the top plate for the new wall, and installed the insulation.  I was hoping to get the framing done, but the insulation took longer than I anticipated.  I had to cut around two windows, two electrical conduit runs (providing power through the exterior wall and out to the well pump and barns), and an antenna cable.

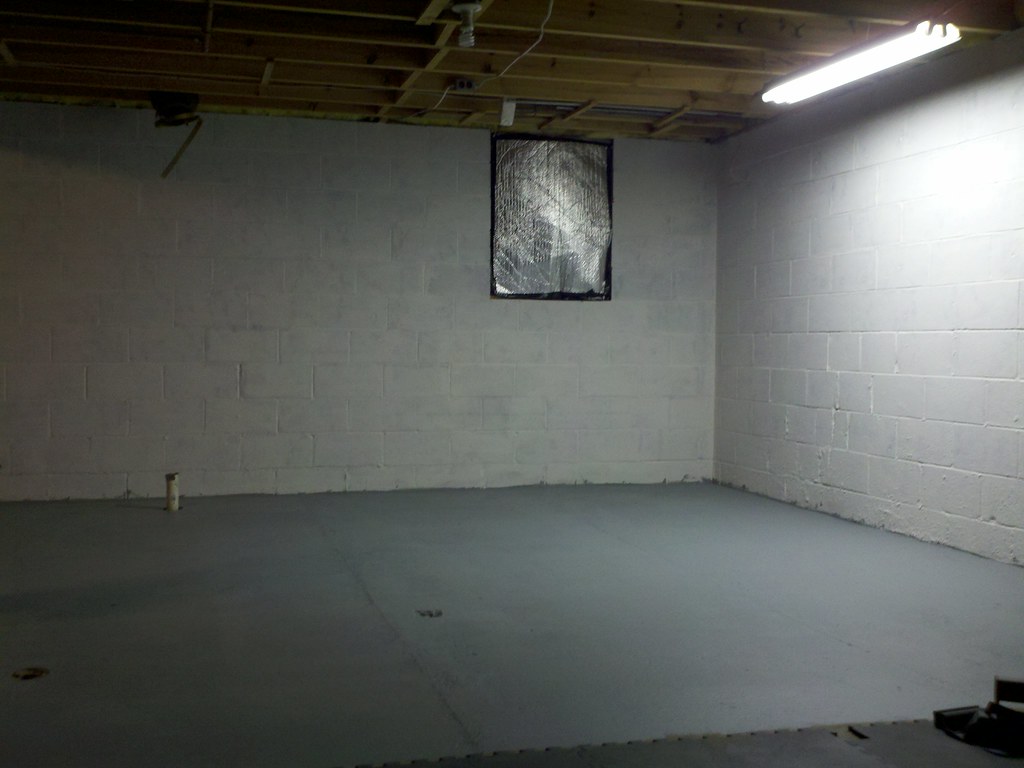
Here are the requisite before and after shots of the space.

Before
After
I'll be framing out this section of wall then moving to the wall on the right.  I have some plumbing to reroute on that wall, but nothing too drastic.  I've already moved the main line coming in from the well pump to get it off the wall.  I now only need to cut and cap a line for an outdoor water spigot.  After framing I'll be replacing that spigot with a faucet with both hot & cold, fed from supply lines that used to feed to a sink located in the master bedroom.  Yes...a sink...in the master bedroom.  No complaints here, because I now have hot and cold supply lines with shutoff valves all ready to go, and I just need to tie into them to have hot and cold water outside.  Want to wash a car and need hot water?  No more going into the house to fill up that bucket.  :)

That odd, small window on the right in the picture was originally a metal door/chute for tossing in firewood for a wood stove.  The wood stove in the basement is long gone, and now so is the metal door...which was a major source of cold air intrusion.  I had considered bricking in the hole, but having the window installers slip a slider window in there saved me some labor and gives us just that much more natural light into the space.  It adds a cool little framing challenge for me, too.  One good decision I made with this project was assessing the difficulty of each section, and then starting with the easiest and working towards the hardest.  Now that I'm getting into the far more difficult half of the basement I have a bit more confidence from the experience gained in the first half.  :)

More to follow...and soon, I hope.


Saturday, January 19, 2013

Blog of eternal stench Part II...Project Complete

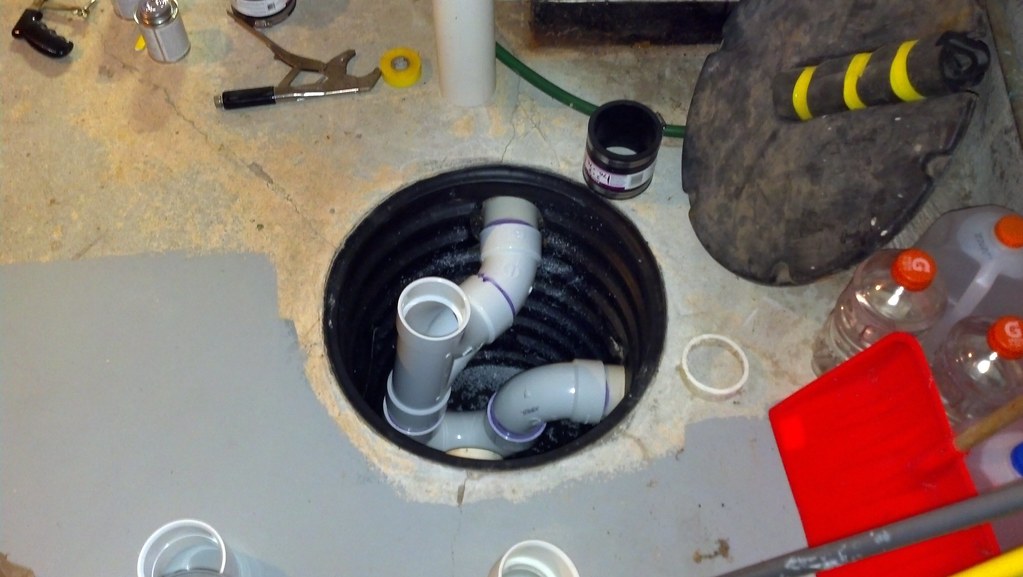
I was able to finish up the Blog of eternal stench... project today, completing the plumbing to bypass the basement cistern.  I had to make a judgement call on one of the two floor drain lines.  One of the drains is perfectly placed in the laundry area.  The second drain is in the middle of the floor, sitting uselessly in our workout area under rubber jigsaw-type floor tiles.  I didn't have enough room in the cistern to plumb everything in 3" PVC with that drain line tied in, and I really wanted to keep everything at 3".  I figure the larger the diameter of the drain the fewer issues I'll have with clogs.  I despise clogs.  Decision made...the one floor drain in the laundry area is all we need.

Here is the finished product on the plumbing.


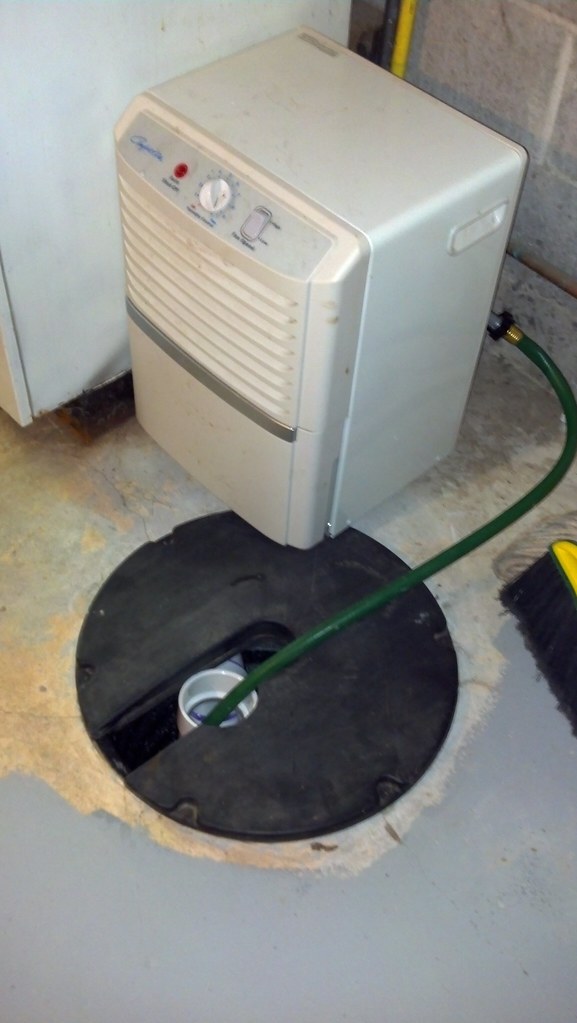
I went with a tee to give me an easily accessible cleanout, which will also double as a drainage point for the dehumidifier.  Here's the finished product.


I really couldn't be happier with how this project turned out.  No more standing water...no more freezing cold air jetting out of the drain pipe...and NO MORE STENCH.

Until next time.  :)

Thursday, July 5, 2012

Our last post was when?!!

What?  When was our last post?  March 19th?!  Are you sure?!!

Yep.  Our last post was on March 19th.  These past couple of months flew by, and strangely have not resulted in a ton getting done around 'ol Shangri La.  We've accomplished a couple of things, but nothing truly exciting.  Rather than bore you with a bunch of jibber jabber, how about we go with some pictures with a tad bit of commentary.  Cool?  OK...let's push on with getting caught up.

These will be in darn close to chronological order, and I'll break it down for you by month.  :)

April

These next few pics are of areas Shelly cleared and cleaned up.  :)

Before Shelly kicked butt
After!
Before Shelly went all medieval.
After!
Before Shelly opened a can of whupass.
After!


Our first northern MI garden.  In later pics you'll
see that Mother Nature is laughing her butt off at us.


The last update had the first section of basement
insulated and framed.  Section 2...done!
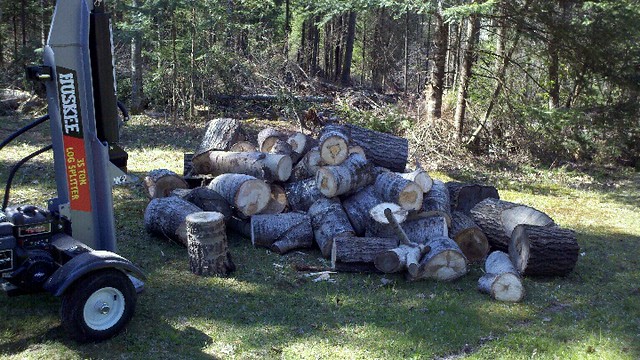
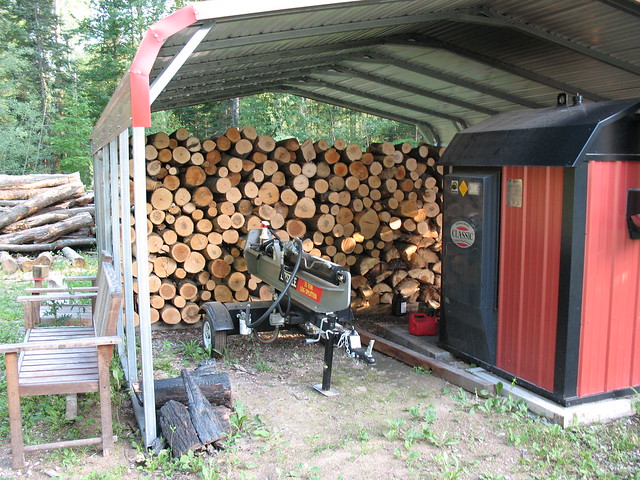
Cut up and split some deadfall, to supplement the load
of firewood we'll need to buy.  Got to feed the beast!

May

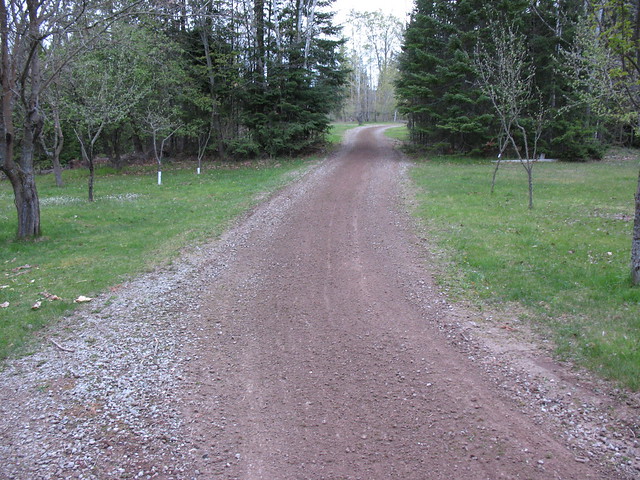
Not too bad of a grading job, for an upside down plow with a
cinder block on it being towed behind a garden tractor.
Ten cord of firewood being delivered and stacked by
a really cool truck.
Ten cord of firewood...delivered!  That should get us
through two seasons.  
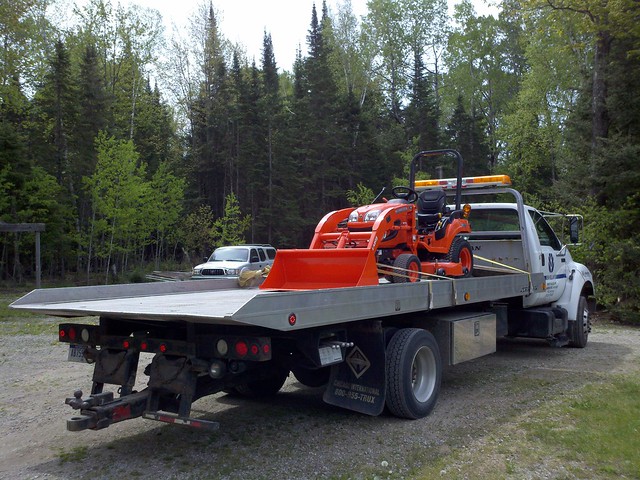
Our new tractor being delivered by another cool truck.
This one is cool only because it's delivering our new tractor.
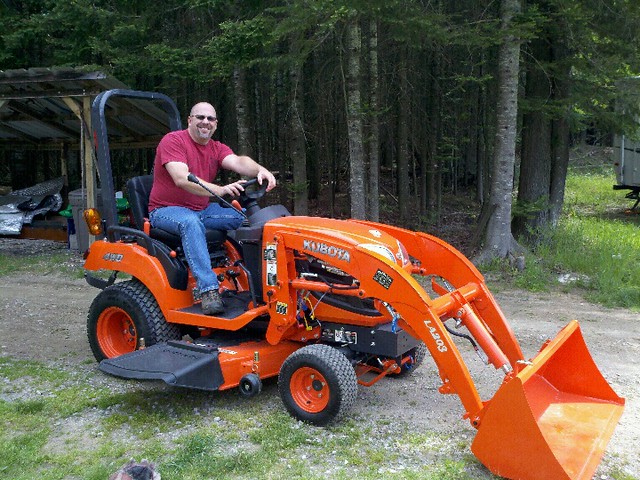
That's me on our new Kubota BX1860.  That smile?  It only
looks like it wraps all the way around my head.
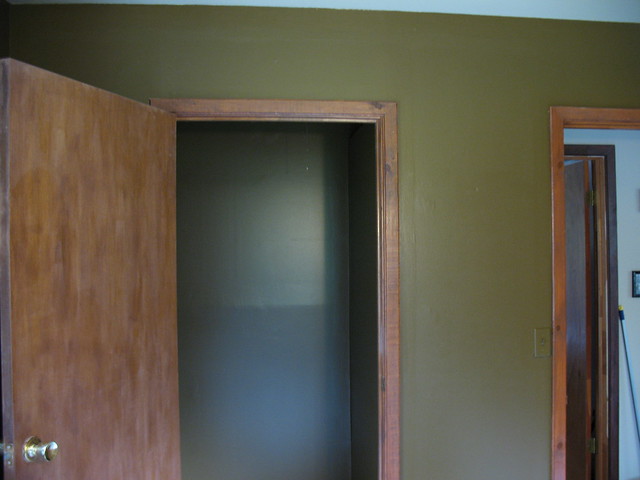
These next pics are befores and afters for the painting of our son Michael's room.  :)


We really have nothing for June as far as activities around here.  It was a crazy month, which included a trip to Arizona for a campus tour for our youngest son's new college.  Yep...June was a blur.  :)

July

That picture of the freshly tilled garden-to-be?  Yeah...this
is that same space.  Did I not tell you that Mother Nature had a good laugh on us?  We left for a
week, and came back to a lawn where a garden should be.
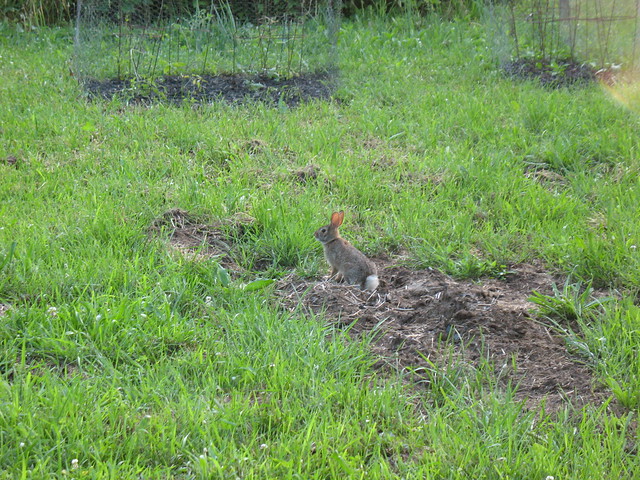
To add insult to injury, what little we've been able to grow is
feeding the local bunny population...which by all accounts is quite
extensive.  Apparently they really do multiply like, well...bunnies.
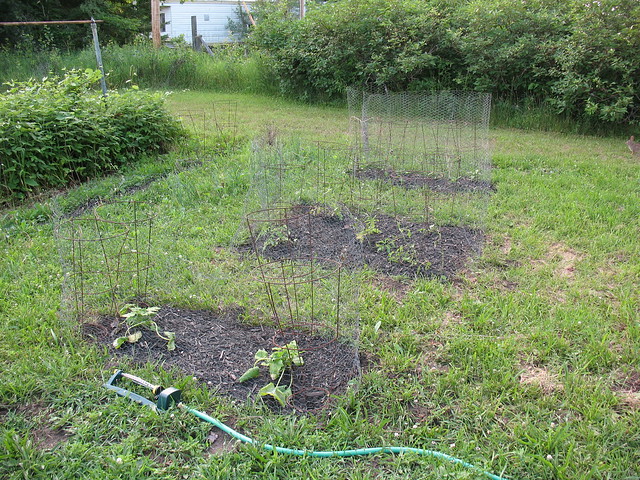
So, Shelly toned down her ambitions for this year.  She bought
a few plants, and commenced to make them bunny-proof.
That's about two cords out of the ten, cut and stacked.
We're going to wait for cooler weather before we tackle
any more of that pile.  WHEW!
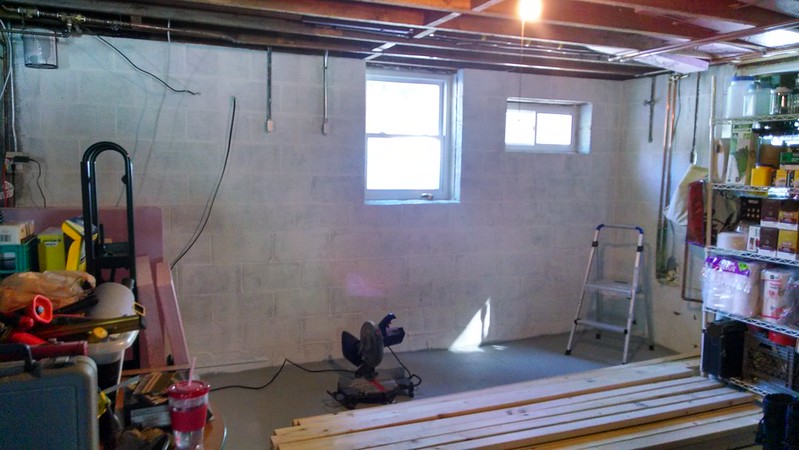
The third 1/4th of the basement, with the walls caulked
and Dry Lok'd and two coats of paint on the floor.  It's all
ready for framing and insulation...after some rerouting of
plumbing, anyway.
So, that gets us caught right up to today.  Literally, to today. I put the second coat of floor paint down just this evening.  

Looking back on it all, I'm going to take back what I said at the start of this post...about not a ton getting done.  We actually did accomplish some stuff around here since March 19th.  I'm glad I did this.  I'm feeling much better now.  :)

Talk to you all soon!

Monday, March 12, 2012

Slow going in the basement...

The basement project continues to move slowly forward, with emphasis on the "slowly".  What we're finding living up here is that there is always something to do, and sometimes the something you planned to do has to give way for something that just plain must be done.  For instance, I was going to work on the basement, and then our appliances died and we spent the weekend moving in and setting up the new appliances.  Another example, I was going to work on the basement but instead spent the weekend clearing 17 inches of snow from the driveway and chainsawing trees that were blocking the road.  I have more, but you get the idea.

So, the progress is slow but it is moving inexorably forward.  Our last update had the walls cleaned, caulked, and painted with Dry Lok, and the floor had its first coat of paint.  This past Friday evening I laid down the second coat of floor paint.  That has us ready to put up the insulation and begin the framing.  Remember, we are only working in one quarter of the basement right now.  We're actively using the basement, so we can only do part of it at a time...moving our stuff after we finish each section.

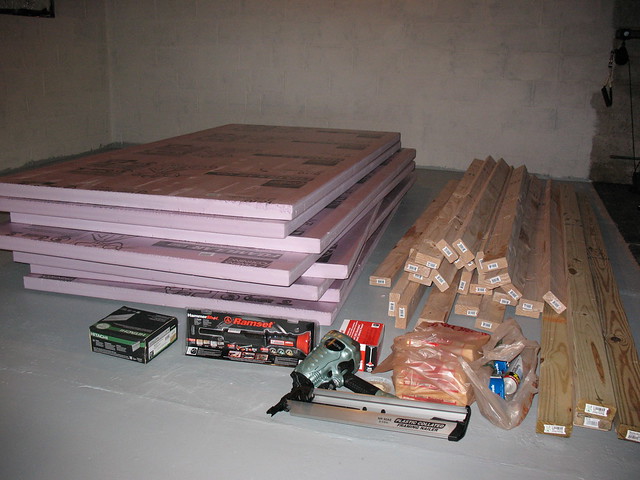
This is going to be my very first framing project, and I have to admit that I'm still a bit intimidated by it.  I have some working knowledge, and I've read up on it, but until I get into it I'm going to keep overthinking it.  Oh, well.  Nothing to do but to just do it.  I was able to snag a few new tools out of this project...a Hitachi framing nailer and a Ramset Hammer Shot.

Yesterday we made a Home Depot run to Alpena.  The closest Lowes or Home Depot to us are in either Gaylord or Alpena, and are an hour away.  Building a detailed list of needed materials, and then padding it a bit, is now a necessity for us.  Making a quick run back to the store just isn't a possibility.  I think we did pretty well, but I won't know until I start working on it.


I'm hoping that work cooperates and that Monday evening we'll be able to get the insulation up and start on the framing.

Talk to you all soon!

Monday, February 27, 2012

This, that, and that there other stuff we've done...

It's been a busy three weeks since our last update, which is likely why there hasn't been an update in three weeks.  Hah! ;-)   Probably the best way to do this would be to give you the bullet points, then the details on each.  :-)

  • Basement Refinish Project
  • Spackling & Painting
  • Dying Appliances
  • Tree Pruning
  • Contending with "THE HILL OF DOOM"
These past few weeks Shelly and I have pretty much been taking a divide and conquer approach.  Though we're working together on side projects, we're focusing separately on our main projects.  My main project continues to be the finishing of the basement.  Our last update had the water proof paint on the walls.  The floor is now painted in that quarter of the basement.  There...that's it...that's the entire update.  I've been traveling quite a bit for work since the last update, with a conference in Grand Rapids and training in Chicago.  There were also the "Dying Appliances", which we'll get to.

1/4 of basement, sealed and painted

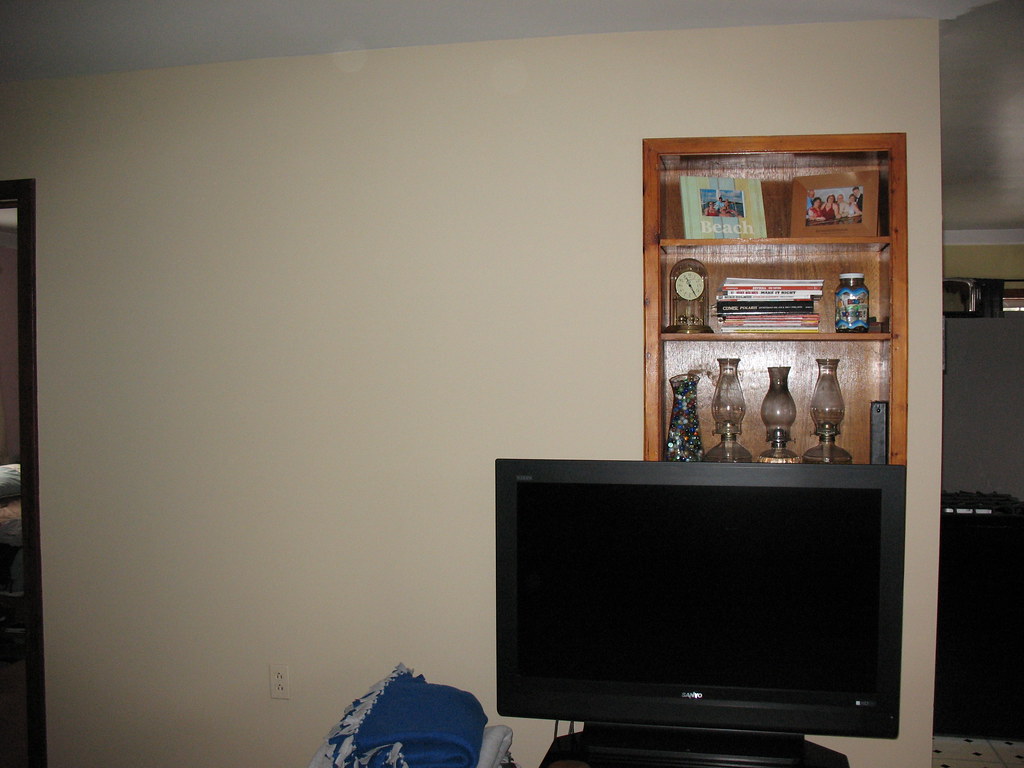
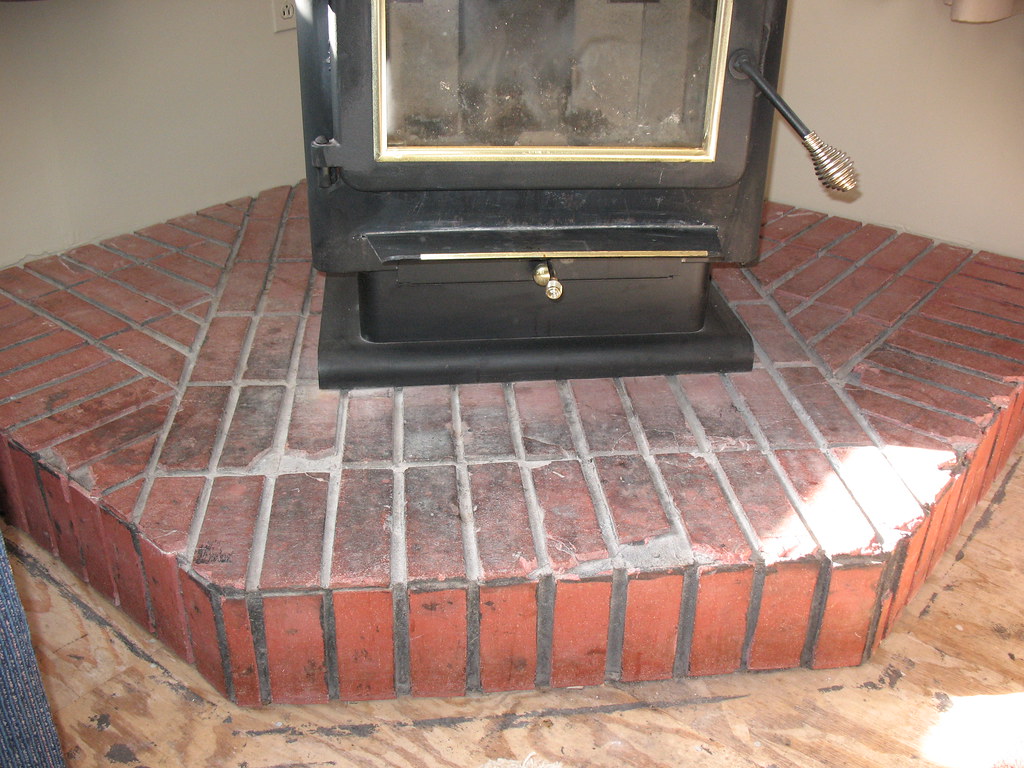
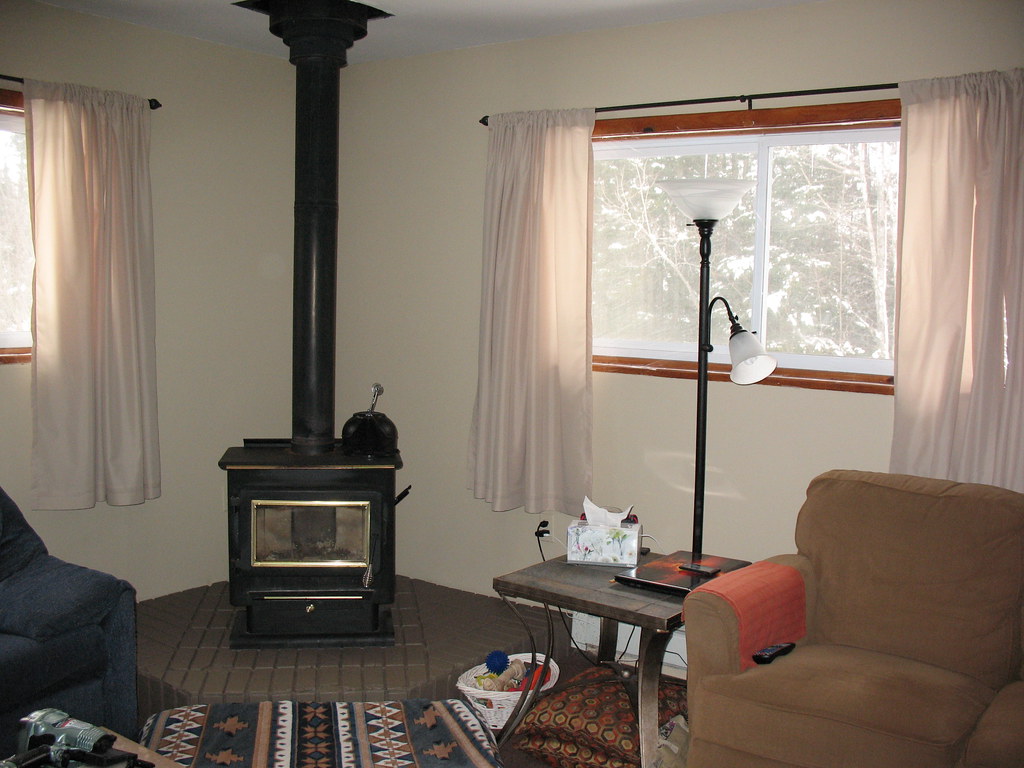
Shelly made considerably more progress than I did.  Realizing with the pace we're on that the basement is going to take us as long as a year or more to complete, we knew we couldn't live with the upstairs looking like it does/did.  At some point the upstairs will become our project, and there'll walls coming down and sliding doors going in, and etc...  But, we just can't stare at these walls any more.  The house was built in the 70's, and this is the original paint.  It's got to go.  So, Shelly set herself the task of prepping the walls and painting and started in the living room.  This involved wiping all of the walls with TSP to remove the soot from the wood stove, spackling all of the many holes from various wall hangings, trim, and shelves, sanding said spackling, and painting.  In addition to the walls she also painted the hearth for the wood stove.  The difference is nothing short of stunning.  
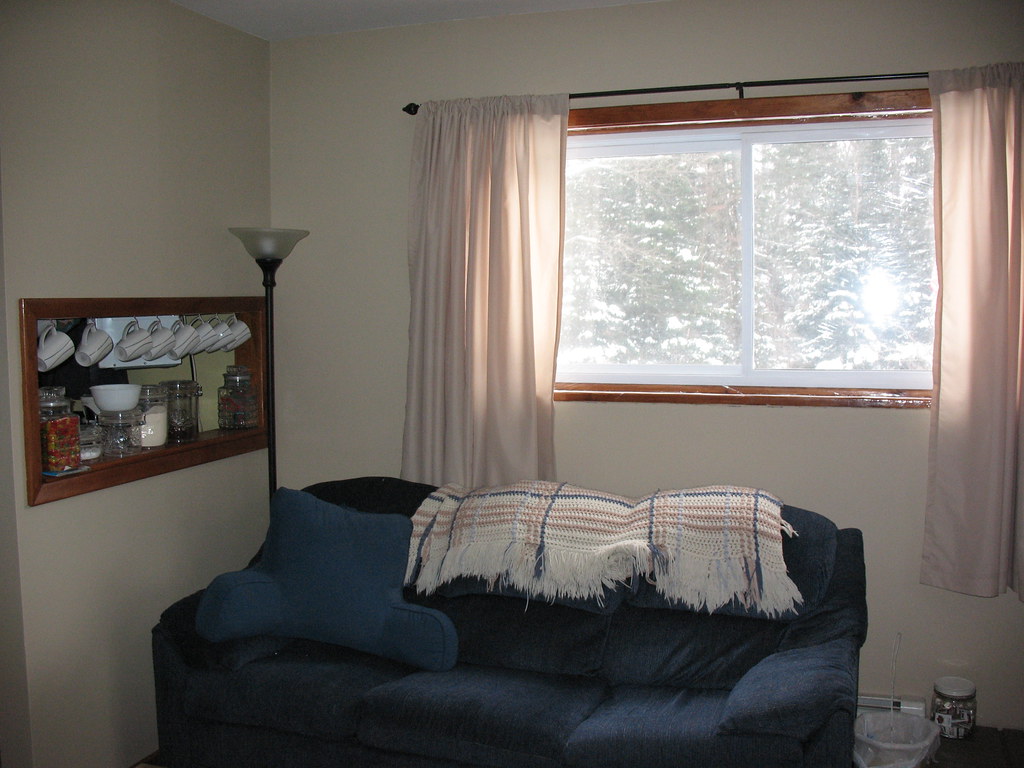
Before
After
Before
After
Before
After
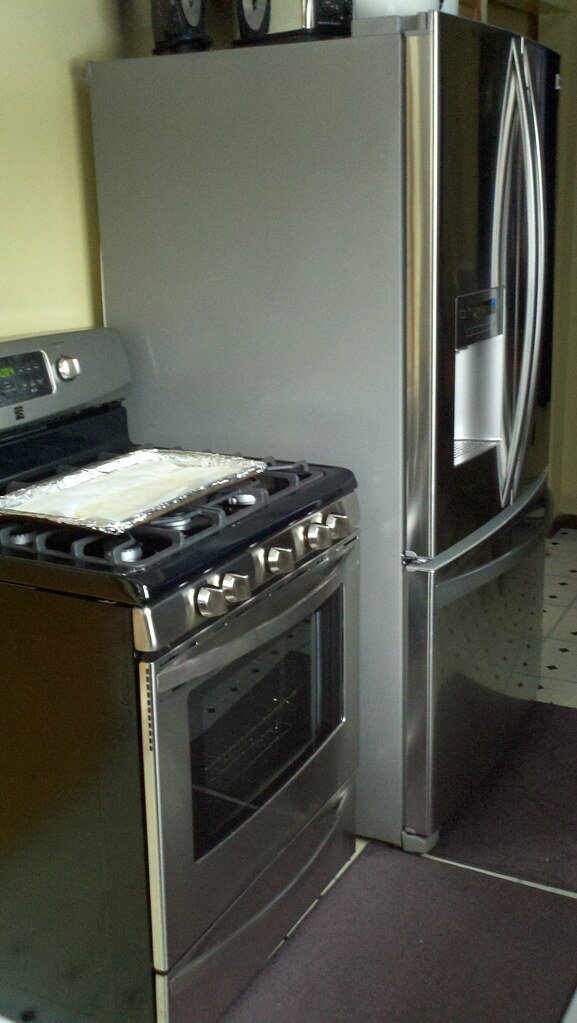
Our major kitchen appliances came with the house, and had quite a bit of use on them.  While I was in training in Chicago our refrigerator and stove died.  So, on the way back from Chicago Shelly, Michael, and I met up in Gaylord to shop for replacements.  We checked out Lowe's first, but we ended up buying from Sears.  So, our little kitchen is now equipped with pretty, new, stainless steel, matching Kenmore appliances.  They look out of place right now, with all of the outdated and worn out flooring and cabinets, but they'll look great after we remodel.  Think to the future, right?  :-)  Picking up the fridge and moving it in took the good part of a weekend (blech), and part of another to convert the stove from natural gas to LP.  Hence the short list of progress on the basement.  

Before
After
We have a dozen or more fruit trees on the property, which we're just learning how to maintain.  Having learned that they need to be pruned in late winter before the sap starts running, and with the warm weather we've been having, I dove into getting them all pruned up.  Now, there has been nobody living up here in quite some time, so these trees have been seriously neglected and were seriously overgrown.  Armed with my pole saw and pruning shears, and what little knowledge I gleaned from various internet articles, I pruned the crap out of all but a few of our trees.  I think I did pretty well for my first attempt, but only time will tell if I really did them any good.  

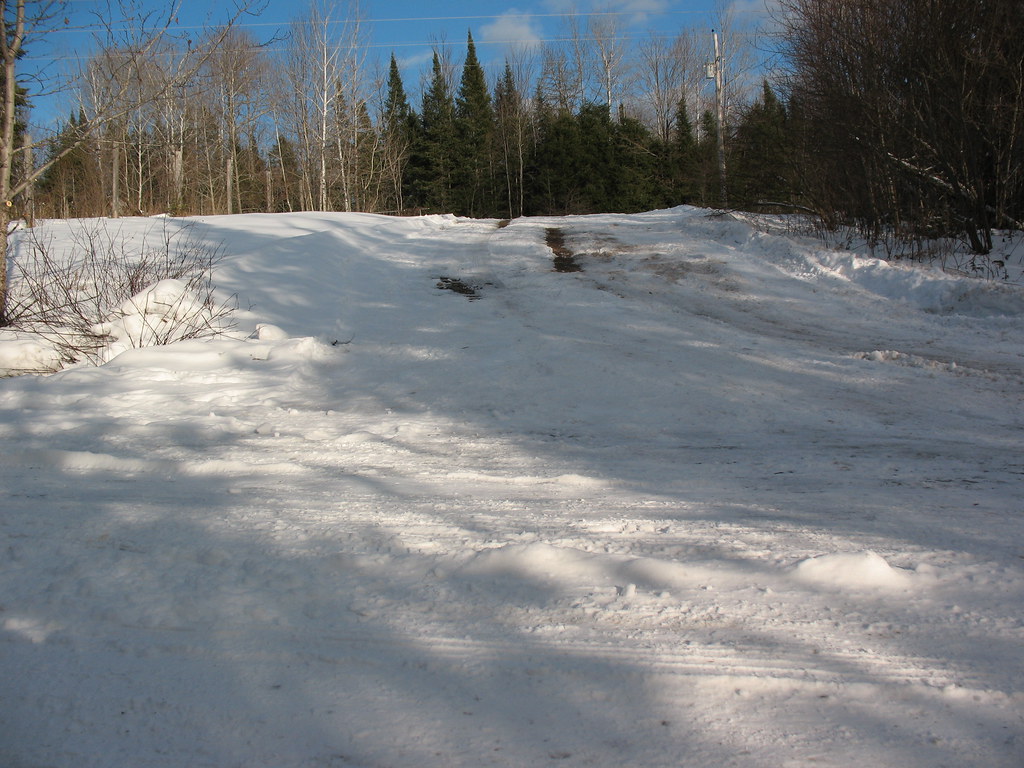
The one thing we've been struggling with more than anything this winter is the entrance to our driveway, aka THE HILL OF DOOM.  Our driveway starts from a deep dip in the road.  This means that to get into our property you have to climb up a fairly steep gravel incline, or descend down into the dip when leaving.  Add some snow and ice, and it can quickly become an insurmountable obstacle if you're not driving a 4x4 equipped vehicle.  We've plowed it, snowblowed it, salted it, chopped it, spudded it...but the ice just continues to build up.  The only thing that seems to work remotely well is to spud through the ice a trench the length of the incline, about a tire width.  As long as we aim well for the trench, so that we can bite onto gravel, we have relatively no problem.  Miss it, or if it's not completely cleared down to gravel, and you find yourself sliding backwards to the bottom of the hill.  With a ditch on either side of the driveway, and with a sheer drop on the other side of the street opposite the driveway, it's a white knuckle ride in reverse.  Digging out the drive to lessen the slope is not an option, as there is a spring under the hill.  Digging it up and possibly uncapping it would just add water and mud to the mix.  We need a viable plan to address THE HILL OF DOOM before next winter.  Sooner or later something bad is going to happen to one of our vehicles, or UPS's, or FedEx's, or USPS's, or the Jehovah's Witnesses', etc...

THE HILL OF DOOM!
That pretty much catches us up to today.  Shelly left this morning for Ohio.  Kyle is on spring break from Capital University, and she's heading down to spend the week with him.  I'll be traveling around the state again this week, so that means no more progress before this weekend.  
We've been getting more snow lately, compared to earlier this winter.  Here are a few shots of the property, all decked out in its winter finery.


Talk to you all soon!


Tuesday, February 7, 2012

Basement Finishing Project - Research

With this project we'll be tackling things we've never done before.  We've never framed entire rooms, or run all new electrical and plumbing for an entire basement remodel.  We've done drywall patching, but we've never drywalled entire rooms.  We've never built a bathroom from scratch, let alone in a basement.  We do have a basic understanding of the concepts, but that's not enough to build our confidence going into a project of this magnitude.  So, like every other home improvement project we've taken on where we lacked a solid knowledge base, we're doing our research.


After extensive searching on the web we found that there are many different ways to frame and insulate a basement, and each is offered as "the best method".  Additionally, there wasn't enough down and dirty details to help these amateurs feel confident.  So, we modified our internet search and began looking for highly recommended publications for framing, drywall, and basement finishing.  Yes, we're going to kick it old school and go with actual books.  :)  


This is the list we've come up with.
For the first two we went completely off of the online reviews and how they compared to reviews of similar publications.  With the second two, for us, the author has instant credibility.  We're big fans of Mike Holmes and his shows, and after reading the raving recommendations from the readers of these books we were coughing up good money for them.  We'll need to fish through some Canadian code, but heck...we're far enough north that we're nearly Canadian anyway, eh.  ;)

Sunday, January 1, 2012

Basement Finishing Project...and so it begins!

Now that we finally have the basement cleared out and organized, and have some time, we've started on finishing the basement.  The basement is currently completely unfinished, with unpainted cinder block walls and an unpainted concrete floor.  When done, other than being properly sealed and insulated, we will have five separate areas...a new half bath, home office, home gym, laundry, and a multi-purpose area.  We'll also be adding some very necessary storage space.

The first thing we're going to do is seal the walls and floor with water proof paint.  We're going to do this in 1/4's, rotating the "stuff" we have down there from an unpainted area to a painted area until it's completely painted.  It'd be nice if we could move everything out and paint it all at once, but we just don't have the space.  That's kind of the point of finishing the basement, though, isn't it?  :)  Today we started the prep work on the first 1/4.  This included rerouting existing electrical conduit that was secured to the walls, cutting out and removing the baseboard heat, drilling out the multitude of plastic wall anchors, and then caulking all of the holes from the anchors and any cracks in the mortar.

To start with, we needed to deal with the water in the basement zone of the baseboard heat system.  There is a drain valve at a low point in the zone, and we connected a garden hose and ran it to a floor drain.  Just opening the valve wouldn't do the trick, though...very little was draining.  We ended up cutting the pipe just after the shutoff valves on the outlet and return for the zone, plugging the pipe closest to the drain valve, and then connected the garden hose to the hose on our shop vac.  We just let it run until it sucked the zone dry.  We were then able to cut out the piping and radiators in that corner of the basement and have no water, not a drop, run out onto the floor.  BRILLIANT!

With the plumbing done, it was on to the electric.  Yes, that was by design...remove the water before messing with the electricity.  With age comes wisdom!  ;)  The electric for that part of the basement was run through conduit, mounted to the cinder block.  Tracking the wiring we found that the circuit also included the lights for half of the basement, so just removing it wasn't an option.  We instead removed all of the wiring from the conduit, and then tied the circuit back together overhead on the joists.  Knowing that we'd need an power in that area while working we went ahead and wired in an overhead outlet.  This restored the lighting, and added back in an outlet where needed.  Further on into this project we'll be rewiring the entire basement, but this will get us through until then.

For all of the work we expected a larger pile of debris.   ;)


With the walls clear of the plumbing and electrical the next step was to caulk the holes and cracks.  That is, after a quick vacuum to remove the dust, cobwebs, and chunks of plastic wall anchor.  We'll be painting the basement with UGL Drylok paint, so we went with their masonry caulk.  We're not doing this for aesthetics, as none of this will show after we stud out the walls and hang the drywall.  We just want to know that after we do cover it all up that we won't have problems with water/moisture intrusion down the road.

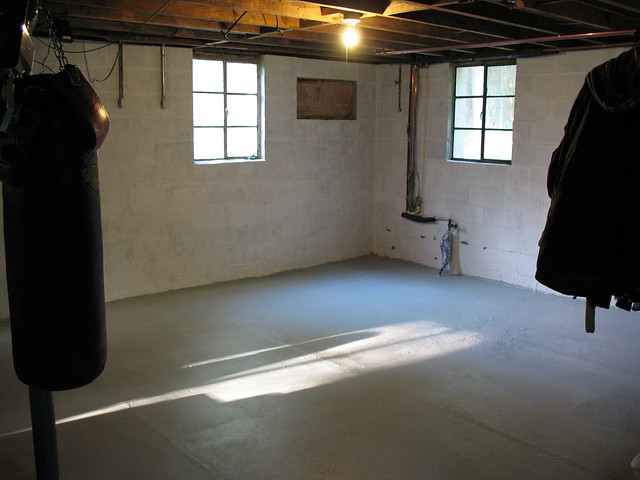
That's pretty much it for this installment, other than a few before and after pics.  :)  The difference between the two pictures hardly reflects the effort, but after the caulk cures we'll be painting.  We're looking forward to the difference that some white paint will make.

Before
After