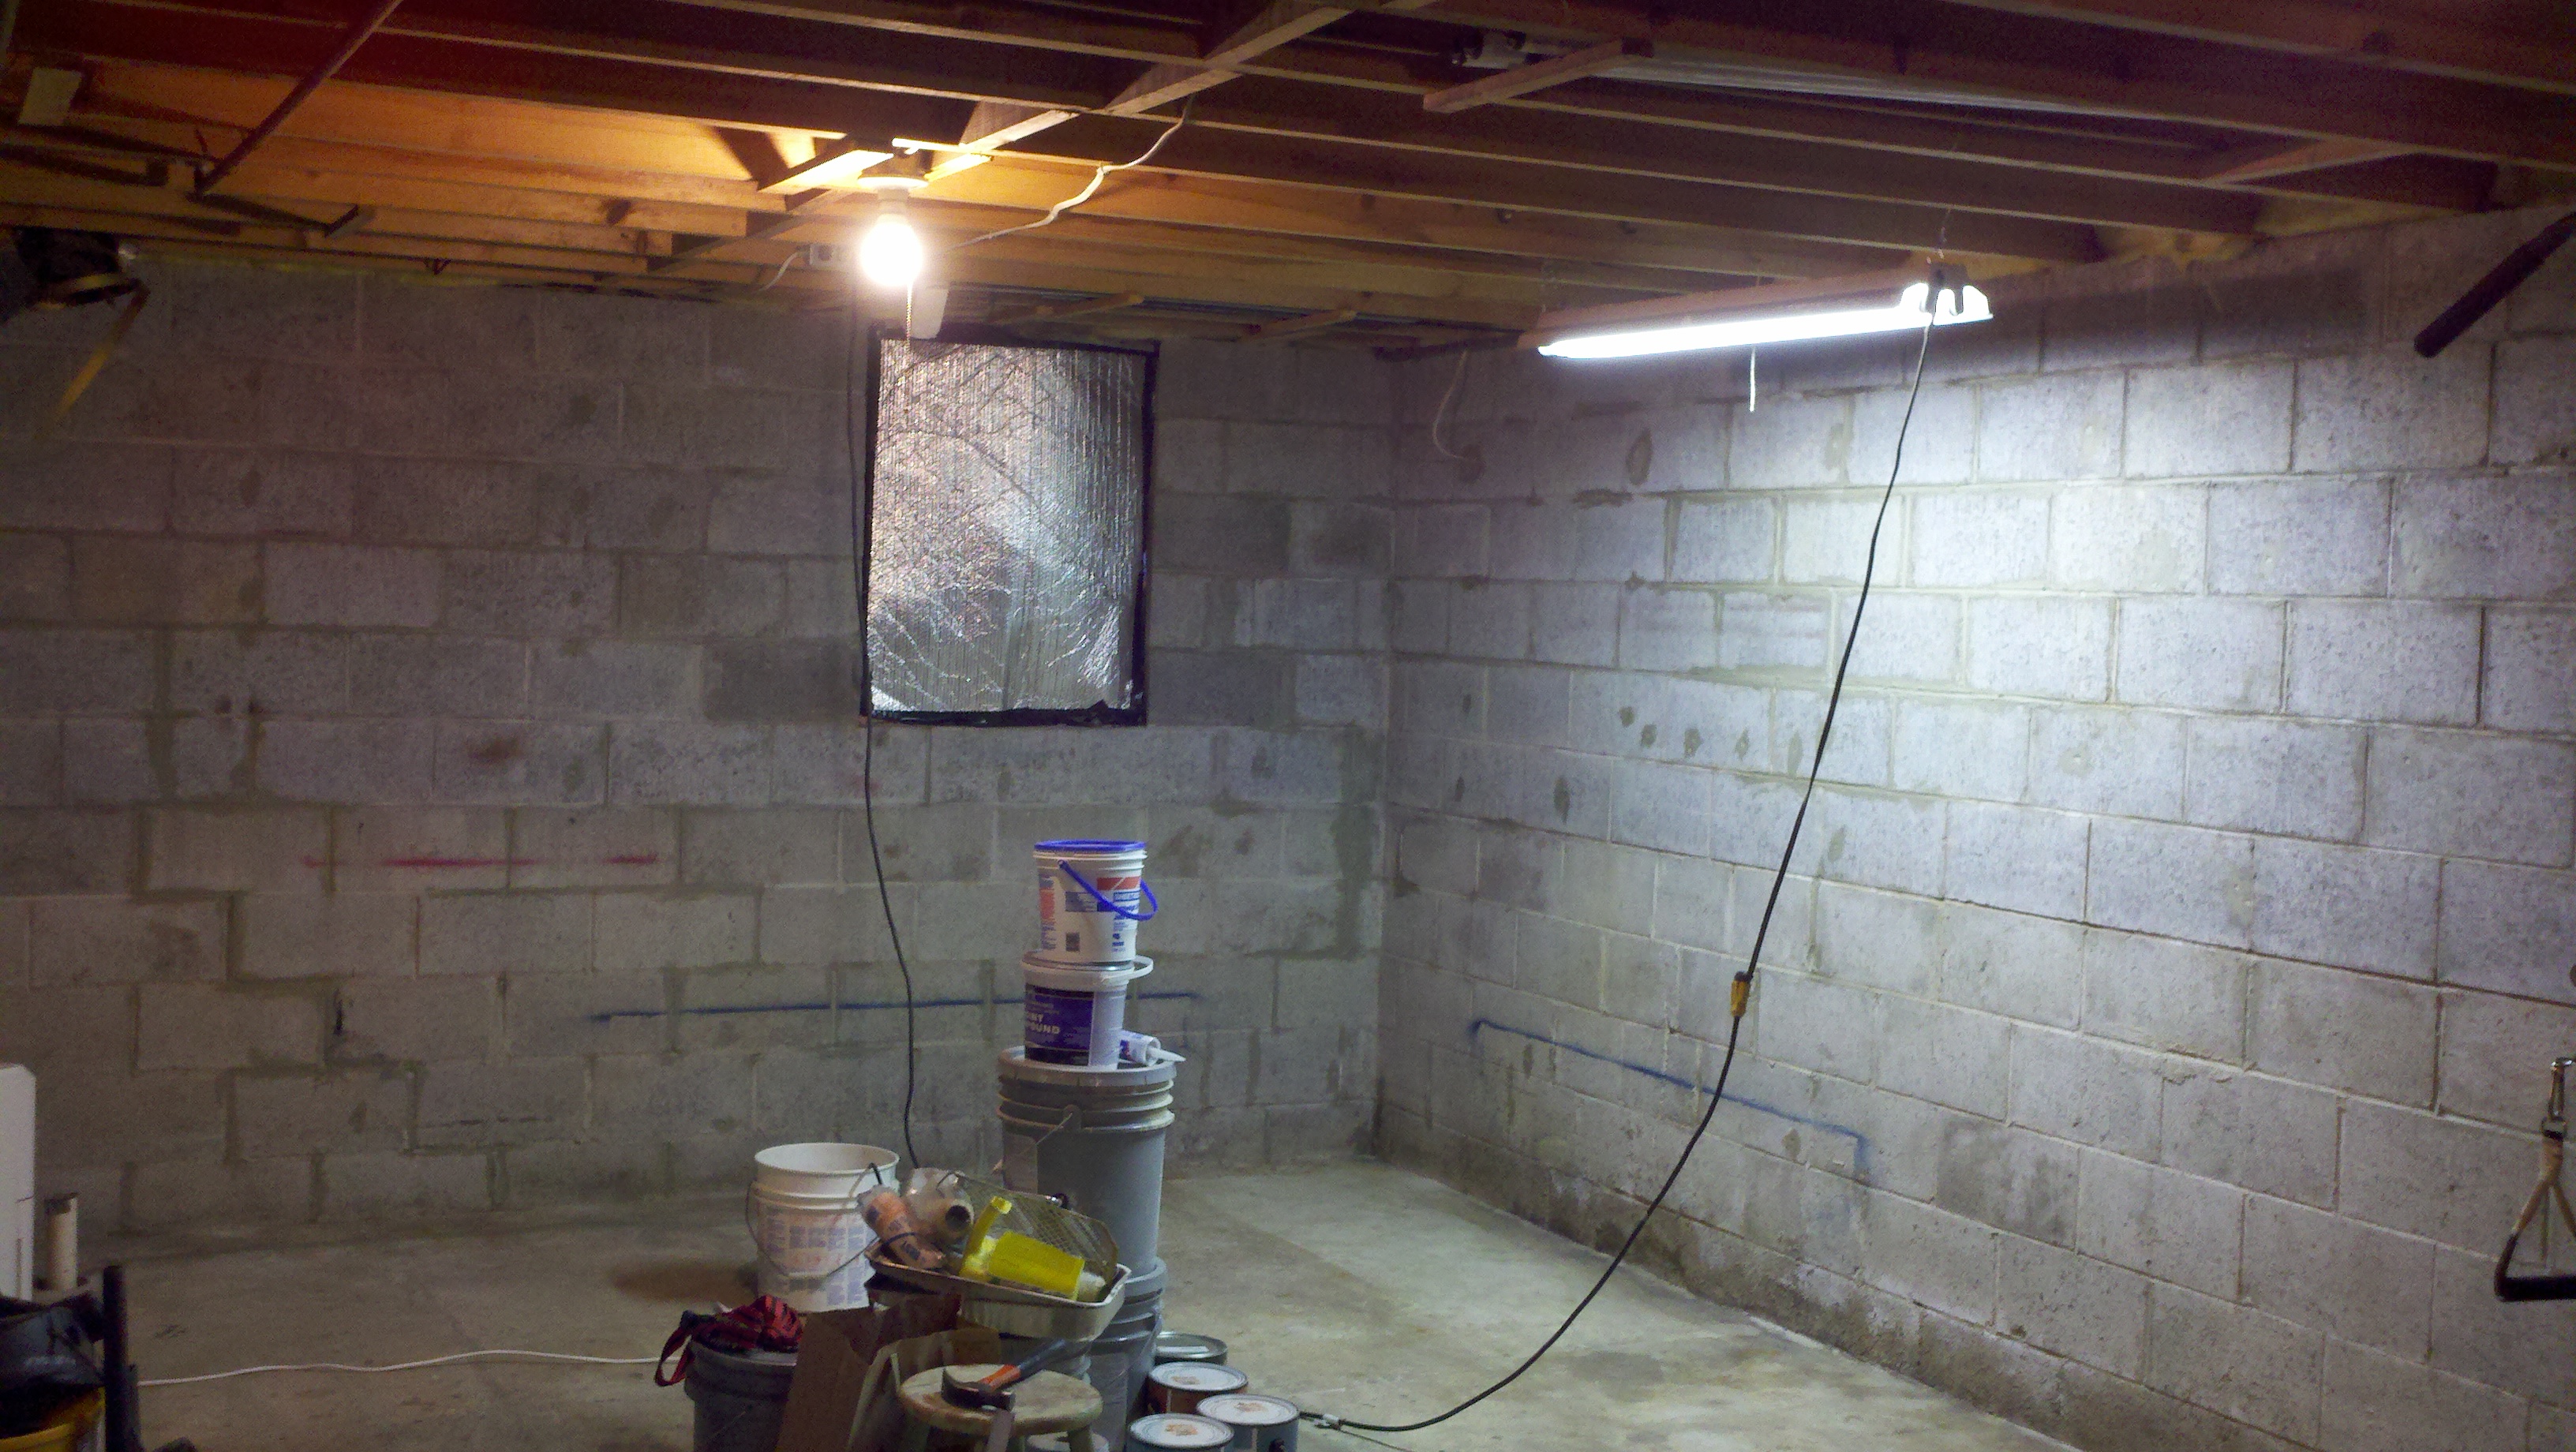
The first thing we're going to do is seal the walls and floor with water proof paint. We're going to do this in 1/4's, rotating the "stuff" we have down there from an unpainted area to a painted area until it's completely painted. It'd be nice if we could move everything out and paint it all at once, but we just don't have the space. That's kind of the point of finishing the basement, though, isn't it? :) Today we started the prep work on the first 1/4. This included rerouting existing electrical conduit that was secured to the walls, cutting out and removing the baseboard heat, drilling out the multitude of plastic wall anchors, and then caulking all of the holes from the anchors and any cracks in the mortar.
To start with, we needed to deal with the water in the basement zone of the baseboard heat system. There is a drain valve at a low point in the zone, and we connected a garden hose and ran it to a floor drain. Just opening the valve wouldn't do the trick, though...very little was draining. We ended up cutting the pipe just after the shutoff valves on the outlet and return for the zone, plugging the pipe closest to the drain valve, and then connected the garden hose to the hose on our shop vac. We just let it run until it sucked the zone dry. We were then able to cut out the piping and radiators in that corner of the basement and have no water, not a drop, run out onto the floor. BRILLIANT!
With the plumbing done, it was on to the electric. Yes, that was by design...remove the water before messing with the electricity. With age comes wisdom! ;) The electric for that part of the basement was run through conduit, mounted to the cinder block. Tracking the wiring we found that the circuit also included the lights for half of the basement, so just removing it wasn't an option. We instead removed all of the wiring from the conduit, and then tied the circuit back together overhead on the joists. Knowing that we'd need an power in that area while working we went ahead and wired in an overhead outlet. This restored the lighting, and added back in an outlet where needed. Further on into this project we'll be rewiring the entire basement, but this will get us through until then.
For all of the work we expected a larger pile of debris. ;)
With the walls clear of the plumbing and electrical the next step was to caulk the holes and cracks. That is, after a quick vacuum to remove the dust, cobwebs, and chunks of plastic wall anchor. We'll be painting the basement with UGL Drylok paint, so we went with their masonry caulk. We're not doing this for aesthetics, as none of this will show after we stud out the walls and hang the drywall. We just want to know that after we do cover it all up that we won't have problems with water/moisture intrusion down the road.
That's pretty much it for this installment, other than a few before and after pics. :) The difference between the two pictures hardly reflects the effort, but after the caulk cures we'll be painting. We're looking forward to the difference that some white paint will make.
 |
| Before |
 |
| After |

