Since moving here we have been
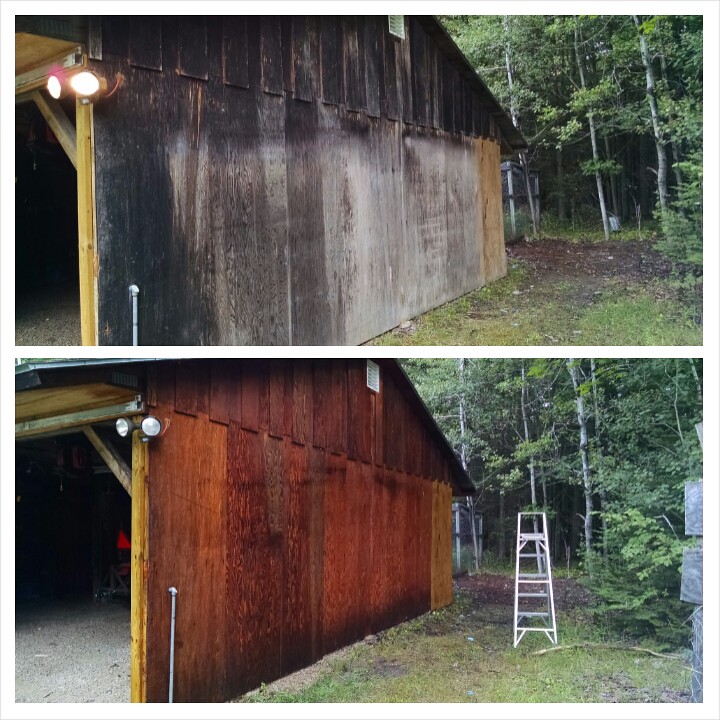
mostly happy with our cedar siding. We did a ton of work to bring it back from the brink...power washing, sealing, and even completing some unfinished construction. What we're finding, though, is that wood siding and nature go just a little
too well together. Like, the birds and the bees...and the wasps and the yellow jackets...they think our house is someplace they'd like to live, or is something they'd like to eat.
We began exploring our options for siding the house, and decided that if we're going to make this investment we should be looking to the long term future. That future includes us getting older, and maybe not being as capable of maintaining things we're able to maintain now. That steered us towards looking at vinyl, but only if we could find the right product. It had to be something that didn't look "cheap", and that still fit in with where we're living.
Also, we ( I ) had to come to grips with the fact that we just don't have the time it would take to make this a DIY project, at least not without putting off every other project we have going on. Some of those projects couldn't wait for everything that would be needed to get this done. I mean, this isn't just siding the house. It's...
- Tearing out the existing soffits, and installing all new vinyl soffits.
- Aluminum cladding the fascia boards.
- Installing pressure treated furring strips and sheathing on the foundation to build it out to the depth of the existing cedar sheathing.
- Wrapping the entire house with house wrap (Because why would you use anything but house wrap on a house, right?)
- Installing all necessary flashing around electric meter, hose spigots, vents, etc...
- Siding the entire house, all around and from the peak to the ground.
- Installing a new front entry door and storm door.
So, I swallowed my pride and beat down my anxiety, and we called a few contractors. We ultimately contracted with
Bandi Builders out of Cheboygan, Michigan. We had to bite the bullet and take on some debt, but the cedar siding's failings were forcing us to do
something. Go big or go home, right? :)
We initially had the idea that we'd side the house and have the foundation faced with natural stone. Awesome, right?! That plan went out the window when we got the quote for stone facing the foundation. HOLY SCHNIKES! That's how we wound up with the plan of continuing the siding all the way down the foundation.
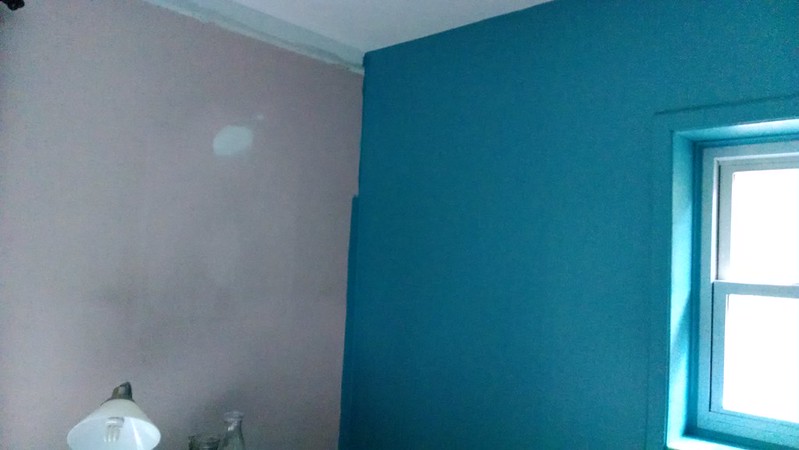
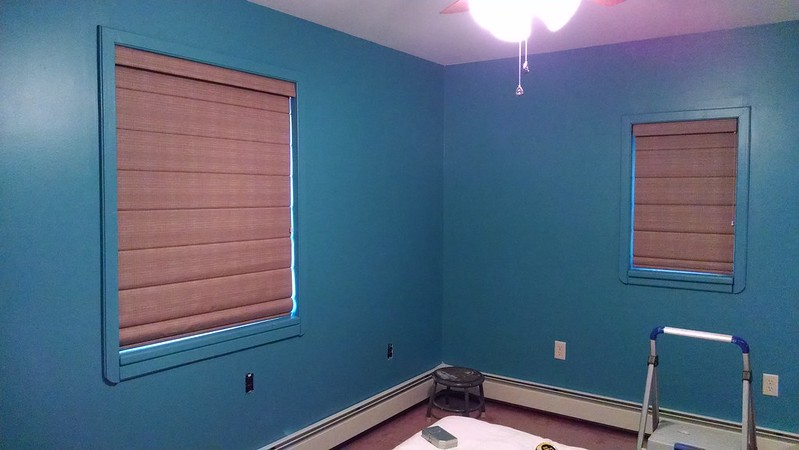
The job isn't quite complete, but we're getting close enough that I couldn't hold off posting on it any longer. We're in a holding pattern right now, waiting on the front entry door to return from the painter so that the front of the house can be finished. We're having the exterior of the door painted to match the siding color.
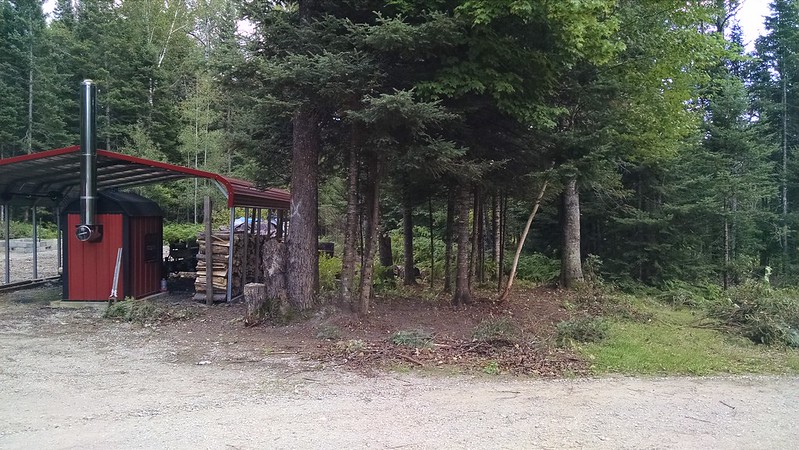
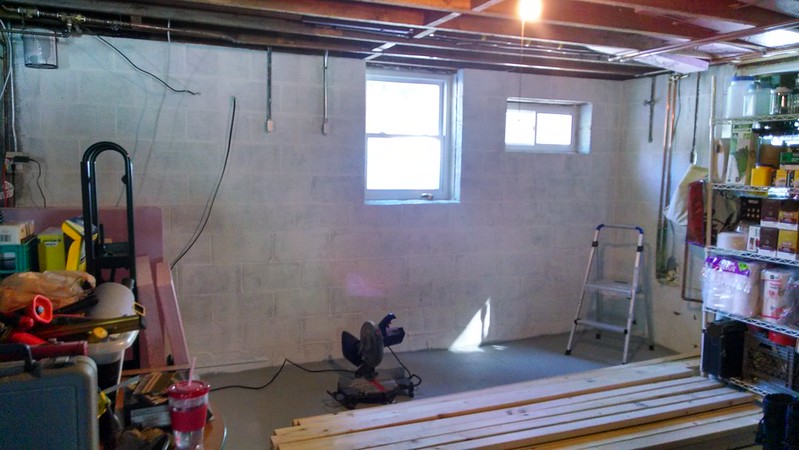
Let's start with a current picture of the "Before". This was just prior to the start of the builders arriving. The white marks on the foundation wall are from where I had gone around and sealed any cracks in the mortar.
 |
| click for larger image |
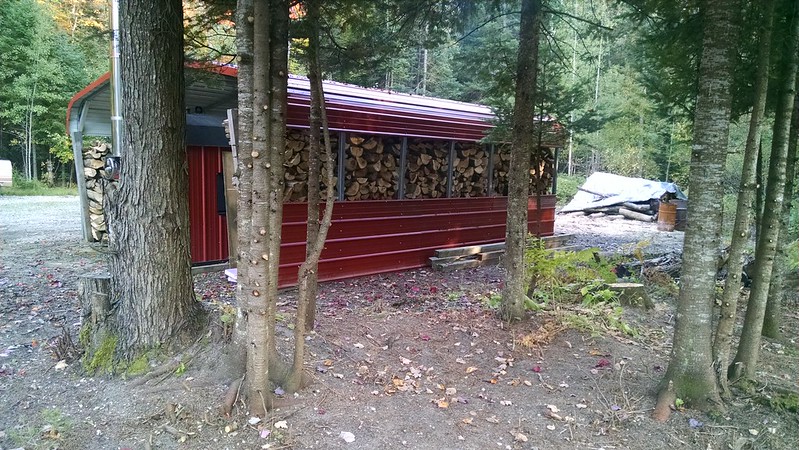
Drumroll please....
Here is the big reveal of the new and improved Shangri La! The siding is made by CertainTeed. It's their CedarBoards Insulated Siding product, and the color is Timber Blend. We wanted to go with something maintenance free, but that would still fit in with its surroundings. We are darn happy with the outcome. :)
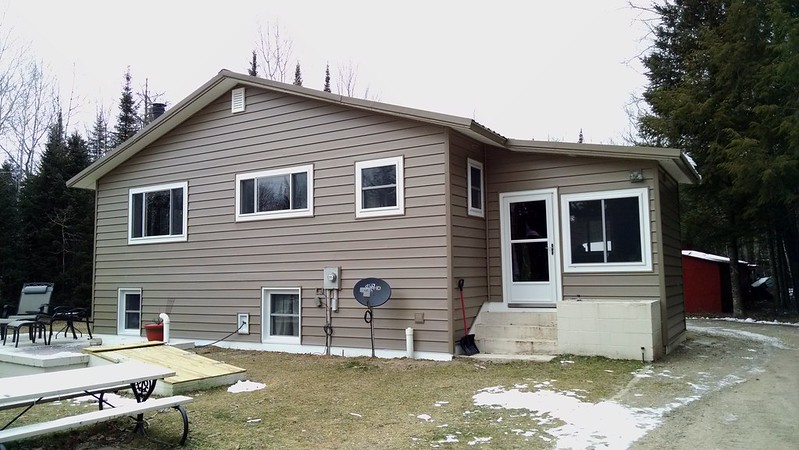 |
| South Facing |
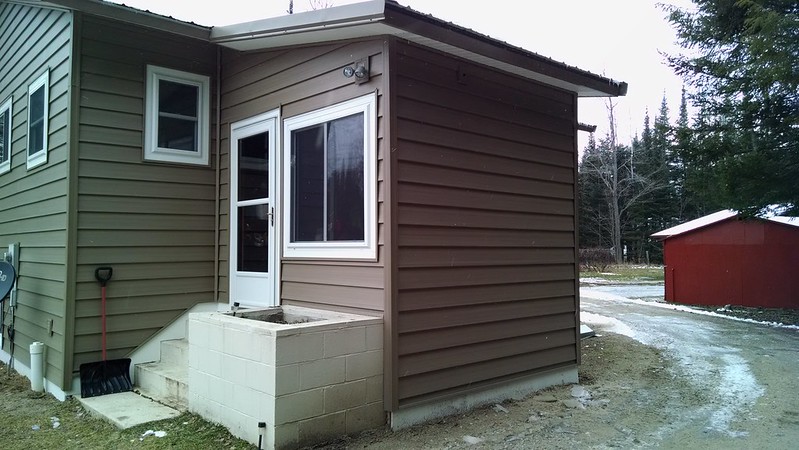 |
| East Facing |
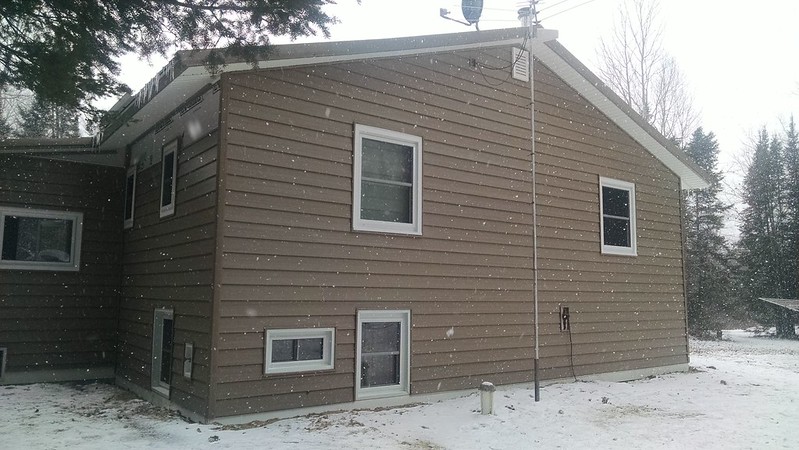 |
| North Facing |
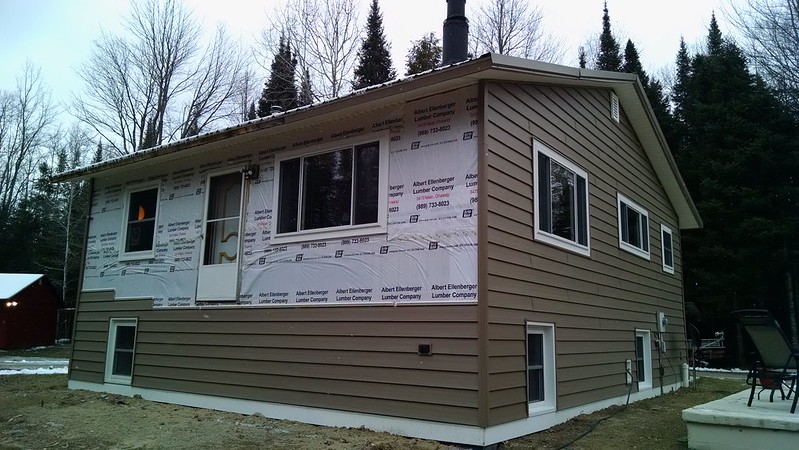 |
| West Facing |
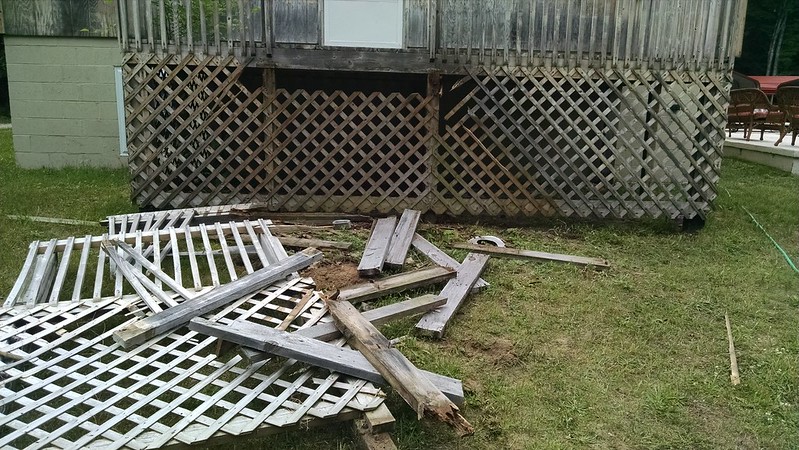
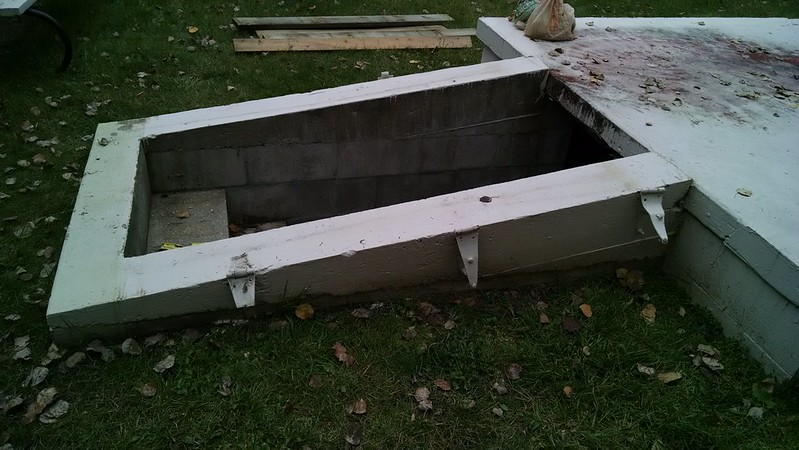
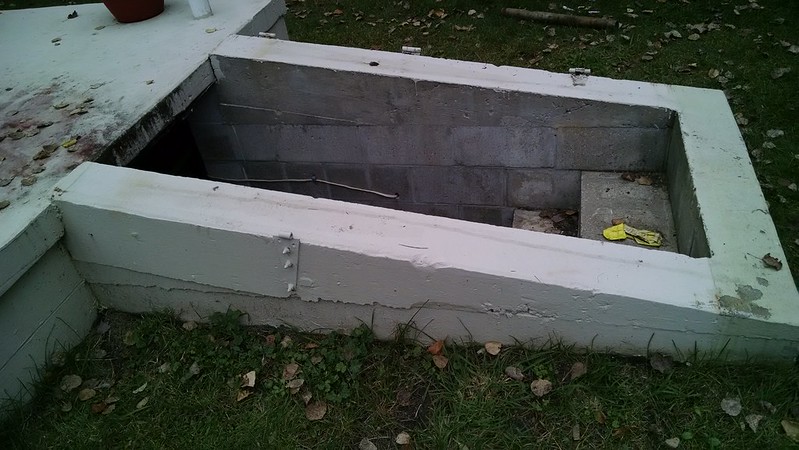
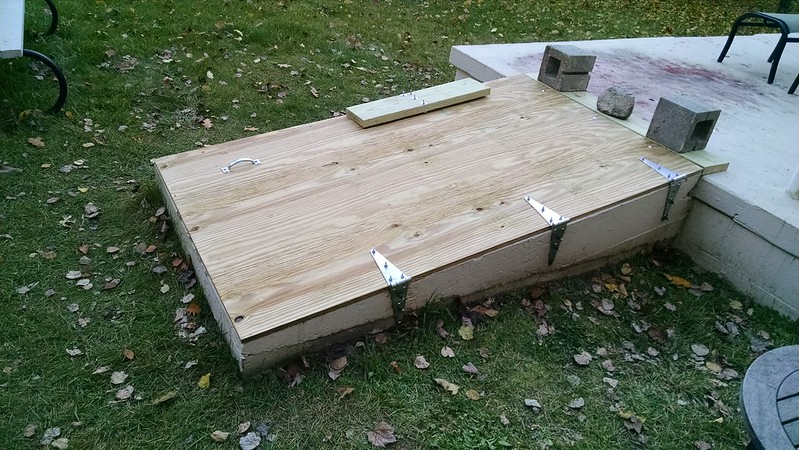
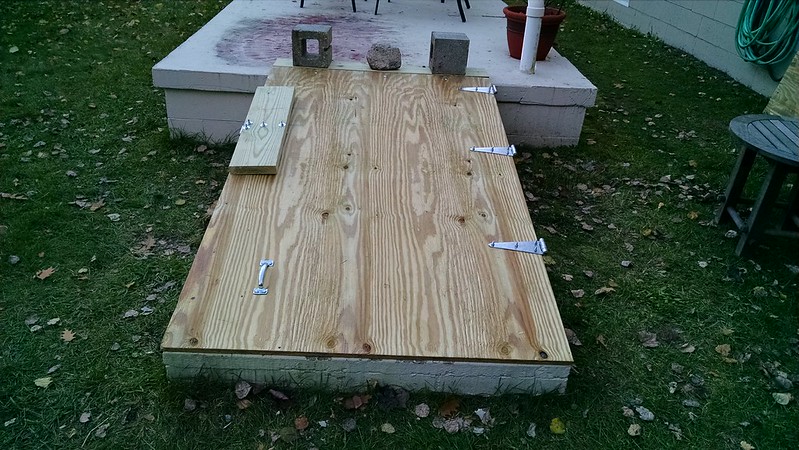
As I said above, we're waiting on the front entry door so that they can come back out and finish the work. We tore the old deck down before construction started, and before it could fall down on its own. We're making plans now for building a new one this spring/summer. At the rear entrance, we'll be laying a textured finish onto the blockwork herb garden to the right of the steps, and painting it to match the siding.
As much as we dreaded this process, our dread was mostly unfounded. The builder has been extremely responsive, and the crew has been professional in all respects. We've noted a few things we want corrected...nothing serious or earth shattering...and they've responded well to our concerns.
We'll follow back up with y'all with shots of the finished, and likely snow covered product.
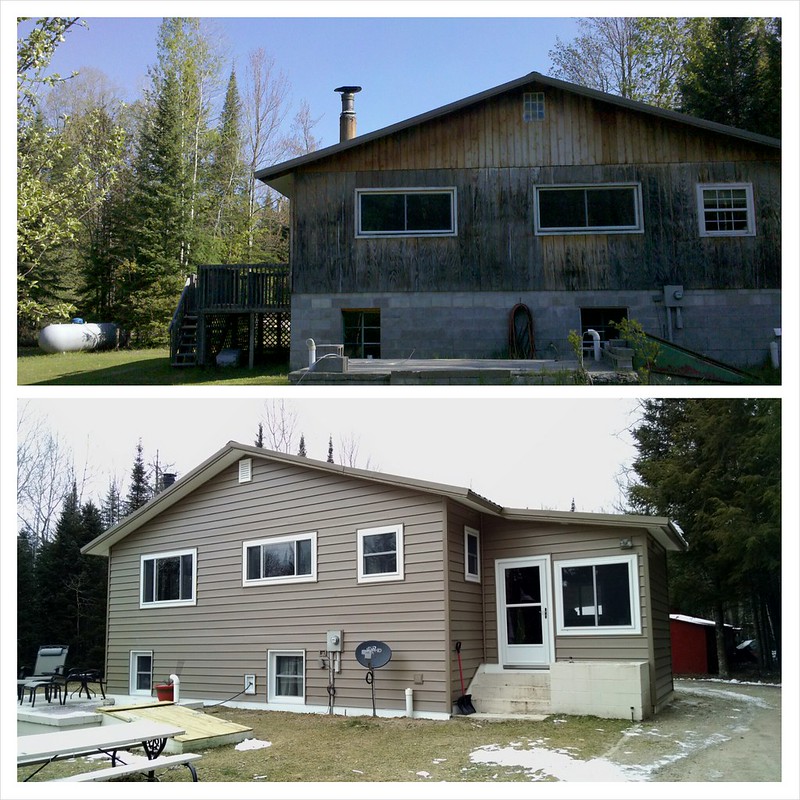
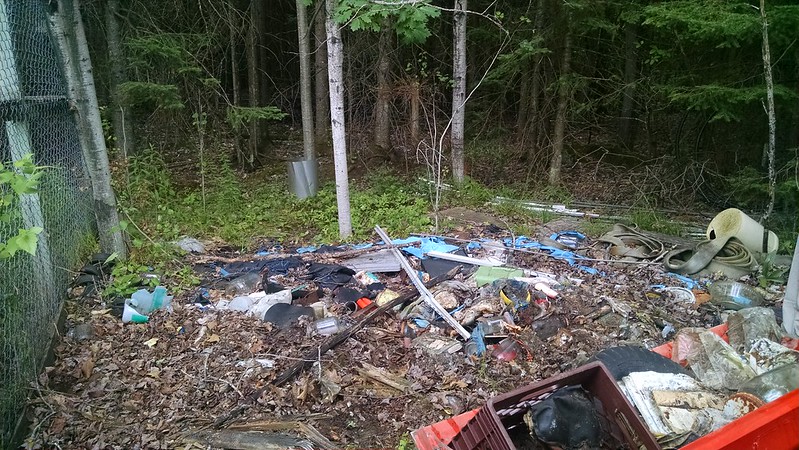
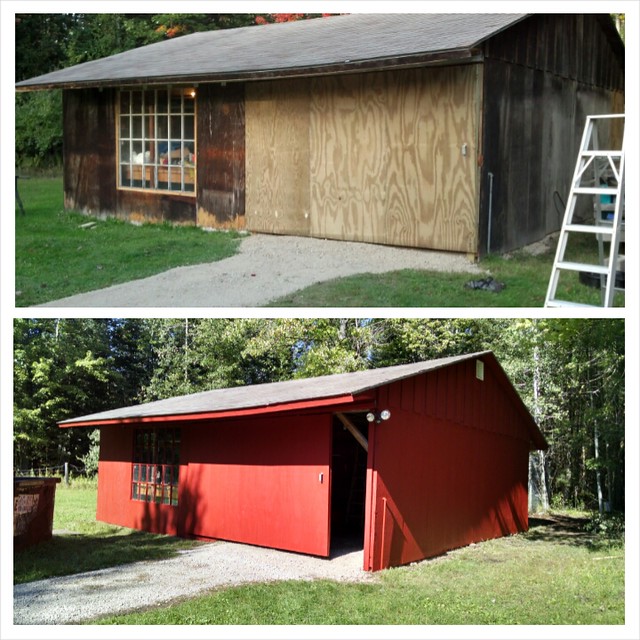
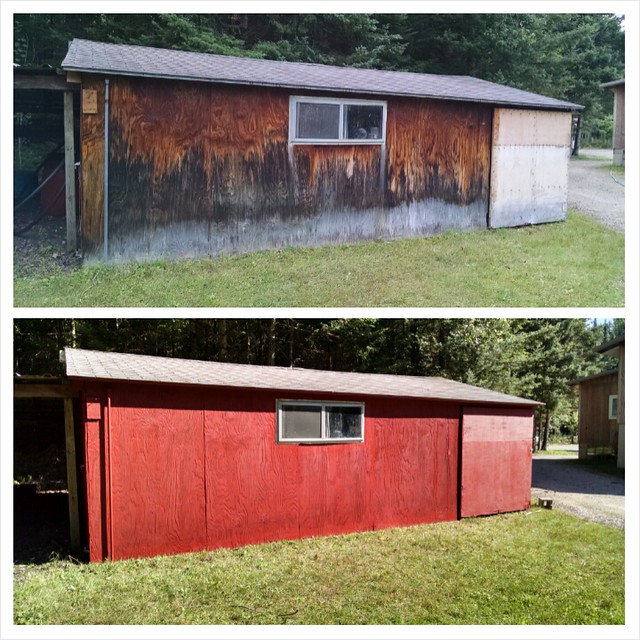
We'll leave you with this one final image. :)
The top picture is the ultimate "before", from the spring of 2010, before we started putting our mark on the place to make it our home.
Until next time!