Chronicling the cleanup and restoration of our house and property in northern Michigan

Chronicling the cleanup and restoration of our house and property in northern Michigan
_____________________________________________________________________________________________________________

Tuesday, February 7, 2012

Basement Finishing Project - Research

With this project we'll be tackling things we've never done before.  We've never framed entire rooms, or run all new electrical and plumbing for an entire basement remodel.  We've done drywall patching, but we've never drywalled entire rooms.  We've never built a bathroom from scratch, let alone in a basement.  We do have a basic understanding of the concepts, but that's not enough to build our confidence going into a project of this magnitude.  So, like every other home improvement project we've taken on where we lacked a solid knowledge base, we're doing our research.


After extensive searching on the web we found that there are many different ways to frame and insulate a basement, and each is offered as "the best method".  Additionally, there wasn't enough down and dirty details to help these amateurs feel confident.  So, we modified our internet search and began looking for highly recommended publications for framing, drywall, and basement finishing.  Yes, we're going to kick it old school and go with actual books.  :)  


This is the list we've come up with.
For the first two we went completely off of the online reviews and how they compared to reviews of similar publications.  With the second two, for us, the author has instant credibility.  We're big fans of Mike Holmes and his shows, and after reading the raving recommendations from the readers of these books we were coughing up good money for them.  We'll need to fish through some Canadian code, but heck...we're far enough north that we're nearly Canadian anyway, eh.  ;)

Sunday, February 5, 2012

Light Up The Yard!

This weekend we tackled a relatively small project, but it's one that was sorely needed.  When it gets dark up here, it gets really dark.  Our back porch opens out onto our side yard, and it is our main entrance.  When it's dark and we're letting the dog out, stoking the boiler, or going out for any other reason we had to use a flashlight.  We have other exterior lights already in place, but nothing mounted in our single most used area.  Brilliant, huh?

We're fortunate in that our back porch is unfinished, which made running the new electrical a whole lot easier.  Still, this wasn't going to be as simple as just running new wiring and installing the boxes and fixtures.  We also needed to clean up some home improvement sins of the past.  You know...things like pieced together extension cords used as permanent wiring and ground wires secured with drywall screws into wood.

Two extension cords, taped together...

...and permanently attached to the existing fixture.

Why?  We stopped asking that a long time ago.
In addition to these fine examples of home improvement know-how and craftsmanship, we also found that none of the outlet boxes had cable clamps.  We cleaned up all of the wiring, grounding, and clamping issues, and below is the finished installation.

New wiring tied into existing outlet, with proper clamping.
Wiring run to existing light fixture on rear of house,
with proper stapling and grounding.
Wire run from new light fixture, over and down to the new switch.
New switch, again with proper clamping and grounding.
The new dual halogen exterior fixture.
The end result of this?  See for yourself.  :)

Before.  Yes, this is an actual picture.
I even had the camera set for "Night Shot" to capture all available light.
After.  Same picture, but with the new light turned on.  
In just one evening of letting the dog out and stoking the boiler, this little project made a HUGE difference.

Talk to you all again soon!

Sunday, January 1, 2012

Basement Finishing Project...and so it begins!

Now that we finally have the basement cleared out and organized, and have some time, we've started on finishing the basement.  The basement is currently completely unfinished, with unpainted cinder block walls and an unpainted concrete floor.  When done, other than being properly sealed and insulated, we will have five separate areas...a new half bath, home office, home gym, laundry, and a multi-purpose area.  We'll also be adding some very necessary storage space.

The first thing we're going to do is seal the walls and floor with water proof paint.  We're going to do this in 1/4's, rotating the "stuff" we have down there from an unpainted area to a painted area until it's completely painted.  It'd be nice if we could move everything out and paint it all at once, but we just don't have the space.  That's kind of the point of finishing the basement, though, isn't it?  :)  Today we started the prep work on the first 1/4.  This included rerouting existing electrical conduit that was secured to the walls, cutting out and removing the baseboard heat, drilling out the multitude of plastic wall anchors, and then caulking all of the holes from the anchors and any cracks in the mortar.

To start with, we needed to deal with the water in the basement zone of the baseboard heat system.  There is a drain valve at a low point in the zone, and we connected a garden hose and ran it to a floor drain.  Just opening the valve wouldn't do the trick, though...very little was draining.  We ended up cutting the pipe just after the shutoff valves on the outlet and return for the zone, plugging the pipe closest to the drain valve, and then connected the garden hose to the hose on our shop vac.  We just let it run until it sucked the zone dry.  We were then able to cut out the piping and radiators in that corner of the basement and have no water, not a drop, run out onto the floor.  BRILLIANT!

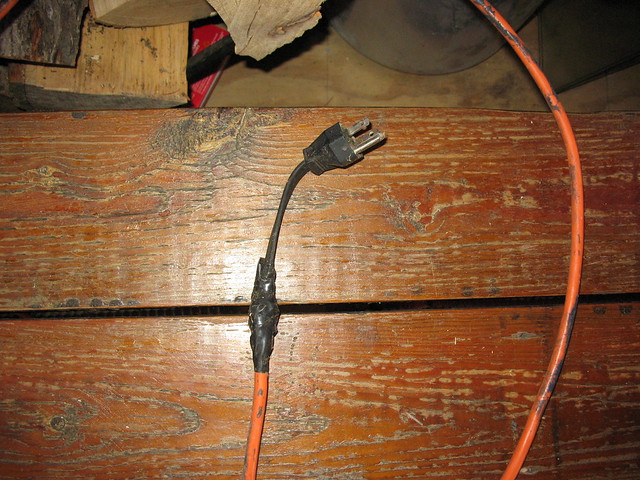
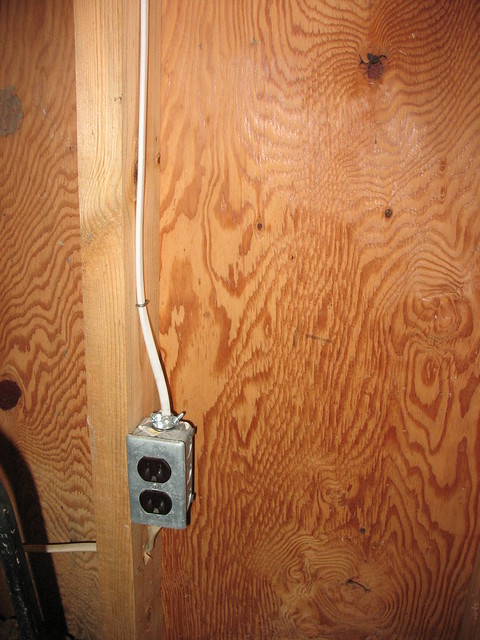
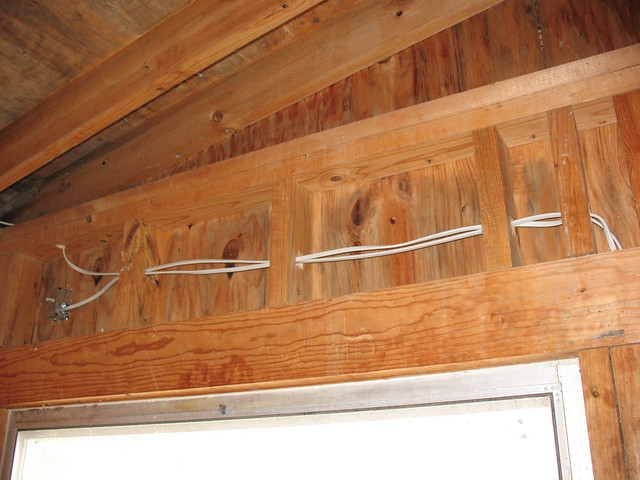
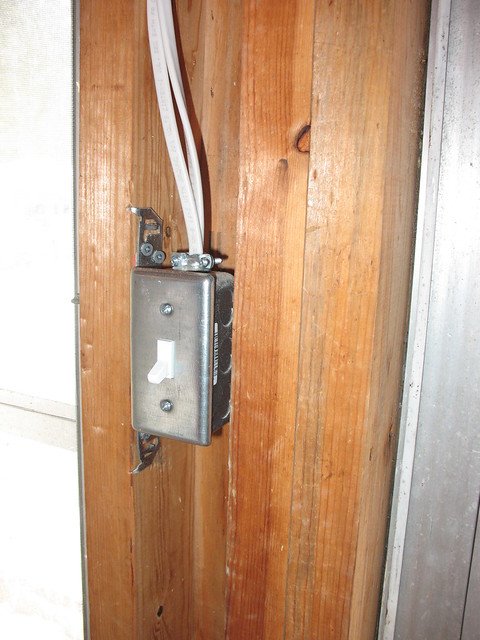
With the plumbing done, it was on to the electric.  Yes, that was by design...remove the water before messing with the electricity.  With age comes wisdom!  ;)  The electric for that part of the basement was run through conduit, mounted to the cinder block.  Tracking the wiring we found that the circuit also included the lights for half of the basement, so just removing it wasn't an option.  We instead removed all of the wiring from the conduit, and then tied the circuit back together overhead on the joists.  Knowing that we'd need an power in that area while working we went ahead and wired in an overhead outlet.  This restored the lighting, and added back in an outlet where needed.  Further on into this project we'll be rewiring the entire basement, but this will get us through until then.

For all of the work we expected a larger pile of debris.   ;)


With the walls clear of the plumbing and electrical the next step was to caulk the holes and cracks.  That is, after a quick vacuum to remove the dust, cobwebs, and chunks of plastic wall anchor.  We'll be painting the basement with UGL Drylok paint, so we went with their masonry caulk.  We're not doing this for aesthetics, as none of this will show after we stud out the walls and hang the drywall.  We just want to know that after we do cover it all up that we won't have problems with water/moisture intrusion down the road.

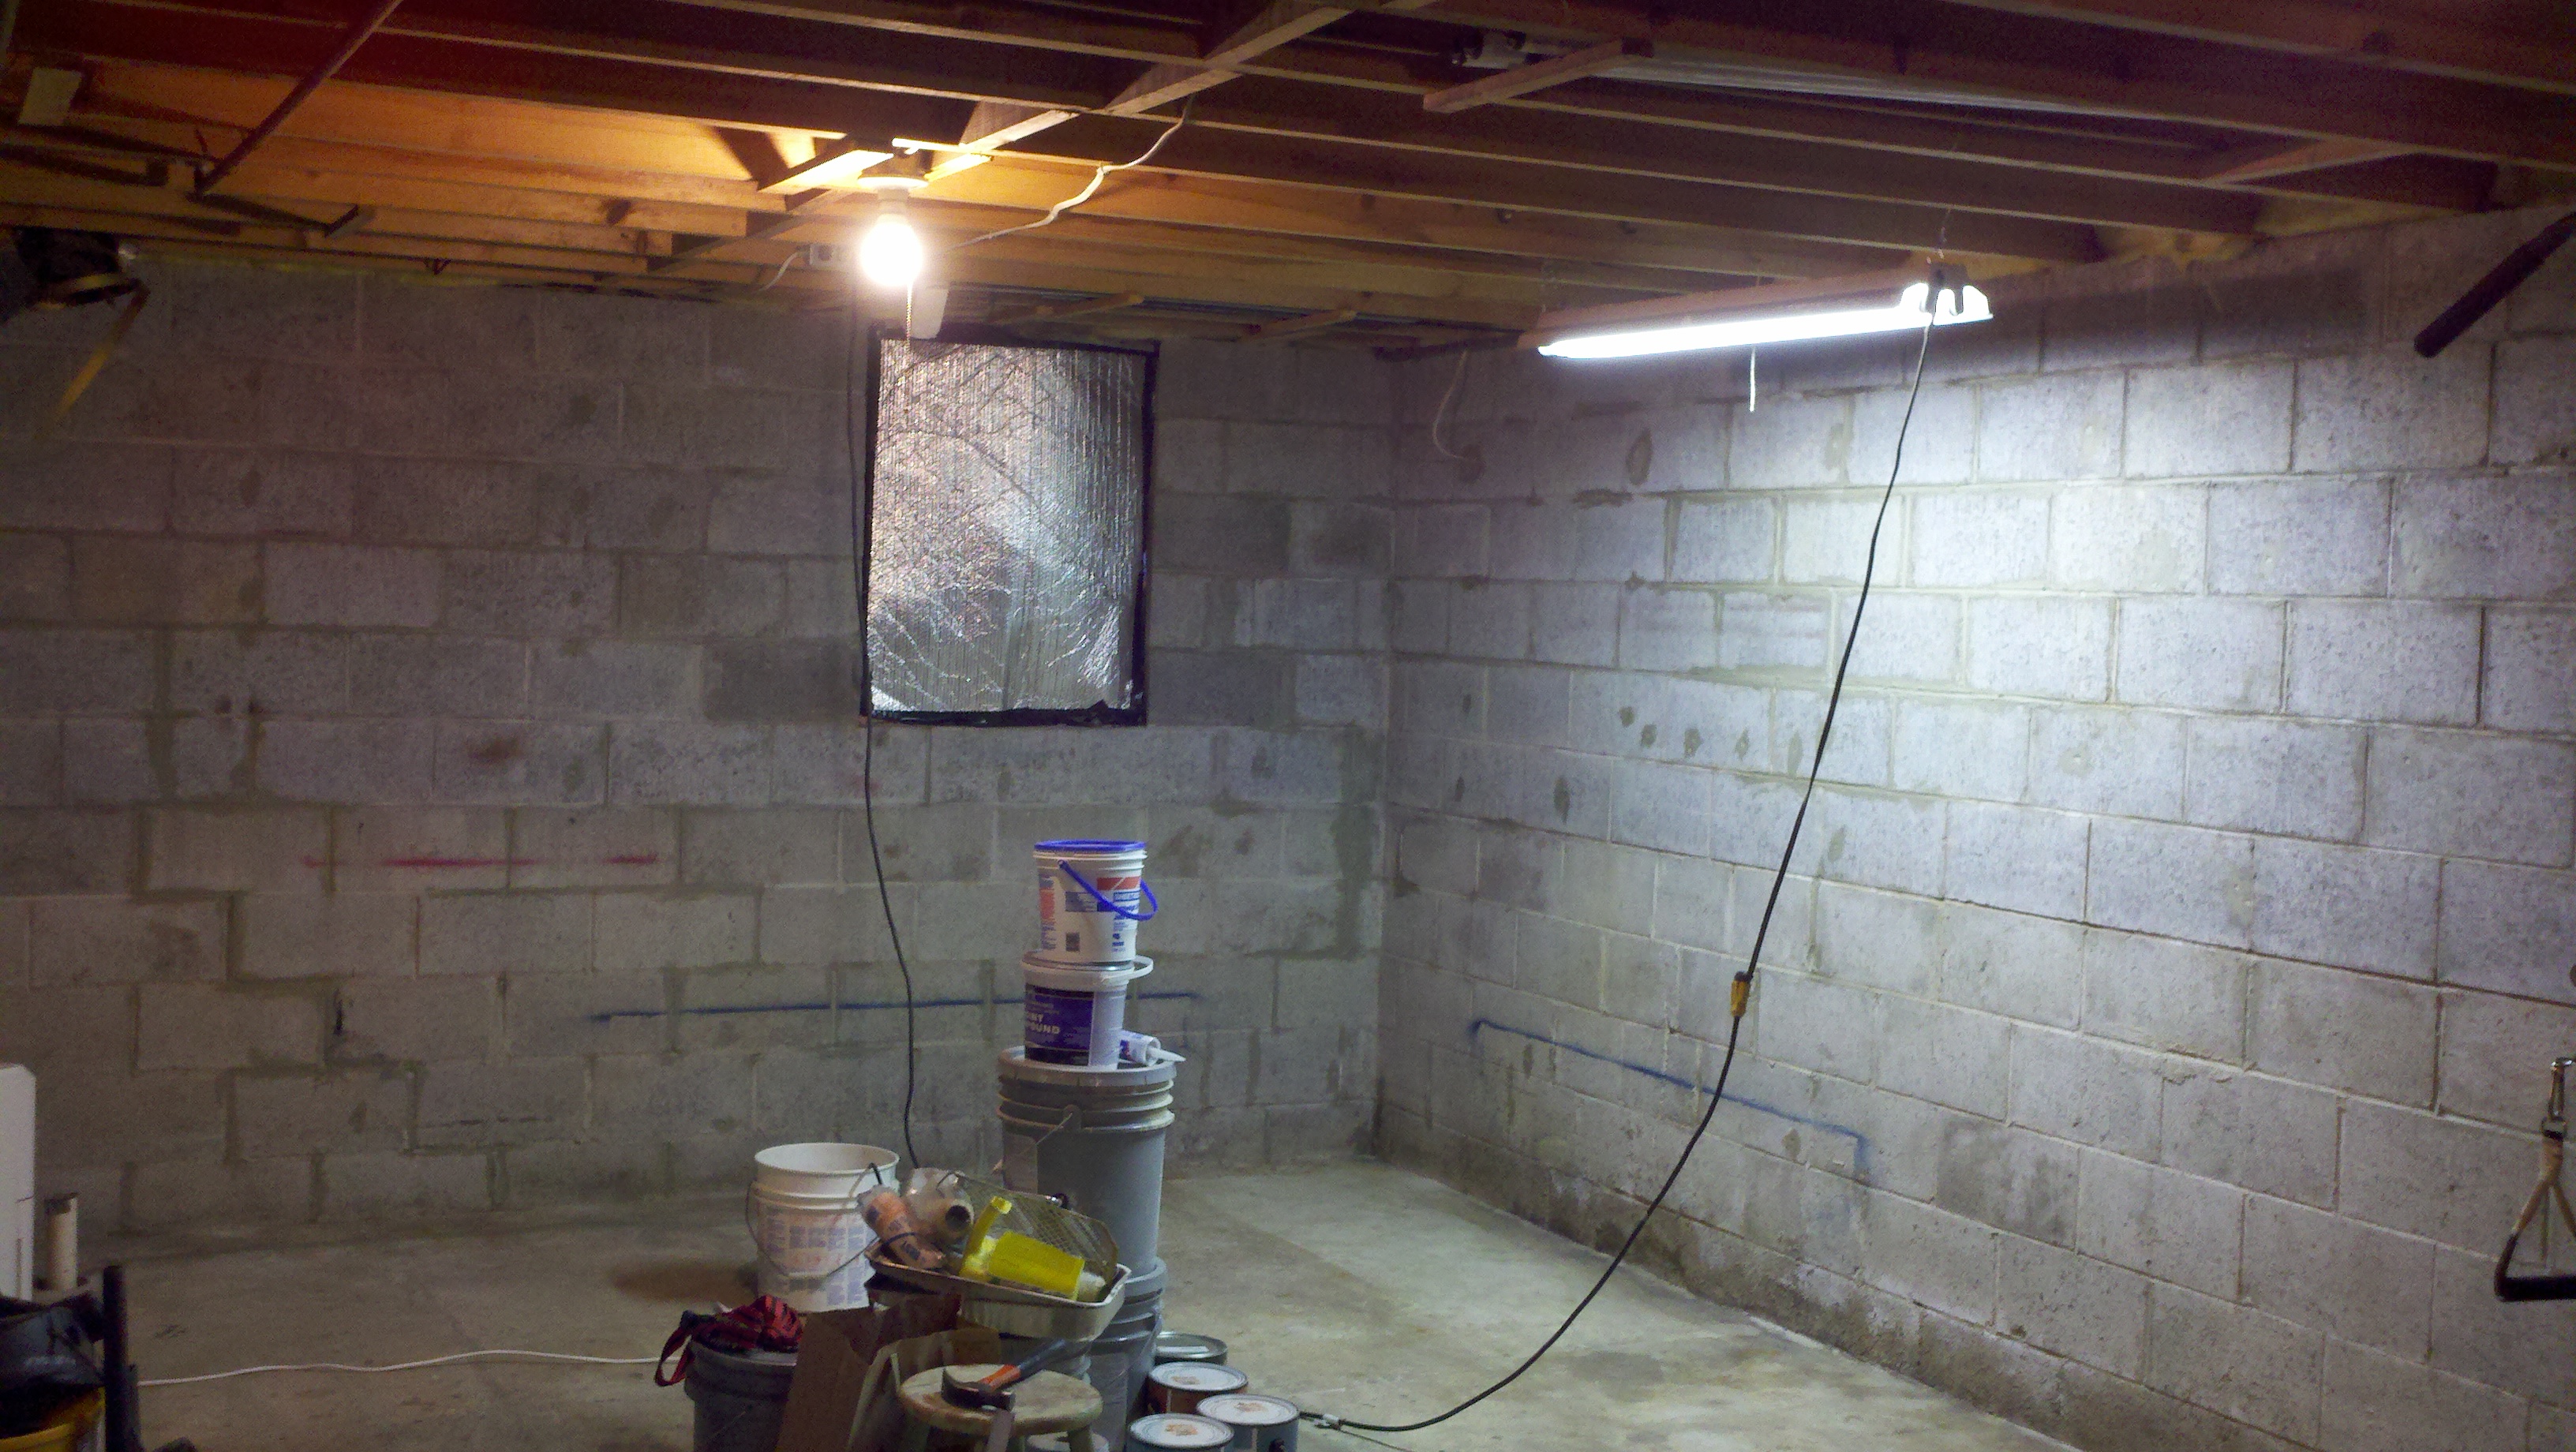
That's pretty much it for this installment, other than a few before and after pics.  :)  The difference between the two pictures hardly reflects the effort, but after the caulk cures we'll be painting.  We're looking forward to the difference that some white paint will make.

Before
After