Chronicling the cleanup and restoration of our house and property in northern Michigan

Chronicling the cleanup and restoration of our house and property in northern Michigan
_____________________________________________________________________________________________________________
Showing posts with label gravel driveway. Show all posts

Sunday, June 2, 2013

It's all good, and then some...

Well, how about that.  It's only been two months since our last update.  That's an improvement...right?  :)

We've been living up here at Shangri La now for a little over a year and a half.  That's not a ton of time, but it's long enough to know whether this move was a good or bad idea.  Remember, this move wasn't about leaving our home in Ohio.  It was about moving here.  Had we had a bad experience in Ohio we could have called this a success right out of the gate...right?  There are things, and most definitely people, we miss in Ohio.  Shelly and I have talked at length, though, and we both agree that the positives for us far outweigh the negatives.  This move has been, and is, a good thing for us.


We're well into spring, and we've been continuing to tackle smaller, but needed, projects.  That is, when we're not dodging raindrops and high winds.  It is most definitely spring in northern Michigan.  Tightening our belts has paid off, and we managed to pay off quite a bit.  We're on much more solid financial footing, and are beginning again to think about tackling some of our larger projects.  Before talking about any of that, let's get caught up on what we've been doing around here.

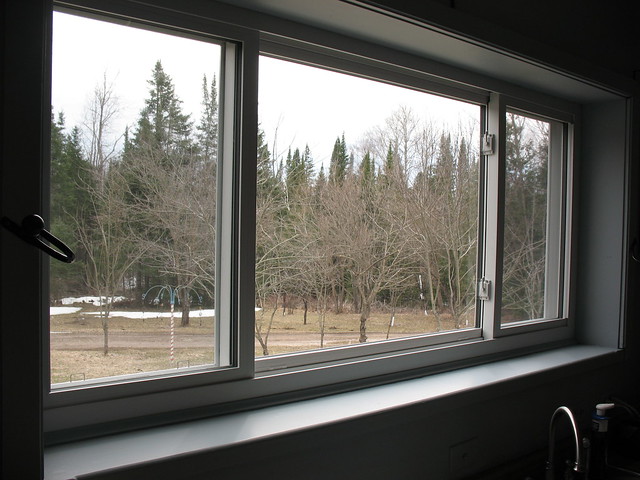
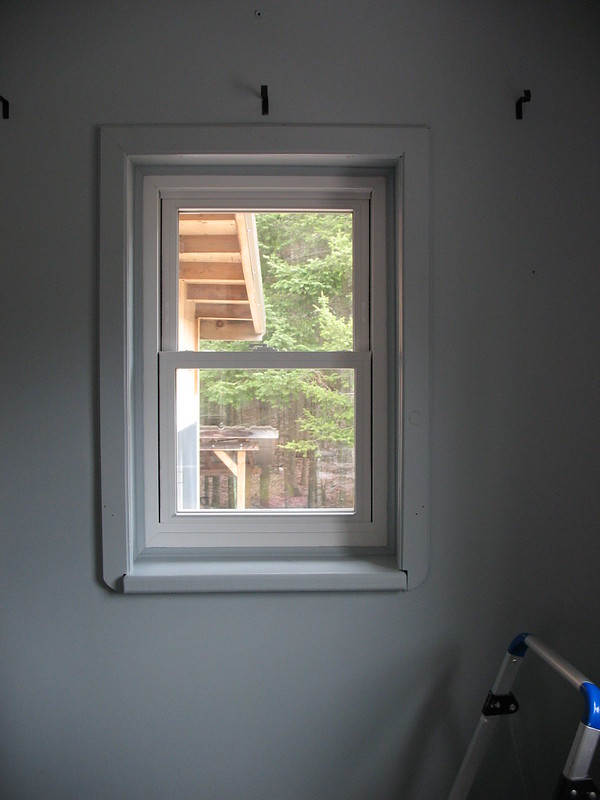
One of the things we needed to pay down was the purchase and installation of new windows.  Between last fall and this spring we had new windows installed throughout the house and basement.  We had a combination of metal framed casement, wood, and old vinyl, with the latter being very poorly installed.  We now have vinyl insulated throughout the entire house, and the difference has been nothing short of astounding.  You may recall that I had to rip out all of the baseboard heat in the basement for the finishing project.  That leaves the pipes coming into the house from the wood fired boiler as the sole source of heat down there.  With just that for heat the basement remained between 60-65° throughout the winter.  Before the new windows the basement saw winter time temps between 40-45°, so the windows were definitely a good investment.


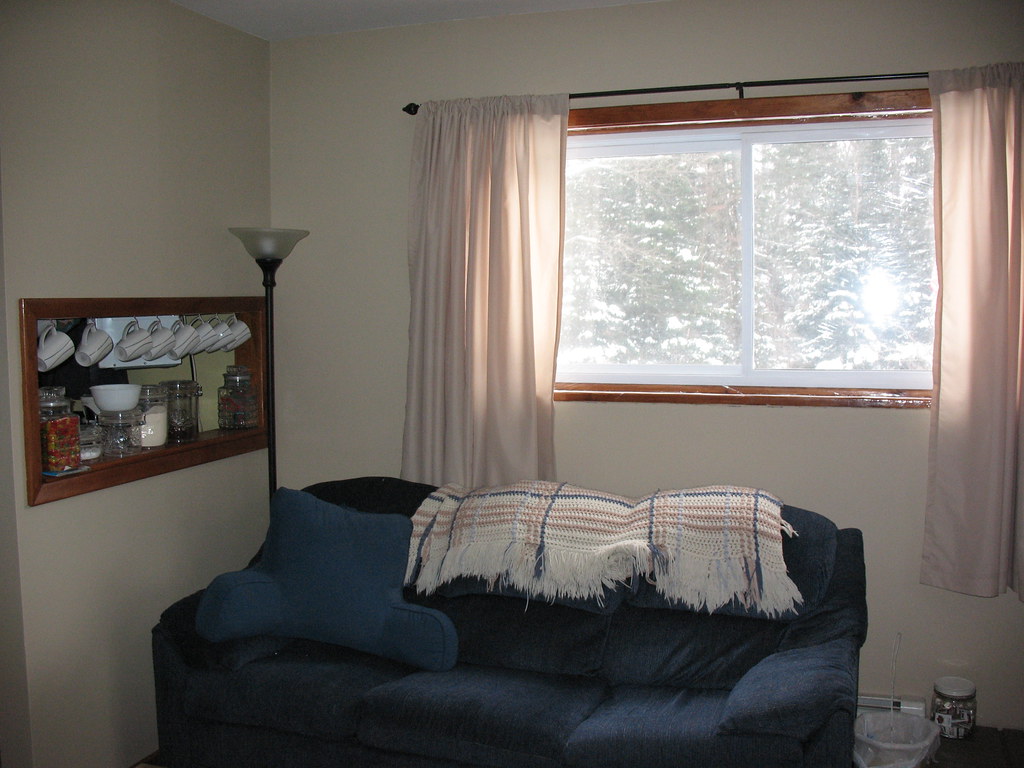
After the installation of the new windows the wood trim needed attention.  Shelly puttied, sanded and painted the trim in the rooms we've already finished.  The difference is stunning.  I always believed that window trim should be a different color than the walls, and stand out.  Shelly has convinced me otherwise.  She painted the trim the same color as the walls, making the view outside the focal point.  I freely admit it...Shelly was right, and I was wrong.  :)

Before
After
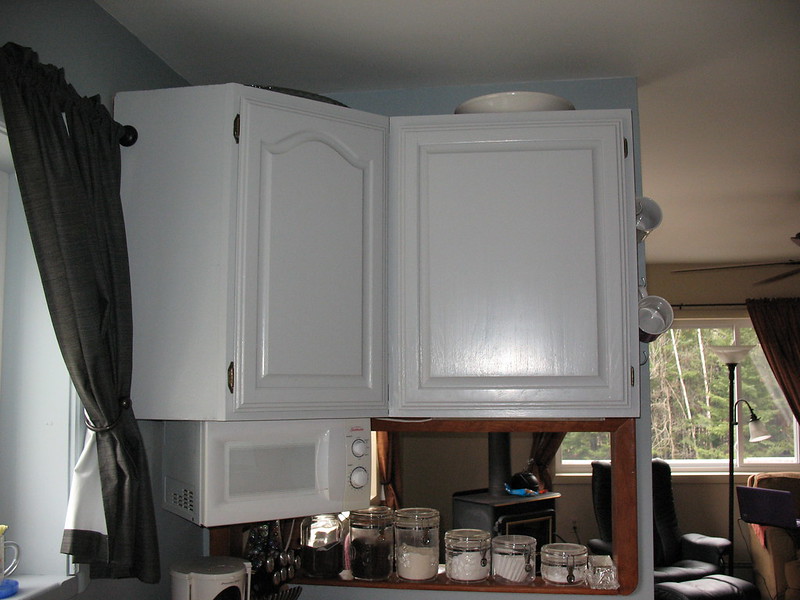
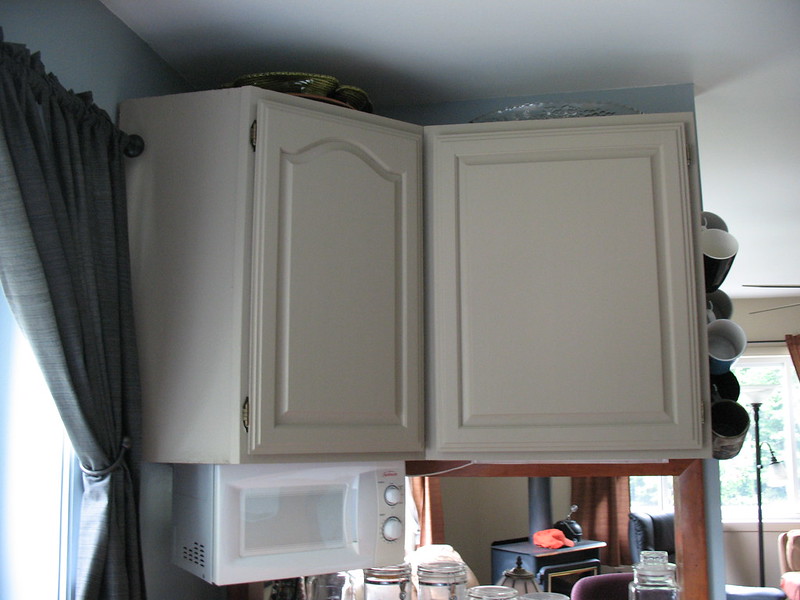
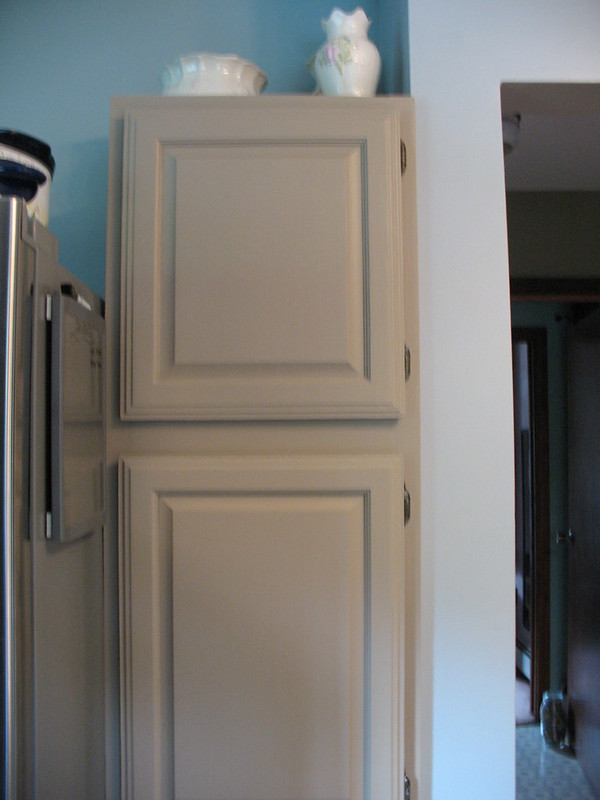
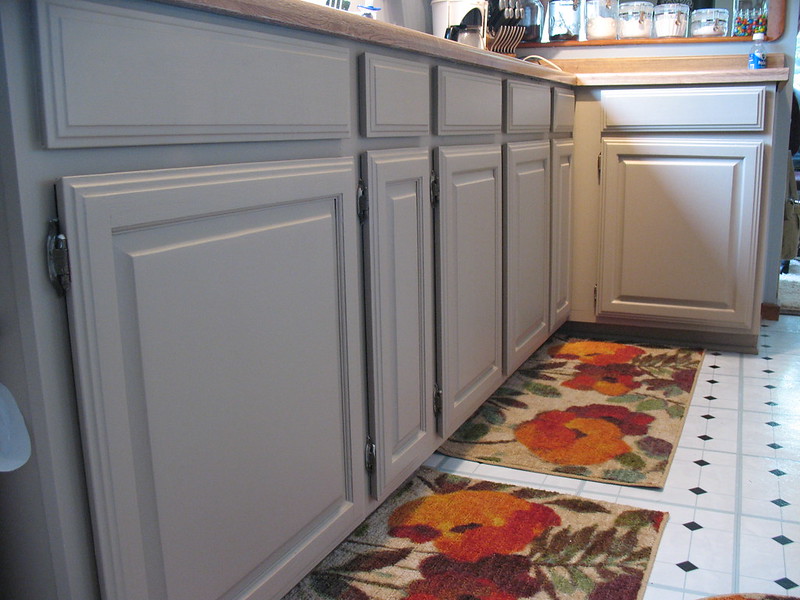
Shelly also painted the kitchen cupboards...twice.  The first color she chose was too close to the color of the walls, and it looked a bit too washed out.  Window trim blending in with the walls = good thing.  Cupboards, not so much.  The second coat looks fantastic.

First paint job


Second paint job


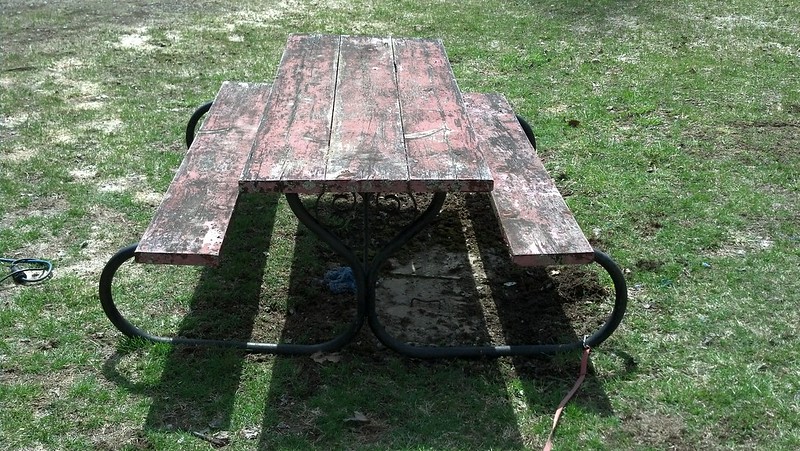
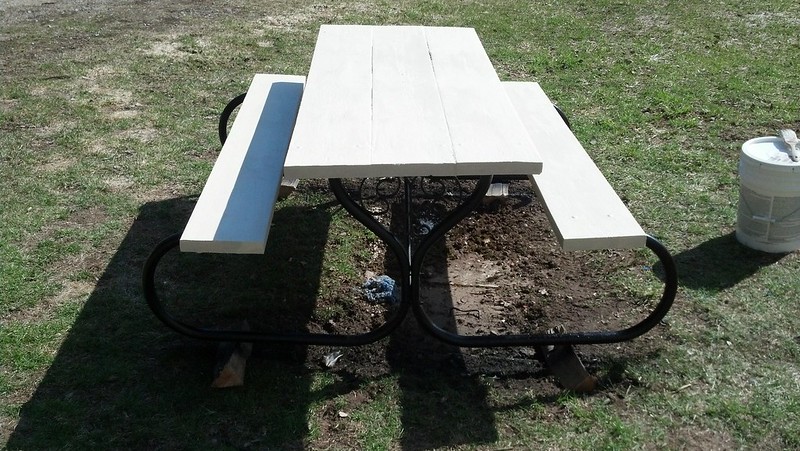
We have an older picnic table that had seen better days.  The wood planks were really showing their wear, with most of the paint flaking or completely gone.  I took the belt sander to the benches and the table top and wire brushed the metal frame.  I then painted the table top and benches with some Dry Lok from the basement project, and gave the metal frame a good coating of Rustoleum.  I had all of the materials on hand for this job, so this was a nice return on a free project.

Before
After
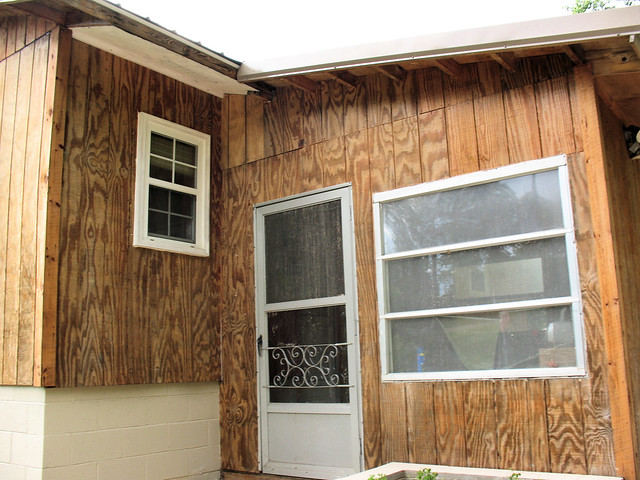
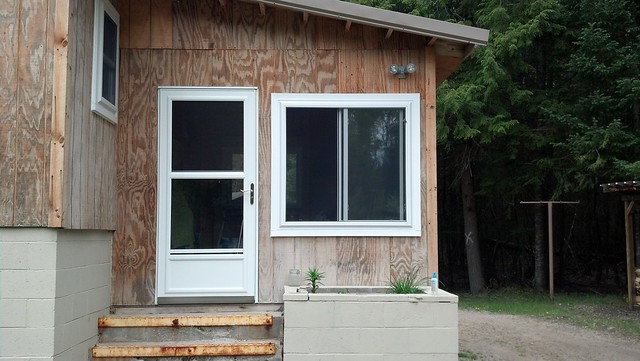
Our enclosed back porch is our primary entrance.  The storm door was a simple, old aluminum storm door, and as first impressions go we certainly could do better.  We installed a swanky new door with a retractable screen.  We also changed up the door so that it opens from the opposite direction.  We had replaced a door in Ohio with something similar, but the job then was far simpler.  Since then the manufacturers have stopped making left and right opening doors.  They now make one door and put the responsibility of making it left or right opening on the installer.  It's sad, really.  They're not charging any less for the door, yet they're giving the consumer far less.  Oh, well.  It turned out well, and we're happy with the look and feel of it.  

Before - Old aluminum door and old windows
After - New door and new window.  The steps will be the next
thing to get done.  We've already started on them.  ;)
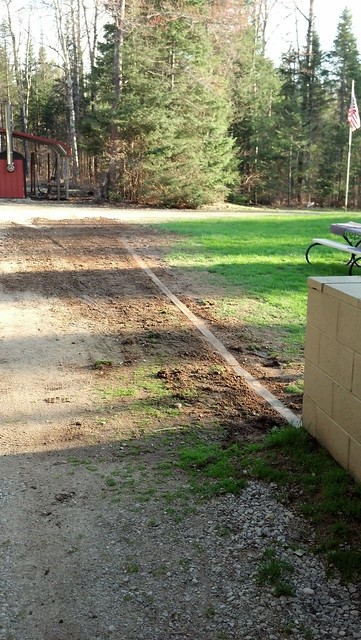
The yard close to the house, where it meets the driveway, was a bit too undefined for my taste.  I wanted to install some type of border to better separate the yard from the gravel drive, but I also needed it to be flush with the ground so that I wouldn't catch the plow on it in the winter time.  I wound up using 4"x4" treated lumber.  The front end loader on the Kubota made quick work of the needed trench.  I'm pretty darn happy with how it turned out.  Another nice return on a free project.


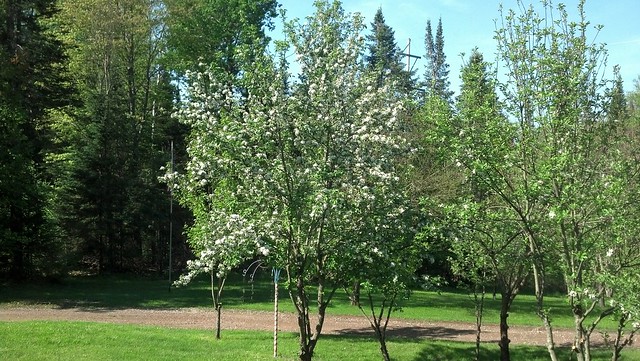
Separate from the house, we've been working on our fruit trees and our garden.  I posted previously on pruning the fruit trees, and they're coming along nicely.  The tree with the pink blossoms is an ornamental crab apple tree.  I was fearful that after aggressively pruning it this winter that it wouldn't come back.  It not only came back...it's thriving.  


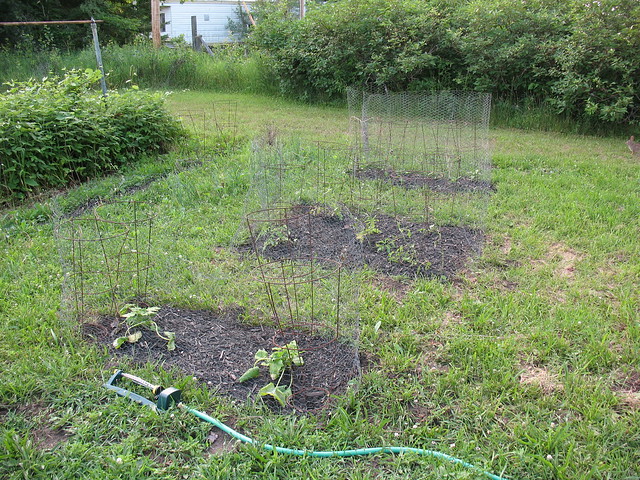
We're working on a garden again for this year.  We learned several things from last year's failed garden.  First and foremost, we SERIOUSLY downsized for this year.  Boy, did we get overzealous last year.  We started this year by laying a dark tarp down for over a month, to try to kill off the grass before tilling.  Our garden last year was about five times the size of what you see here, and last year we tilled the grass and weeds right into the soil.  It seems obvious now, the things we did wrong, but last year we didn't even know what we didn't know.  We're learning.  :)


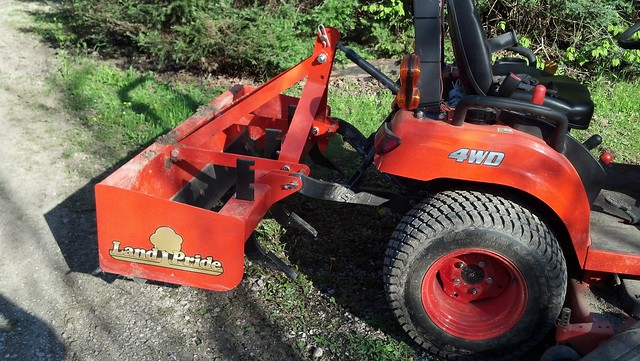
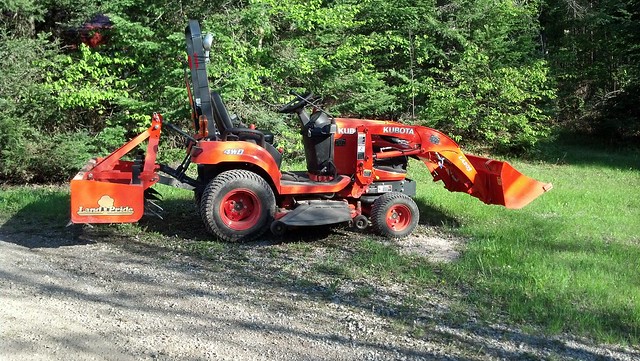
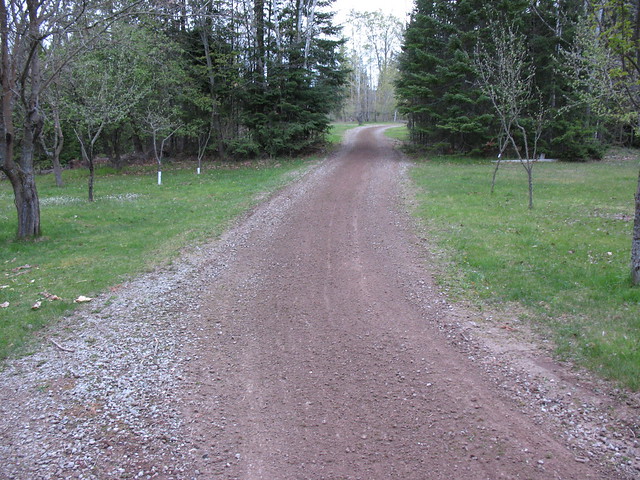
We recently did make one larger purchase.  We needed to be able to maintain our 1/8 of a mile driveway.  I have been hunting for a good deal on a box blade, to mount to the three point hitch on the tractor.  We got to the point with the driveway that waiting for a good deal was no longer possible.  The ruts and potholes were getting away from us.  We did our research, and bought a 54" Land Pride box blade.  We have absolutely no buyer's remorse.  This is the exact tool that we needed.  With just several passes, the driveway was smooth, and rut and pothole free.  It also brought quite a bit of gravel back to the surface.  We were ready to have a sizable load of gravel brought in.  We'll still need some, but now just for spot fill.  


There are a bunch more pictures of the work we've done.  If you'd like to see them click on our Pictures & Video page, then click on "February 2009 to Present" under Picture Archive.  You'll be taken to our Shangri La photo album on Flickr.  :)

That's pretty much it for this installment.    We have a few other things we're working on, but I'll save those for a later installment.  Until next time!

Thursday, July 5, 2012

Our last post was when?!!

What?  When was our last post?  March 19th?!  Are you sure?!!

Yep.  Our last post was on March 19th.  These past couple of months flew by, and strangely have not resulted in a ton getting done around 'ol Shangri La.  We've accomplished a couple of things, but nothing truly exciting.  Rather than bore you with a bunch of jibber jabber, how about we go with some pictures with a tad bit of commentary.  Cool?  OK...let's push on with getting caught up.

These will be in darn close to chronological order, and I'll break it down for you by month.  :)

April

These next few pics are of areas Shelly cleared and cleaned up.  :)

Before Shelly kicked butt
After!
Before Shelly went all medieval.
After!
Before Shelly opened a can of whupass.
After!


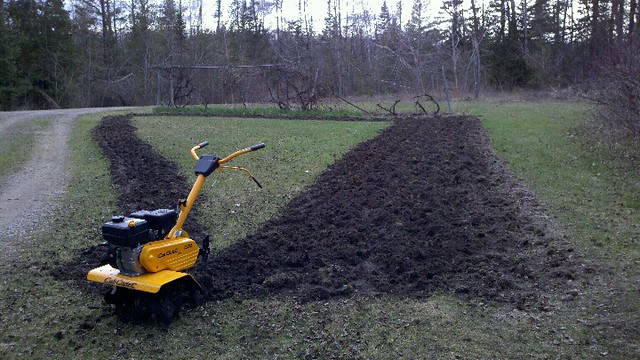
Our first northern MI garden.  In later pics you'll
see that Mother Nature is laughing her butt off at us.


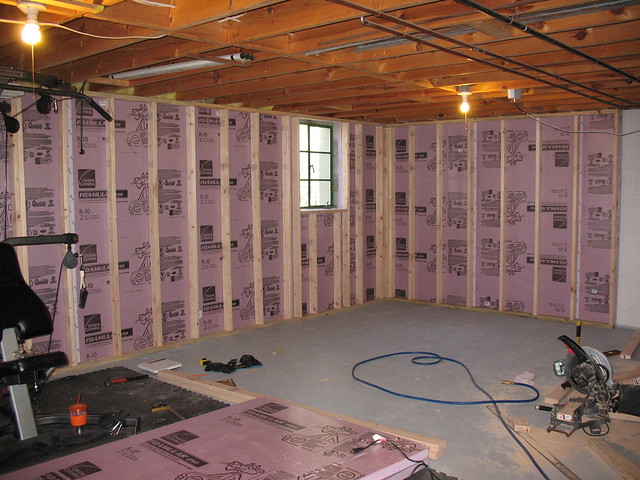
The last update had the first section of basement
insulated and framed.  Section 2...done!
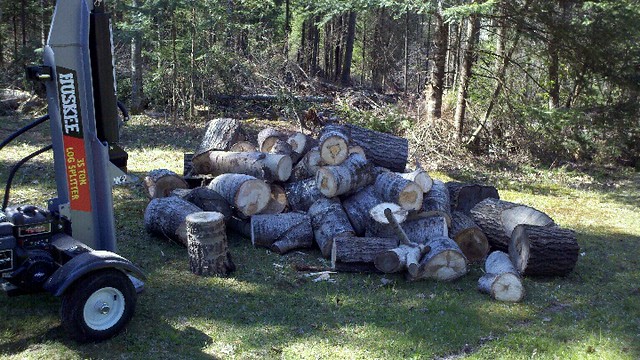
Cut up and split some deadfall, to supplement the load
of firewood we'll need to buy.  Got to feed the beast!

May

Not too bad of a grading job, for an upside down plow with a
cinder block on it being towed behind a garden tractor.
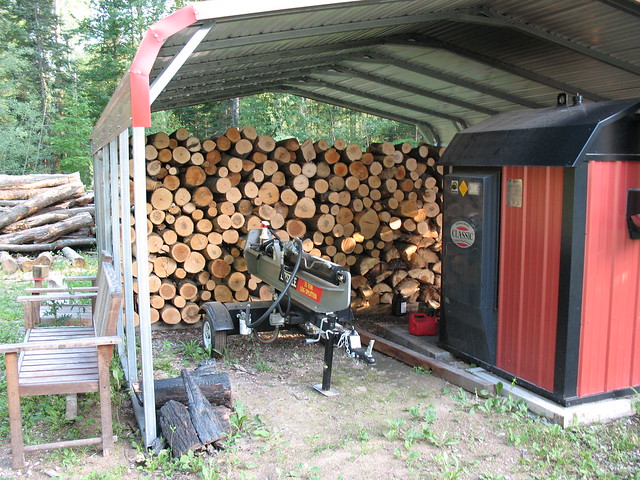
Ten cord of firewood being delivered and stacked by
a really cool truck.
Ten cord of firewood...delivered!  That should get us
through two seasons.  
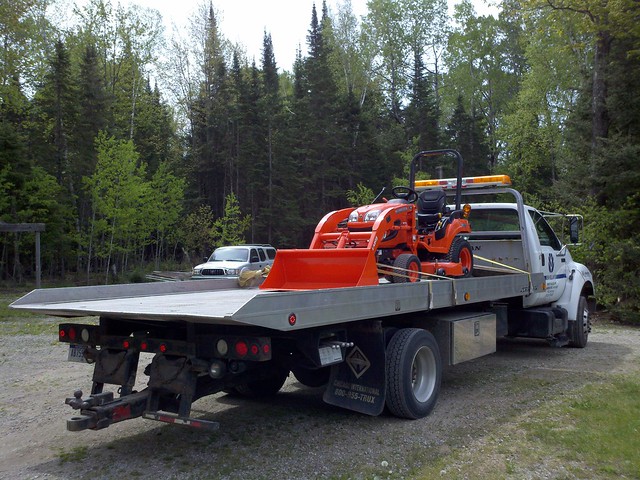
Our new tractor being delivered by another cool truck.
This one is cool only because it's delivering our new tractor.
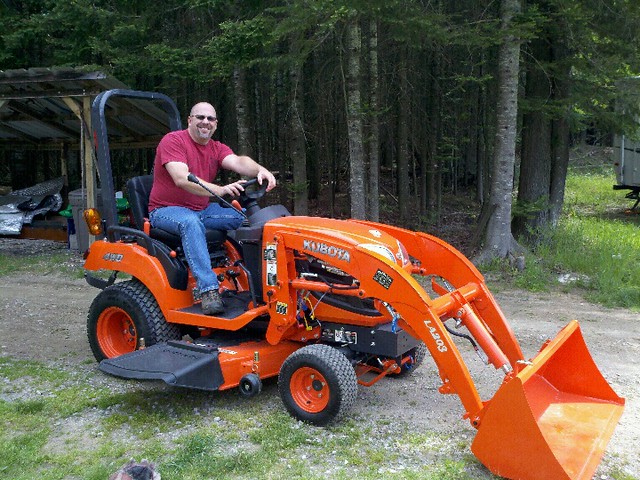
That's me on our new Kubota BX1860.  That smile?  It only
looks like it wraps all the way around my head.
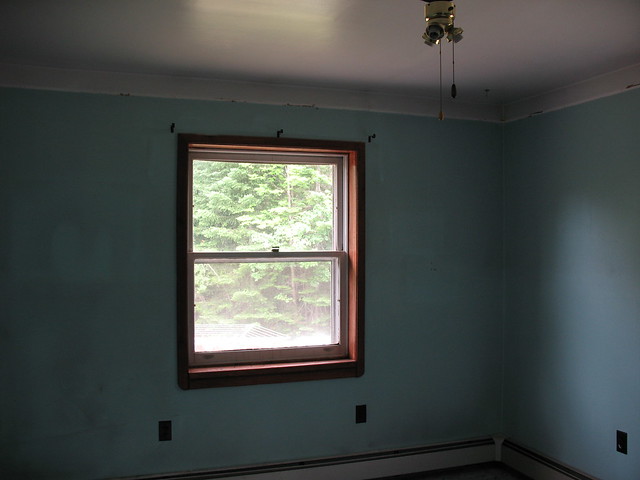
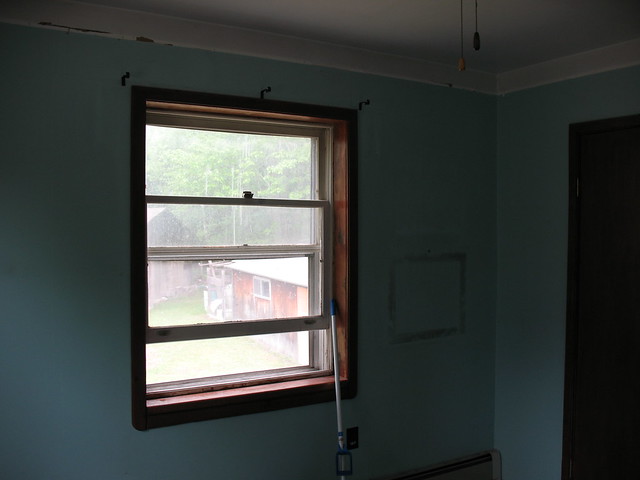
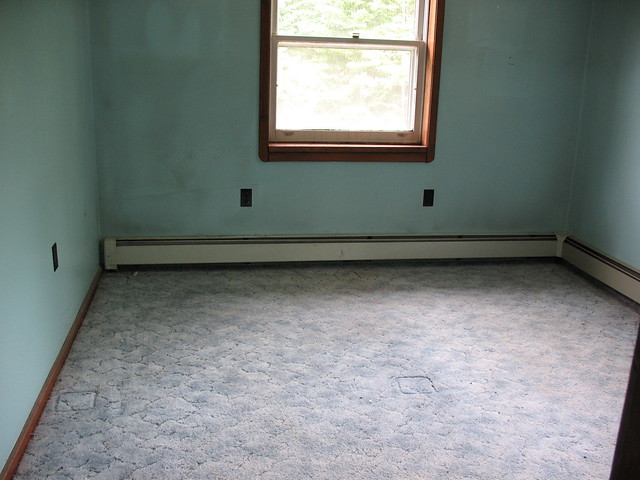
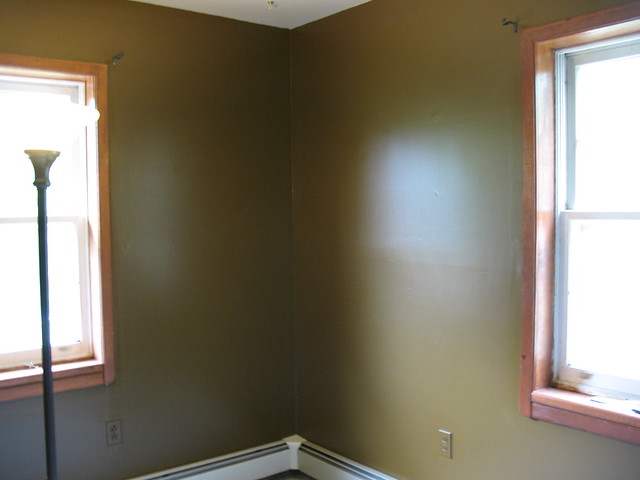
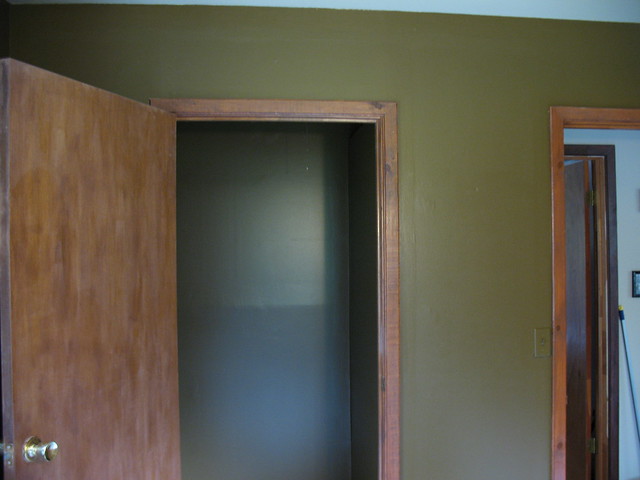
These next pics are befores and afters for the painting of our son Michael's room.  :)


We really have nothing for June as far as activities around here.  It was a crazy month, which included a trip to Arizona for a campus tour for our youngest son's new college.  Yep...June was a blur.  :)

July

That picture of the freshly tilled garden-to-be?  Yeah...this
is that same space.  Did I not tell you that Mother Nature had a good laugh on us?  We left for a
week, and came back to a lawn where a garden should be.
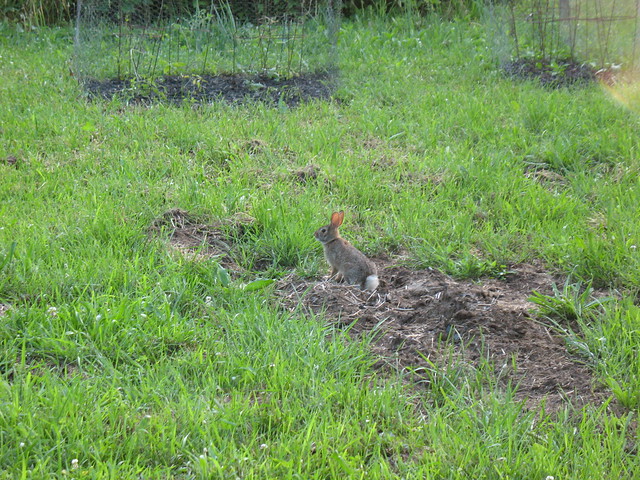
To add insult to injury, what little we've been able to grow is
feeding the local bunny population...which by all accounts is quite
extensive.  Apparently they really do multiply like, well...bunnies.
So, Shelly toned down her ambitions for this year.  She bought
a few plants, and commenced to make them bunny-proof.
That's about two cords out of the ten, cut and stacked.
We're going to wait for cooler weather before we tackle
any more of that pile.  WHEW!
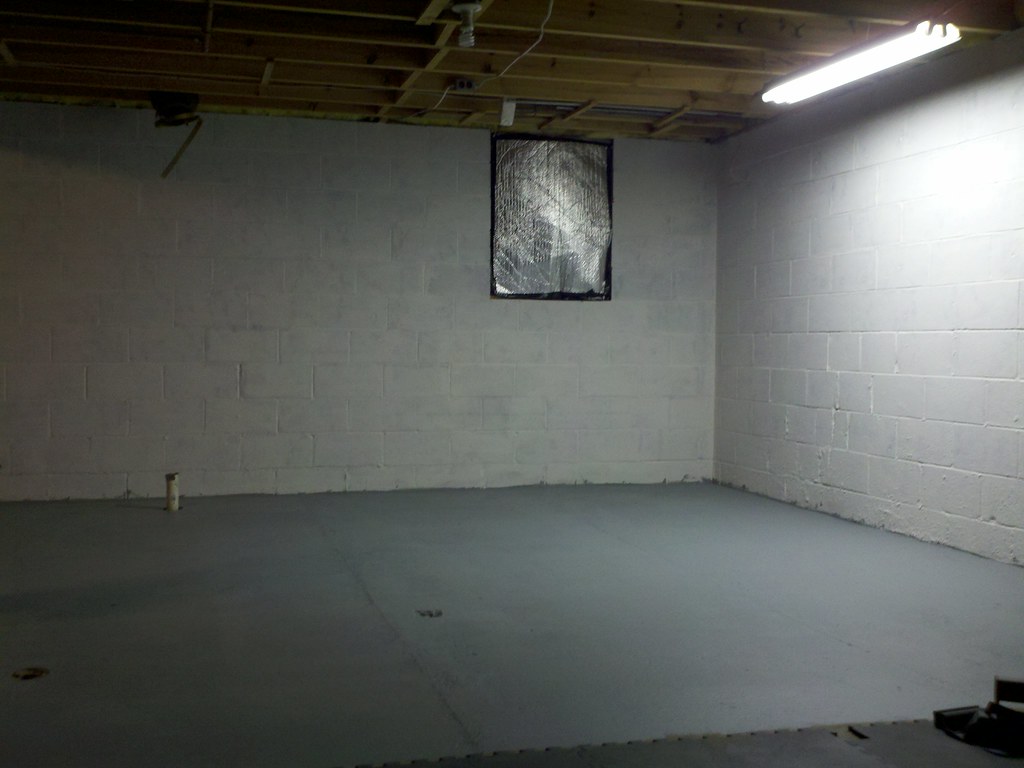
The third 1/4th of the basement, with the walls caulked
and Dry Lok'd and two coats of paint on the floor.  It's all
ready for framing and insulation...after some rerouting of
plumbing, anyway.
So, that gets us caught right up to today.  Literally, to today. I put the second coat of floor paint down just this evening.  

Looking back on it all, I'm going to take back what I said at the start of this post...about not a ton getting done.  We actually did accomplish some stuff around here since March 19th.  I'm glad I did this.  I'm feeling much better now.  :)

Talk to you all soon!

Monday, February 27, 2012

This, that, and that there other stuff we've done...

It's been a busy three weeks since our last update, which is likely why there hasn't been an update in three weeks.  Hah! ;-)   Probably the best way to do this would be to give you the bullet points, then the details on each.  :-)

  • Basement Refinish Project
  • Spackling & Painting
  • Dying Appliances
  • Tree Pruning
  • Contending with "THE HILL OF DOOM"
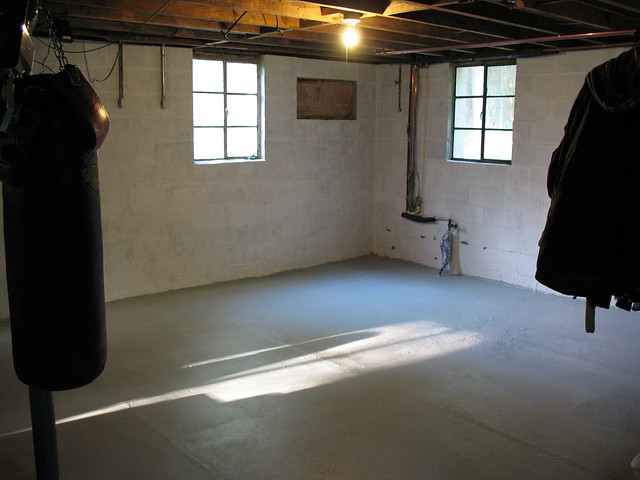
These past few weeks Shelly and I have pretty much been taking a divide and conquer approach.  Though we're working together on side projects, we're focusing separately on our main projects.  My main project continues to be the finishing of the basement.  Our last update had the water proof paint on the walls.  The floor is now painted in that quarter of the basement.  There...that's it...that's the entire update.  I've been traveling quite a bit for work since the last update, with a conference in Grand Rapids and training in Chicago.  There were also the "Dying Appliances", which we'll get to.

1/4 of basement, sealed and painted

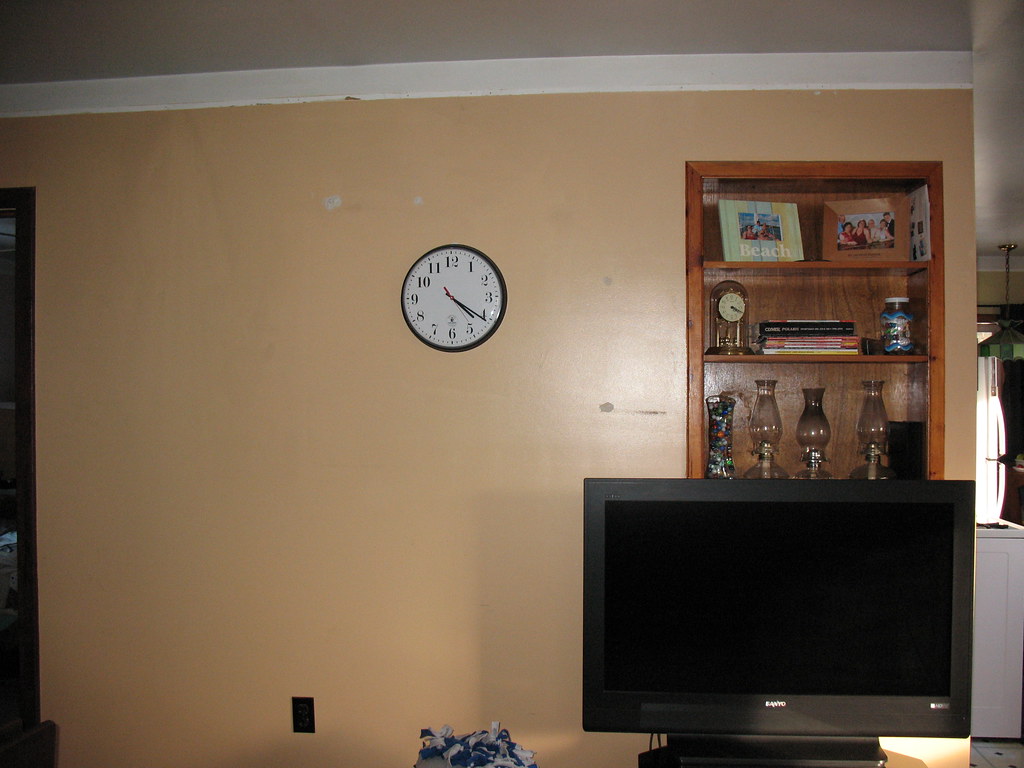
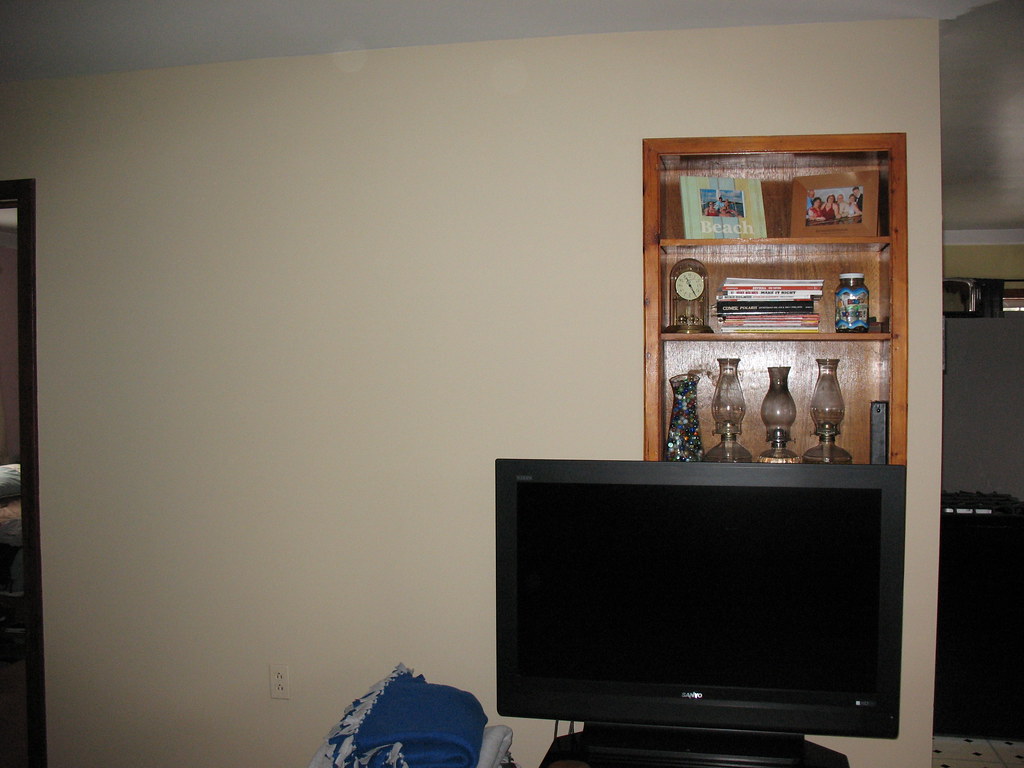
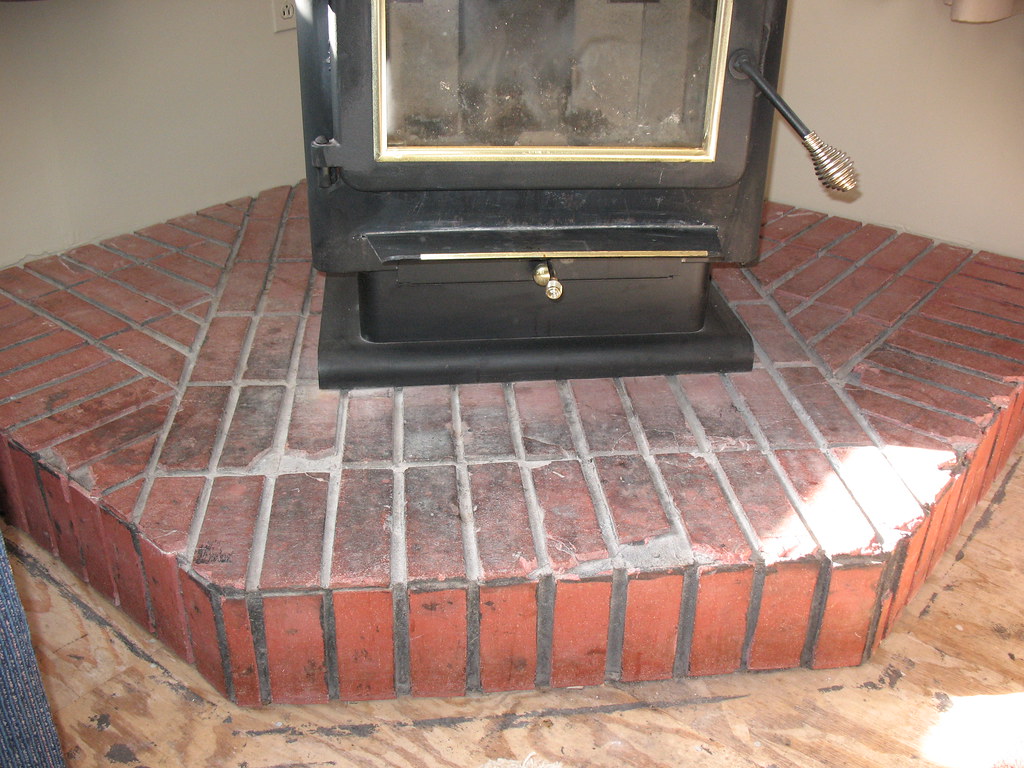
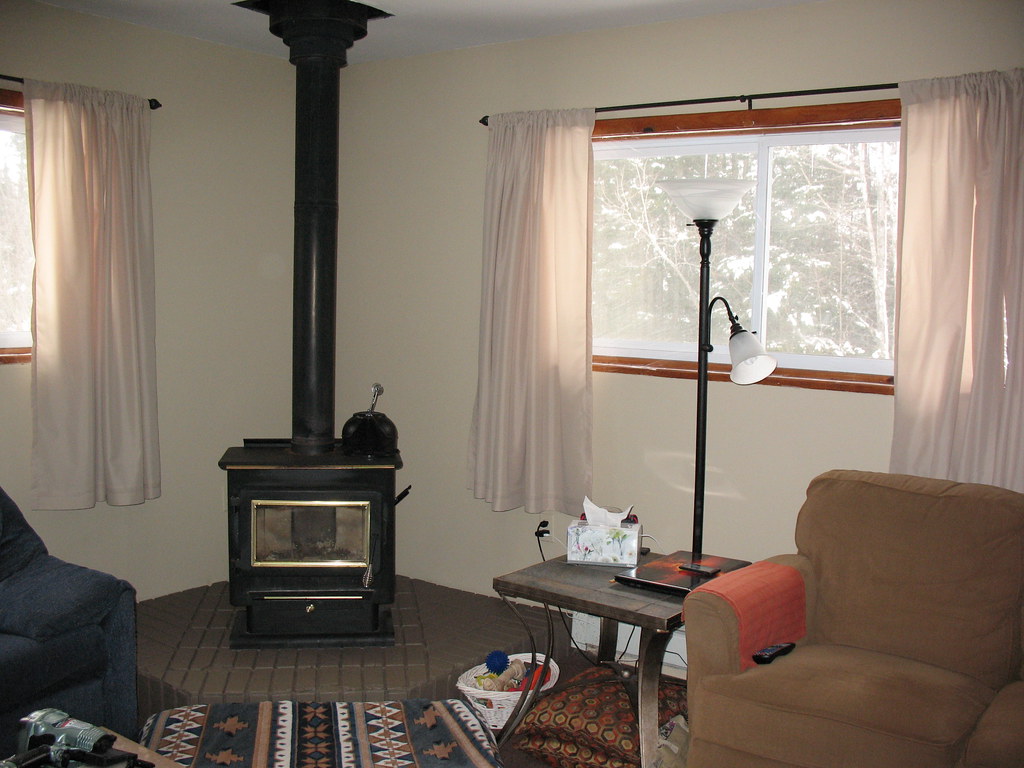
Shelly made considerably more progress than I did.  Realizing with the pace we're on that the basement is going to take us as long as a year or more to complete, we knew we couldn't live with the upstairs looking like it does/did.  At some point the upstairs will become our project, and there'll walls coming down and sliding doors going in, and etc...  But, we just can't stare at these walls any more.  The house was built in the 70's, and this is the original paint.  It's got to go.  So, Shelly set herself the task of prepping the walls and painting and started in the living room.  This involved wiping all of the walls with TSP to remove the soot from the wood stove, spackling all of the many holes from various wall hangings, trim, and shelves, sanding said spackling, and painting.  In addition to the walls she also painted the hearth for the wood stove.  The difference is nothing short of stunning.  

Before
After
Before
After
Before
After
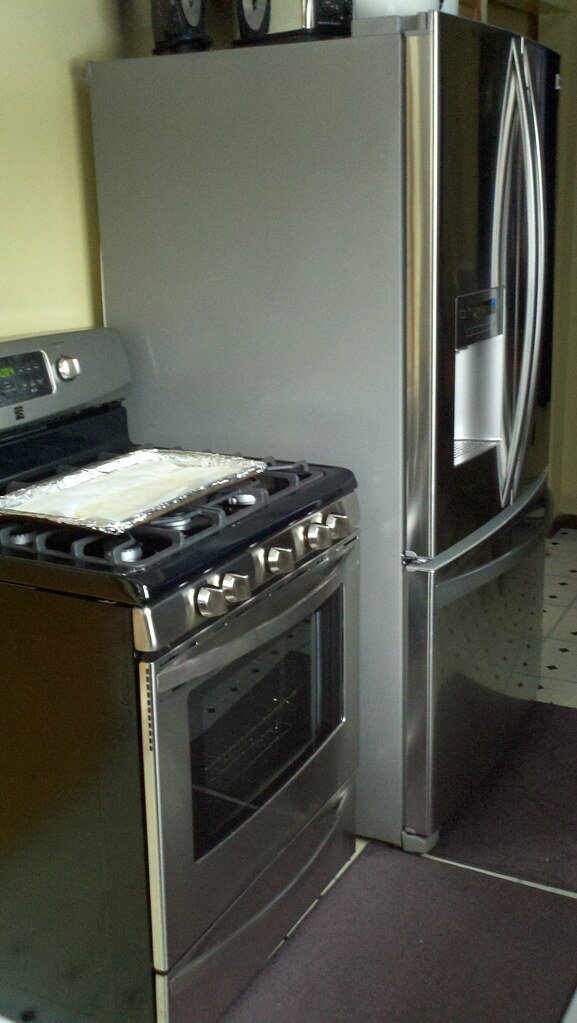
Our major kitchen appliances came with the house, and had quite a bit of use on them.  While I was in training in Chicago our refrigerator and stove died.  So, on the way back from Chicago Shelly, Michael, and I met up in Gaylord to shop for replacements.  We checked out Lowe's first, but we ended up buying from Sears.  So, our little kitchen is now equipped with pretty, new, stainless steel, matching Kenmore appliances.  They look out of place right now, with all of the outdated and worn out flooring and cabinets, but they'll look great after we remodel.  Think to the future, right?  :-)  Picking up the fridge and moving it in took the good part of a weekend (blech), and part of another to convert the stove from natural gas to LP.  Hence the short list of progress on the basement.  

Before
After
We have a dozen or more fruit trees on the property, which we're just learning how to maintain.  Having learned that they need to be pruned in late winter before the sap starts running, and with the warm weather we've been having, I dove into getting them all pruned up.  Now, there has been nobody living up here in quite some time, so these trees have been seriously neglected and were seriously overgrown.  Armed with my pole saw and pruning shears, and what little knowledge I gleaned from various internet articles, I pruned the crap out of all but a few of our trees.  I think I did pretty well for my first attempt, but only time will tell if I really did them any good.  

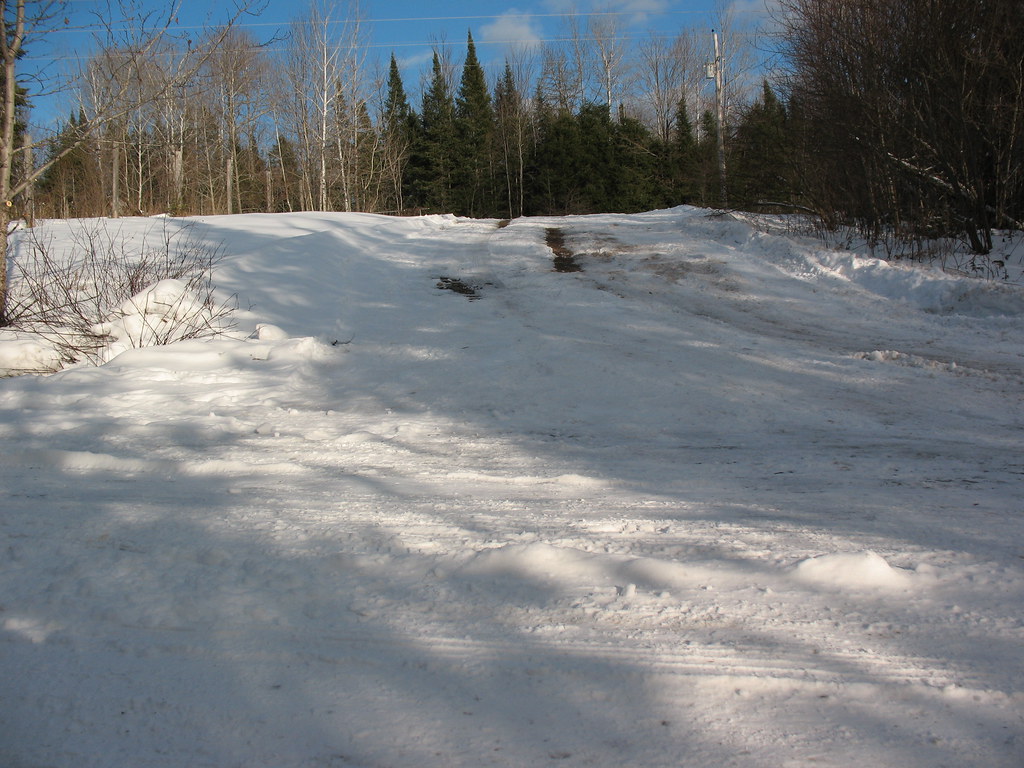
The one thing we've been struggling with more than anything this winter is the entrance to our driveway, aka THE HILL OF DOOM.  Our driveway starts from a deep dip in the road.  This means that to get into our property you have to climb up a fairly steep gravel incline, or descend down into the dip when leaving.  Add some snow and ice, and it can quickly become an insurmountable obstacle if you're not driving a 4x4 equipped vehicle.  We've plowed it, snowblowed it, salted it, chopped it, spudded it...but the ice just continues to build up.  The only thing that seems to work remotely well is to spud through the ice a trench the length of the incline, about a tire width.  As long as we aim well for the trench, so that we can bite onto gravel, we have relatively no problem.  Miss it, or if it's not completely cleared down to gravel, and you find yourself sliding backwards to the bottom of the hill.  With a ditch on either side of the driveway, and with a sheer drop on the other side of the street opposite the driveway, it's a white knuckle ride in reverse.  Digging out the drive to lessen the slope is not an option, as there is a spring under the hill.  Digging it up and possibly uncapping it would just add water and mud to the mix.  We need a viable plan to address THE HILL OF DOOM before next winter.  Sooner or later something bad is going to happen to one of our vehicles, or UPS's, or FedEx's, or USPS's, or the Jehovah's Witnesses', etc...

THE HILL OF DOOM!
That pretty much catches us up to today.  Shelly left this morning for Ohio.  Kyle is on spring break from Capital University, and she's heading down to spend the week with him.  I'll be traveling around the state again this week, so that means no more progress before this weekend.  

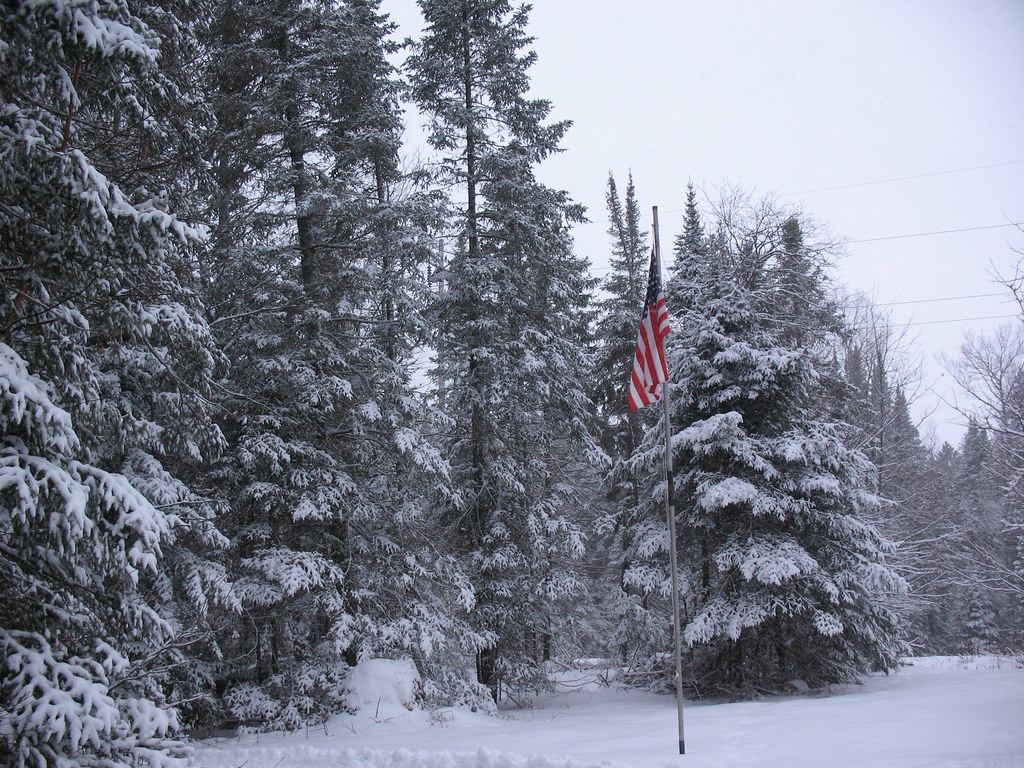
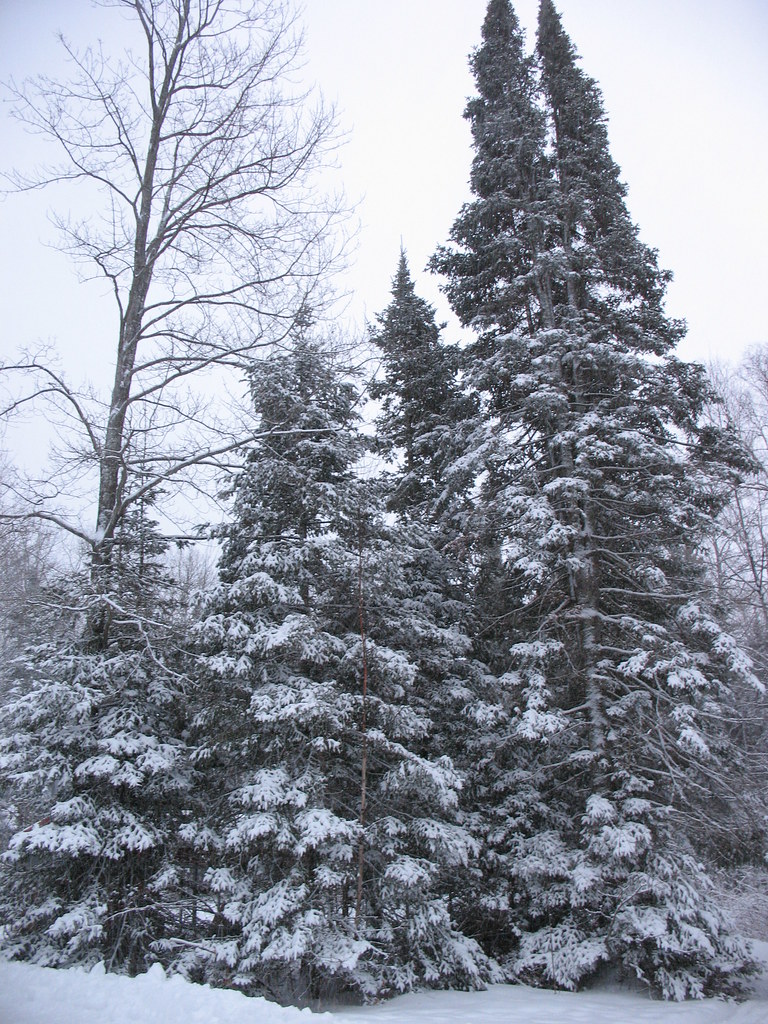
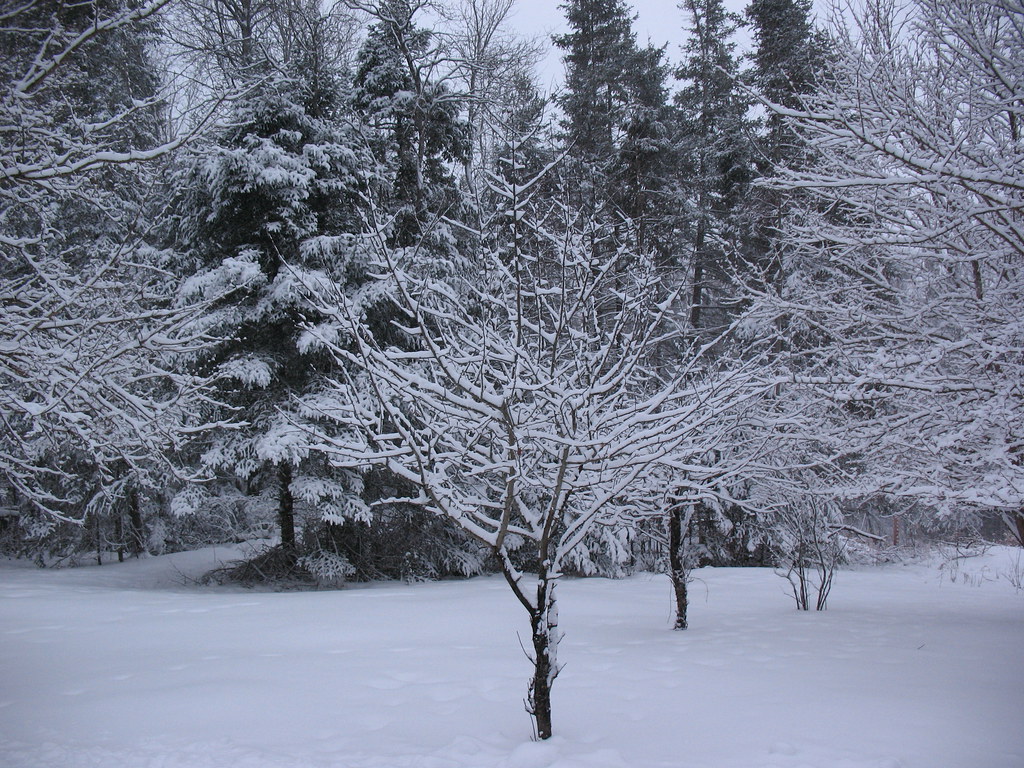
We've been getting more snow lately, compared to earlier this winter.  Here are a few shots of the property, all decked out in its winter finery.


Talk to you all soon!