Chronicling the cleanup and restoration of our house and property in northern Michigan

Chronicling the cleanup and restoration of our house and property in northern Michigan
_____________________________________________________________________________________________________________
Showing posts with label renovation. Show all posts

Sunday, April 13, 2014

Third Quarter Finished!

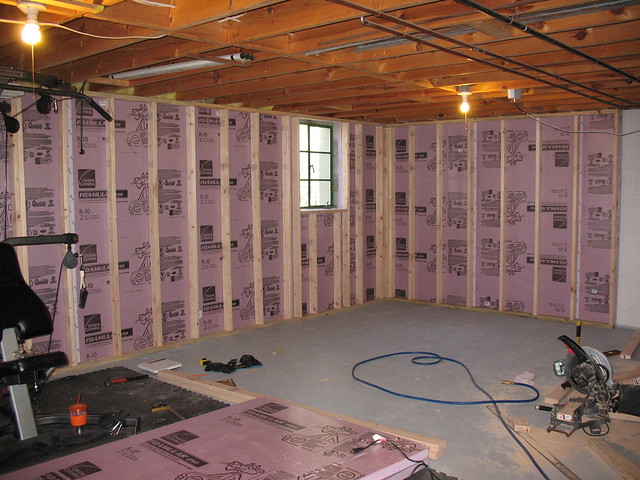
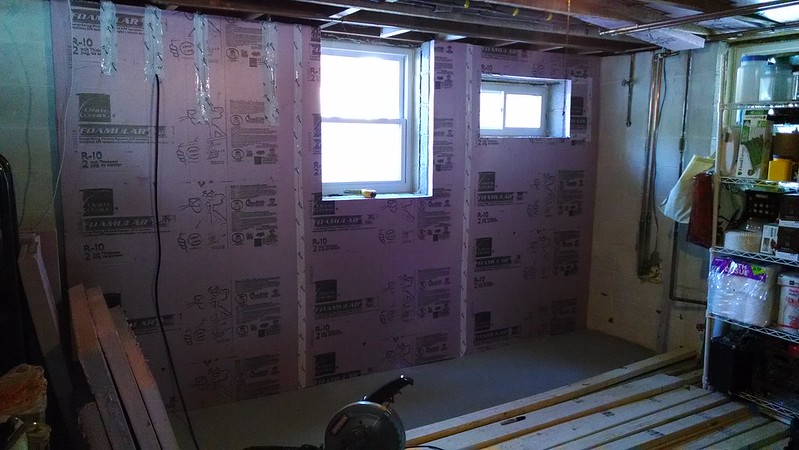
Our last update on the basement had one of the two walls in the third quarter of the basement insulated.  It looked like this here...


I've been able to make some pretty good progress the past two weekends.  The wall you see above is now fully framed.  The rack you see to the right in this picture is four foot wide, and full of canning supplies and canned goods...and there is another one to the right of it, just as loaded.  Those have been moved to the wall above, making way for me to dive into the other wall.  Man, am I glad we had the foresight to buy wheeled shelving.

I had to tackle more than just the framing on the second wall.  First, since I would be working by the boiler pipes and I was tired of burning my arm on them, I bought enough pipe insulation to cover all of the boiler pipes.  I also covered the main line coming in from the well, because in the summer with the humidity up this pipe would sweat and drip water on the floor.  Problem solved!

Boiler feed and return lines on the left.  Well pump supply line on the right.
Ever since getting the boiler we've had a problem with our bedroom above the boiler pipes being too warm.  That's especially true this time of year, when the weather is warming up and the house remains naturally warmer at night.  The water coming in from the wood fired boiler is an average 170 degrees, and with the majority of the horizontal lines running along the basement ceiling directly under our bedroom, that heat was radiating up through the floor and making it just a bit too toasty.  In addition to the pipes you see in the picture, all of the pipes running horizontally across the ceiling are now also wrapped.  The difference has been immediately noticeable.

I also had to remove and cap a water line running to an outdoor spigot.  As I've mentioned previously, I'll be running new hot and cold lines to a new hot/cold outdoor faucet.  Seriously...I am way too stoked about having a faucet with hot water outside.  :)  As you can see in the pic above, by this point I also had the wall fully insulated.

With all of the above done, there was nothing left to do but start on the framing.  I started on it and finished it today.  :)  Check it out.
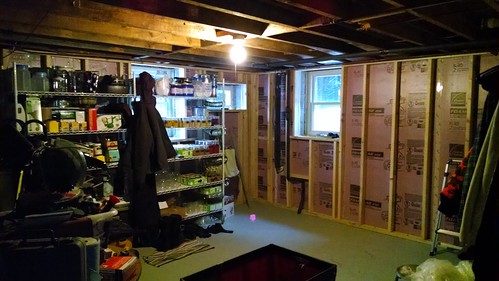


The boiler and water pipes will run along the outside of the drywall.  I'll be making a small bulkhead/closet in that corner, to cover the pipes and still give access to the main well pump shutoff valve.  I really had to play with the spacing of the studs, to maintain 16" on center and still have them fall where the pipes weren't.

I had considered running all new lines to contain them within the wall.  That thought was very brief...like milliseconds.    Seriously, those lines represent our heat and our water supply.  With me, plumbing projects always end up taking far longer than anticipated, and costing far more than budgeted.  We'd have been freezing, thirsty, stinky, and broke if I hadn't opted for the bulkhead/closet.  ;)

The PVC waste pipe and cleanout you see on the right in the lower picture will be in a yet-to-be-built good sized closet.  We thought about just enclosing that and some other existing plumbing in that area in a bulkhead, but we could really use the storage space.  So, a closet it is!

The next section I'll be framing is far and away the most difficult.  I'll have several large obstacles to deal with...like a washer, a dryer, a chest freezer, a sink, a circuit panel, and more plumbing and electric attached to the walls.  All of this is why I chose to do this section last.  I'm going to need everything I've learned so far to keep me from completely mucking it up.

It sure does feel good to be making some progress!  :)

Until next time...

Monday, April 8, 2013

We don't need no stinking big projects!

As I said in our last update, we're operating under something of a self-imposed sequestration, and we've put major projects on hold until we get our fiscal house in order.  Well...what am I going to post on, you ask?  We have been able to squeeze a few small projects into the budget.  That's a good thing, because we really don't do too well at sitting around.  ;)
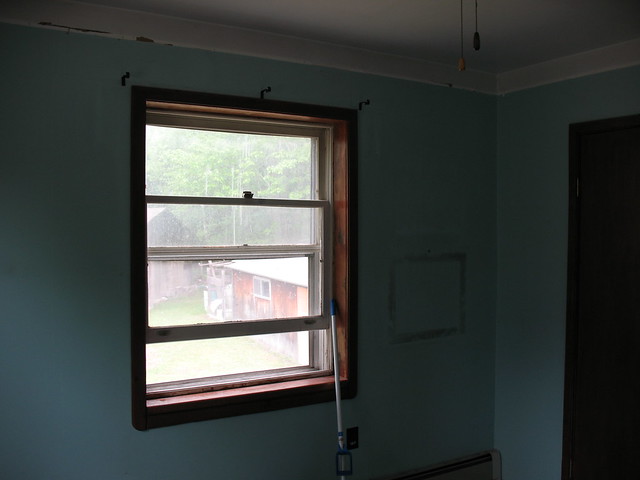
One small project that's been needing to be done but kept being put off (because I was dreading doing it and I managed to put it off because I was working on big projects) was the re-plumbing of the drains for our kitchen sink.  The garbage disposal was completely locked up and useless, and was constantly causing clogs on the right side of the sink.  We have a dual basin sink.  We decided to rip out and not replace the disposal, as we have a septic system and figured it'd be better for it in the long run if we didn't.  At the start of the project I thought I could remove the disposal and plumb the drain to tie into the existing plumbing.  Yeah...that didn't happen.  The J bend wasn't your typical removable J bend.  It was glued PVC, and it was leaking.  Still, I thought I could salvage some of the original work.  After more than a few false starts and trips to the hardware store, I wound up cutting out all of the old work and re-plumbing it all the way back to the stack, including new drain/basket assemblies in both sides of the sink.  Didn't I say that I was dreading this project?!  I did learn (re-learn) a valuable lesson.  Though it might seem cost effective up front, plumbing to tie into existing fittings isn't worth the time and effort.  Once I decided to go all of the way back to the stack this project immediately simplified itself.  We also now have the added benefit of all new plumbing and no old headaches.

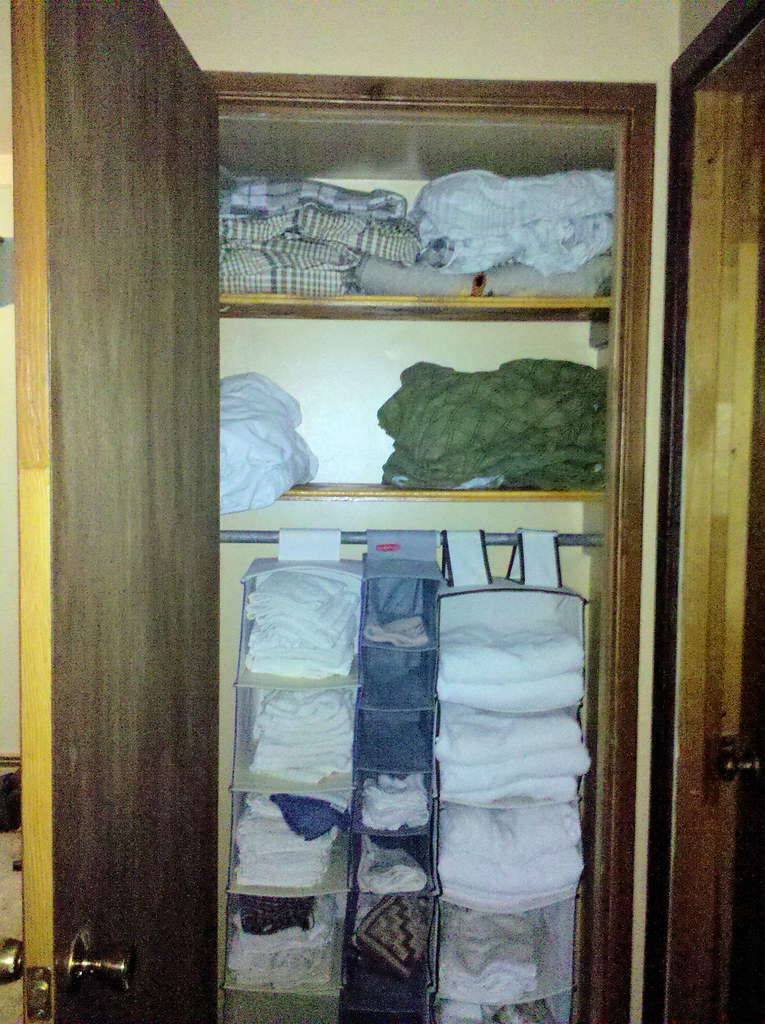
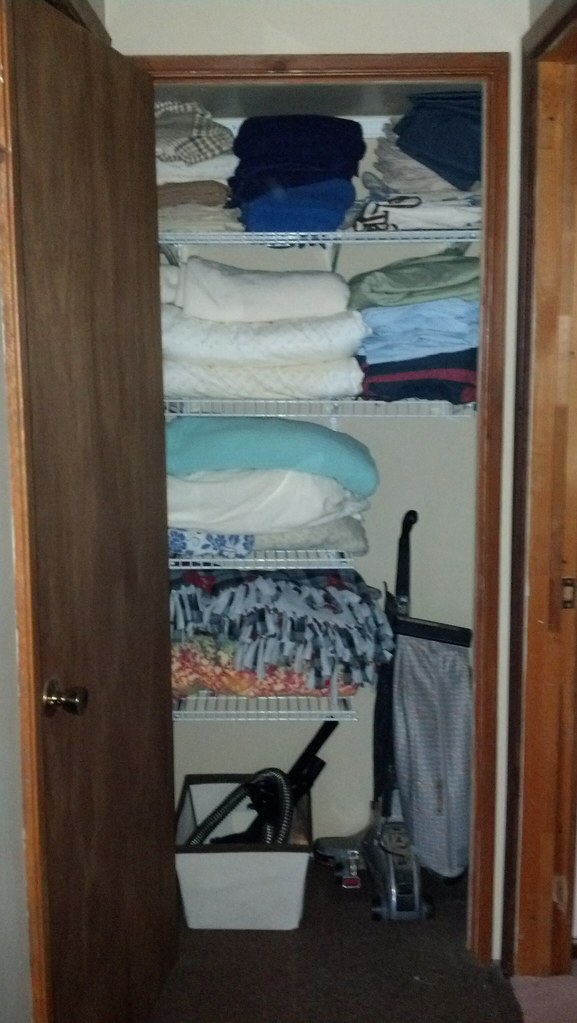
Another small project we ticked off our list of to-do's was organizing our linen closet.  We have a pretty darn small linen closet, at about 36" wide x 16" deep.  We had hanging organizers in there, but they didn't give us the ability to use the entire depth of the closet.  It worked fairly well for a while, but that was back when we were just coming up here once a month.  Now that we're living here, it is definitely time for an upgrade.

Before
With storage space being a premium we really need to maximize what space we do have, so we bought a simple closet organizer and got to work.  Here is the completed project...less the linens that are now filling the shelves.  We even managed to create a space for stowing the vacuum cleaner and attachments. :)
After
The only other project we tackled since the last update was getting our camper ready for the camping season.  I spent a Saturday scrubbing down the entire exterior, and fixing a few things that needed fixing.  Shelly will spend this week prepping the inside.

We're going on our first outing of the season this coming weekend, meeting up with friends from the camping club.  So, that means that not a darn thing will get done around here next weekend.  I think we're okay with that.  :)

Until next time!


Saturday, December 8, 2012

Regular blog updates? Yeah, we suck at that.

From what I've seen of the blogs I follow, one of the things they do consistently different than we do...they actually update their blogs more than three times a year.    So, do we step up our game, or do we reconcile ourselves to the fact that we truly suck at blogging?  I'm not prepared to commit one way or the other just yet, but lately we're sure leaning toward suckage.

In an effort to correct our downward slide, I'm going to try to catch us up.  Let's see...when was the last update.  July?!!!  Crap.

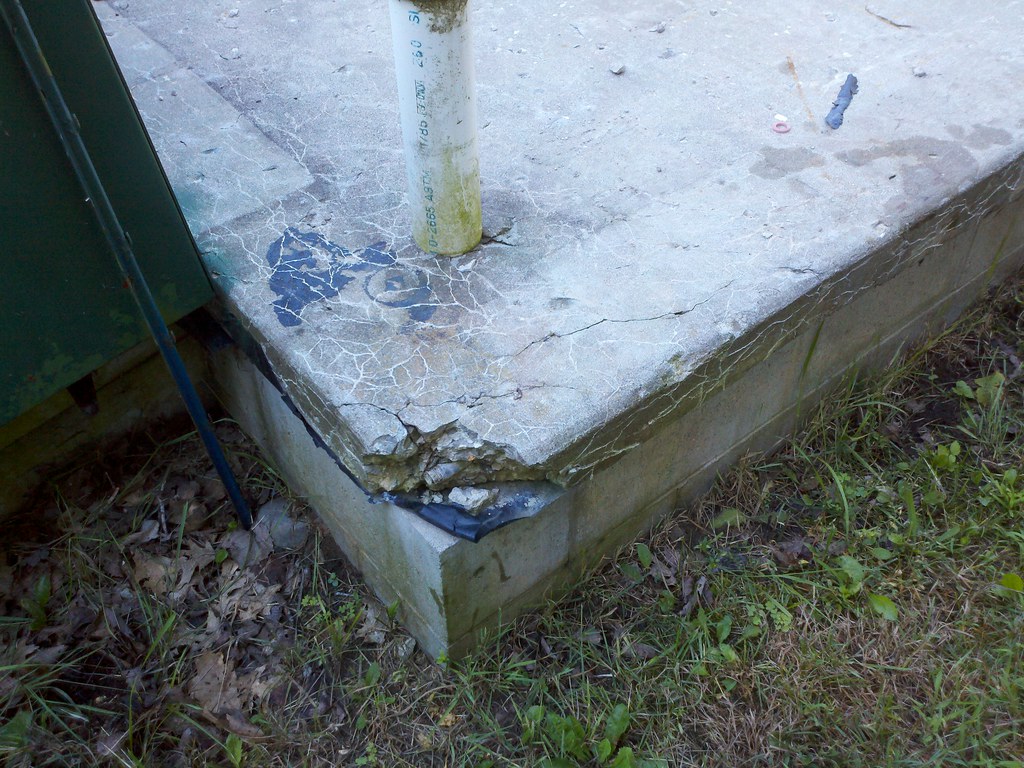
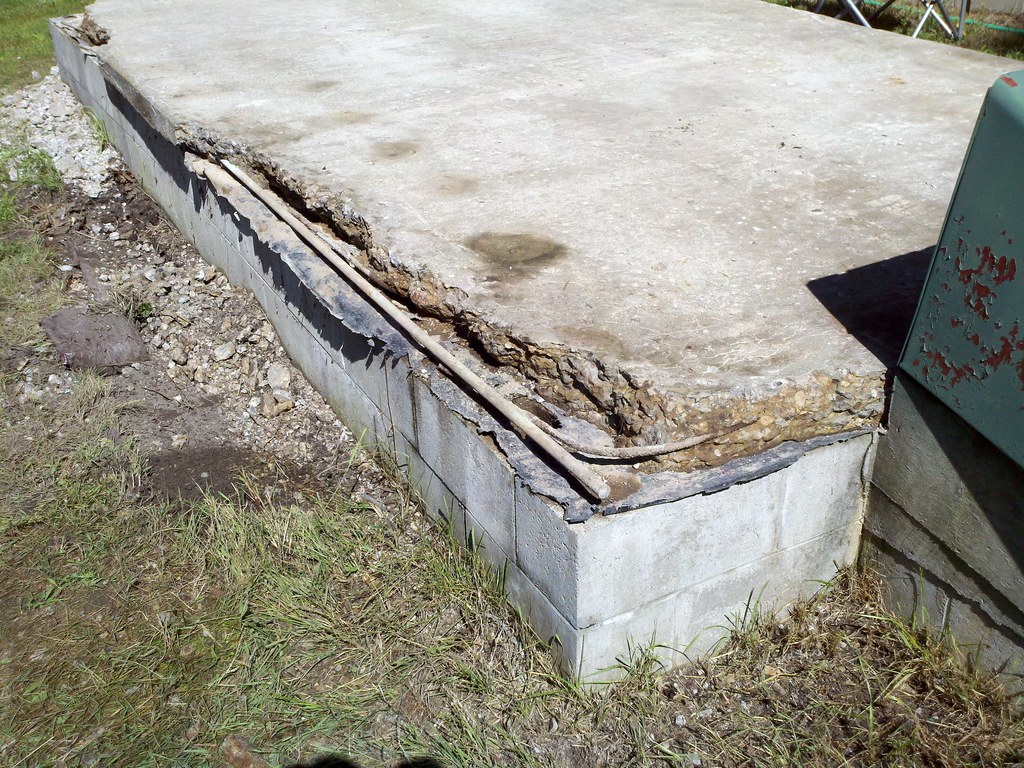
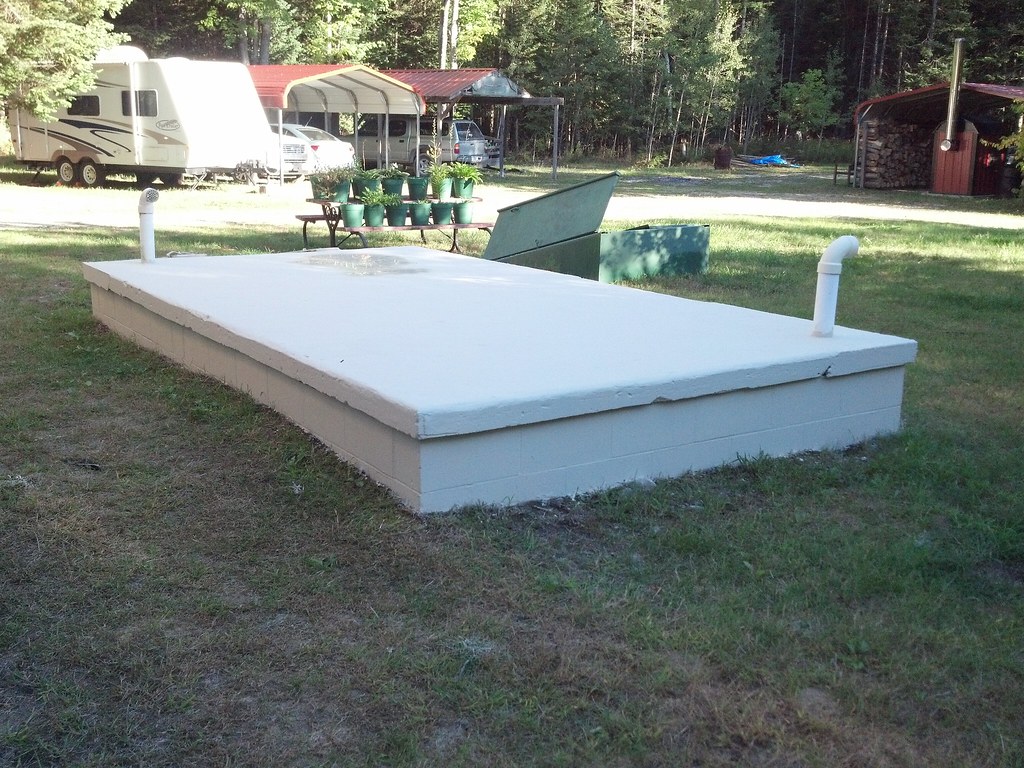
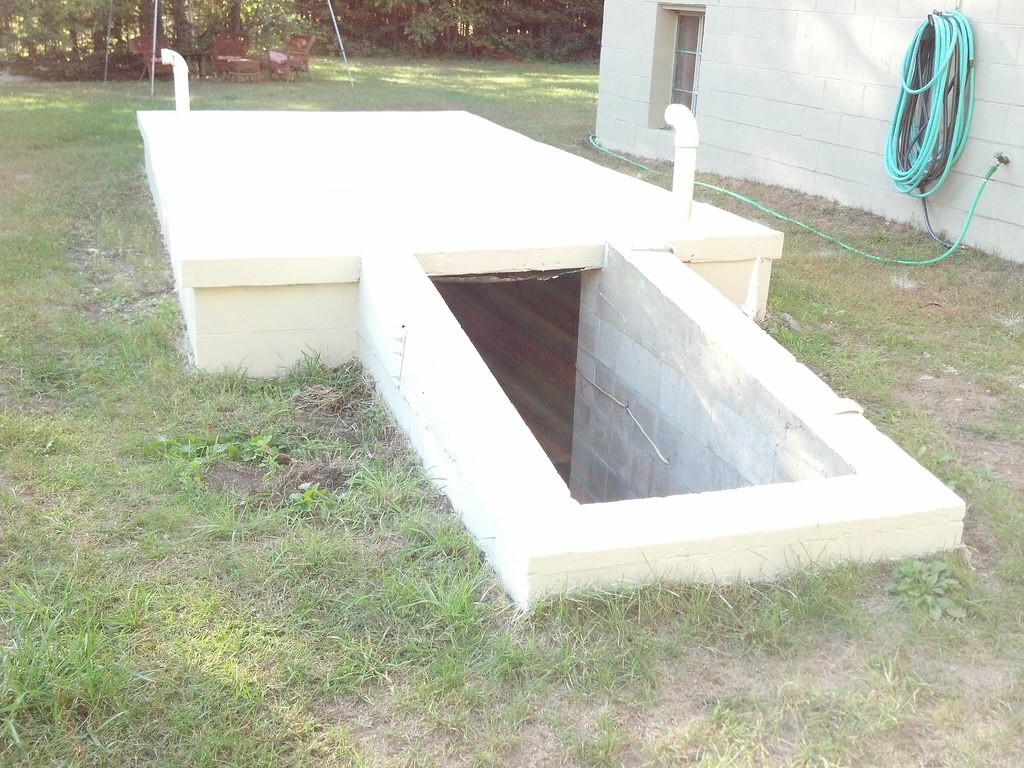
The roof of our root cellar was in need of some work, so BACK IN JULY we tore into it...literally.  It's a concrete roof, and it was deteriorating badly at the corners. We started by chiseling until we made it back to solid concrete.  This also exposed the re-rod, which we needed to do to effectively tie the new concrete to the old.  Here are some shots of the before and during the chiseling.  This is our first ever concrete project, so if any of you know the proper way to do this...well, please don't be overly critical.  We were winging it.  :)


This is what the above corner looked like as well, before chiseling.

Finally done chiseling down to solid concrete.
Forms for the new concrete.
Freshly poured concrete.
After allowing the concrete to cure for over a month, we painted the entire cellar with Dry Lok.  Here is the finished product.


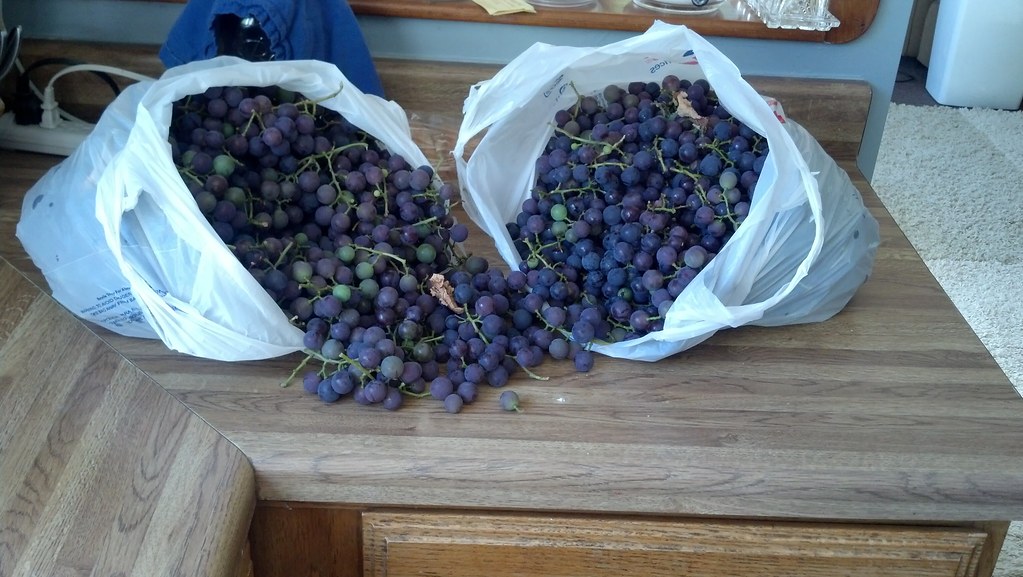
Below is a picture of our grape harvest.  We have two nice sized vines, but only one of them produced this year.  The weird weather this year wreaked havoc on our fruit harvest.  We were pretty disappointed when our apple and pear trees produced absolutely nothing.  Shelly was able to make some flippin' awesome grape jelly from the grapes we did manage to harvest, and she made some equally awesome apple jelly with apples from a local orchard.


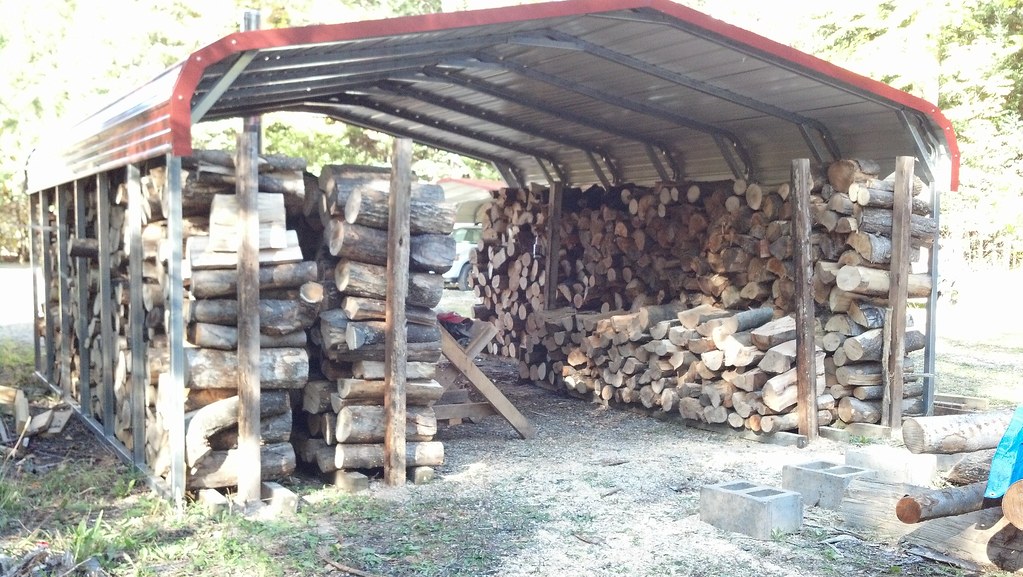
November was a busy month around here.  We had new windows installed, I did some work on our deer blind, we cut and stacked about five cord of firewood, and accomplished some much needed work on the larger barn.

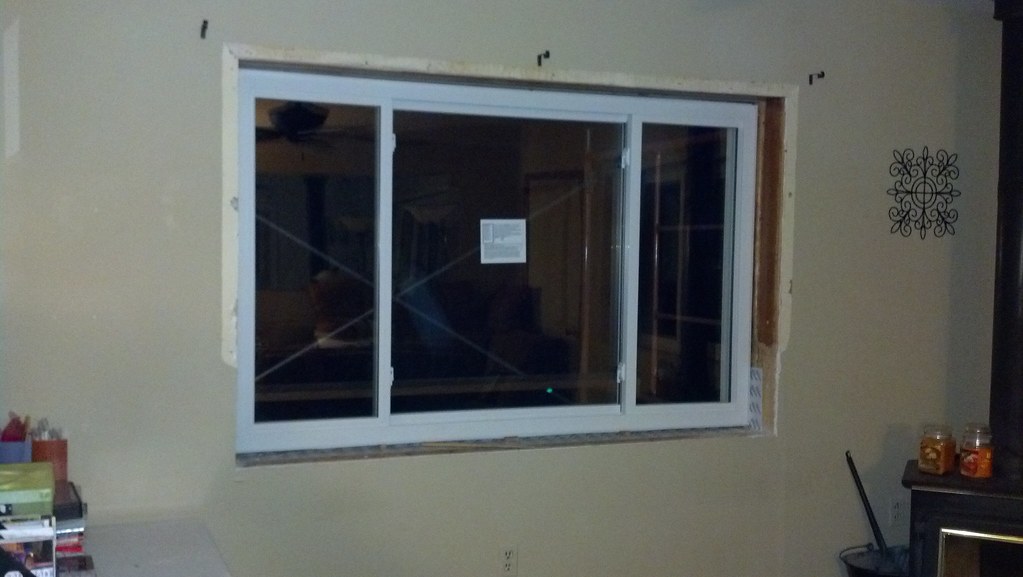
One of two new living room windows.  We had the openings enlarged
on both windows, lowering the sills.  You can see where the old trim was
and where it ended on the bottom.  This was immediately after installation.
They're now trimmed out and painted.  The difference is stunning.
We're now able to look out at our woods while sitting on the couch.
Before we had to stand up.  :p
The wood siding was beginning to de-laminate, and there was a pile
of vinyl siding lying in the woods by the blind.  Soooo...I bought
the trim and vinyl sided the blind!  I also primed and painted the
scaffolding, and added the corner bracing you see on the wooden
vertical support.
On our way to having six cords put back for the heating season.
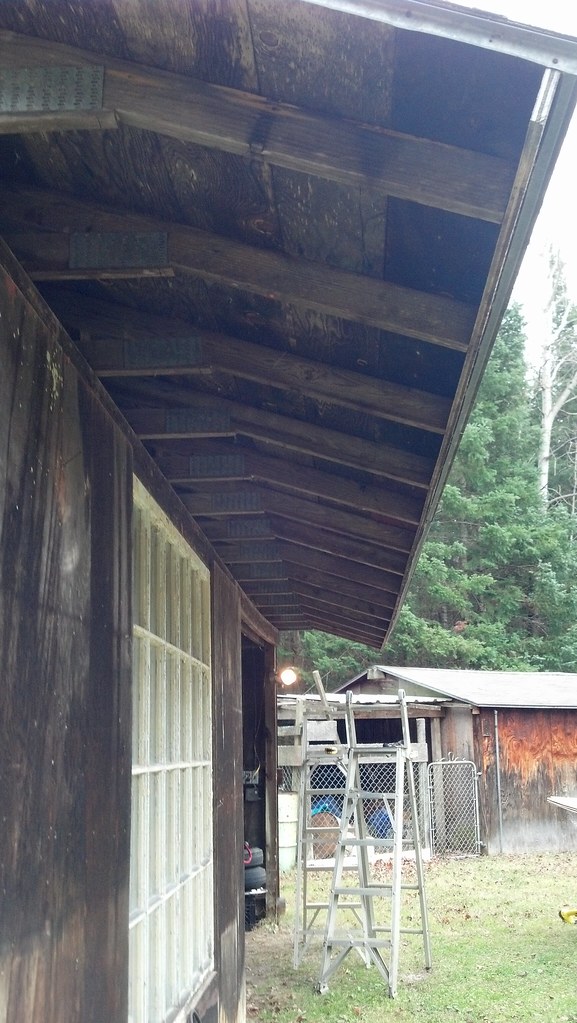
Barn soffit - Before
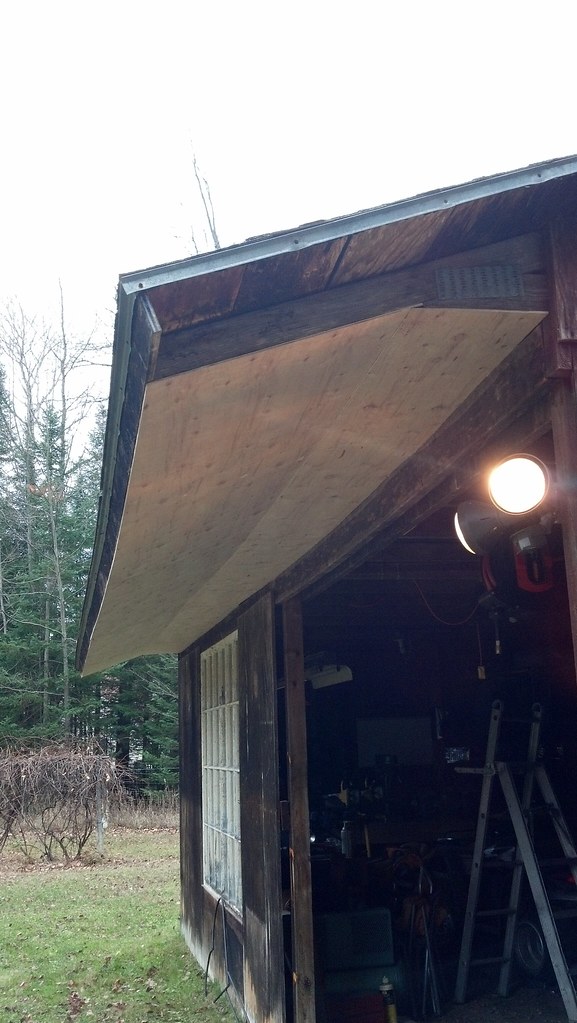
Barn soffit - After
Trim added.  I ripped this from lumber that was laying around.
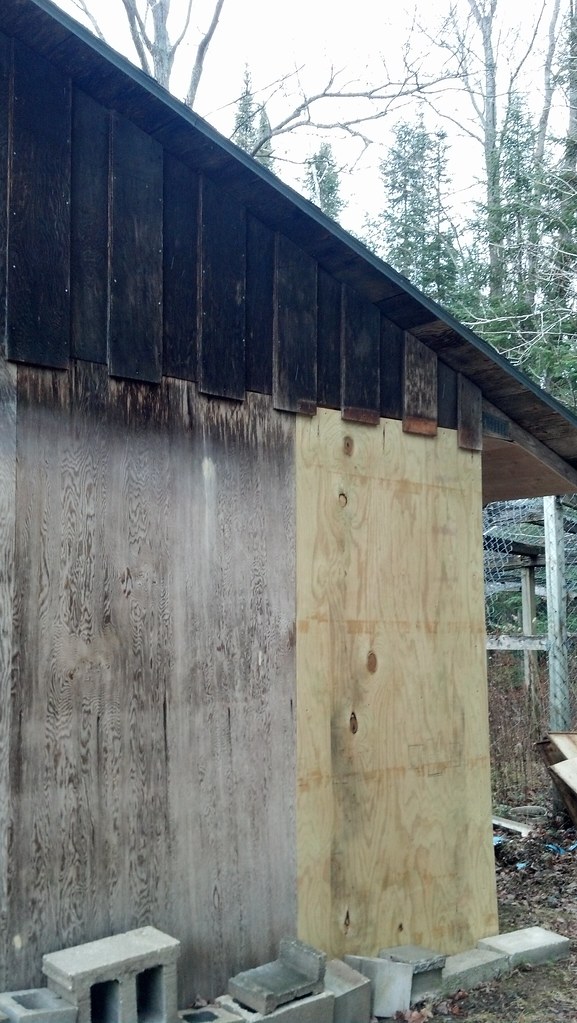
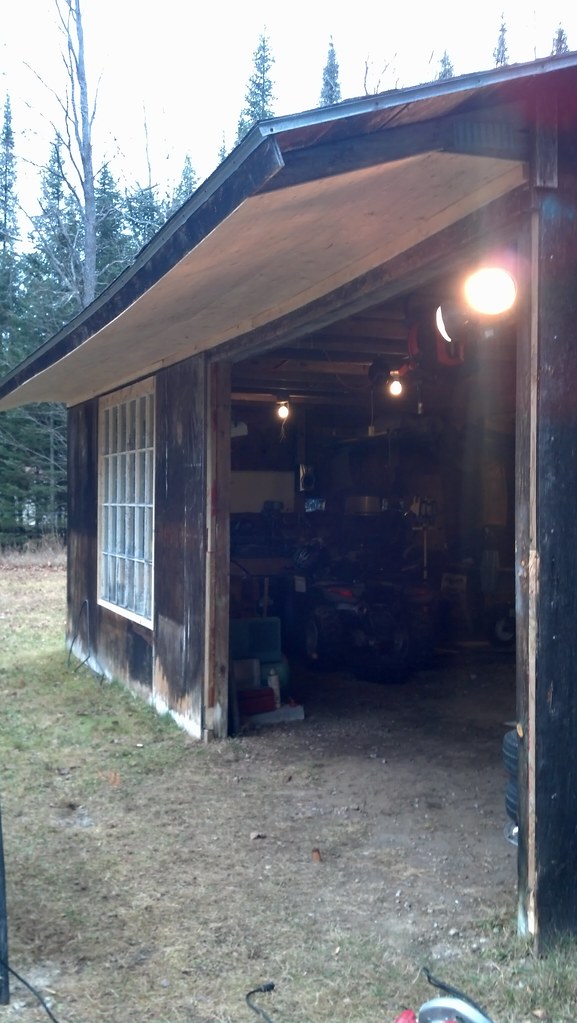
This corner of the barn was never completed, with small
pieces slapped up and large areas opened to wind and weather.
It feels good to have that done!
This is the header over the door.  This spans 11 feet, and
before working on it, it was just two 2x6's.  I was able to sledge
hammer the 4x4 between the two 2x6's, and nail it in place.
With the long doorway span and the inadequate structure with the 2x6's,
the roof was beginning to sag quite a bit.  This shored it up considerably.
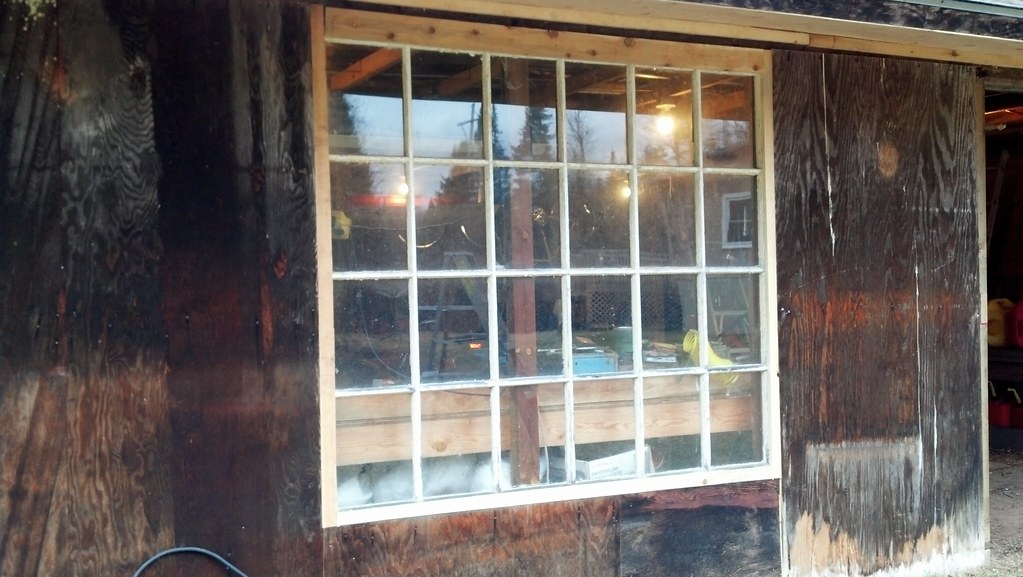
There were some large gaps around the window.  I trimmed it out
to fill the gaps, and to beef up the structure.
A shot showing all of the improvements.  Now, I just need a door!
Those are all of the pictures I could find for what we did.  Shelly did quite a bit of painting, in the entryway and in the living room after the installation of the new windows.  We also installed new light switches in the entryway, as part of our commitment to ourselves to check and upgrade the electrical as part of every project.  I'll get some pictures posted in a day or so, showing all of the new windows and Shelly's work on the interior.

The basement project has been on hold for the summer.  We figured it best to tackle outdoor projects while we had the weather for it, and move back to the basement when the snow flies.  I'll be diving back down there VERY shortly.  :)

That's all for now.  I'd tell you that I'll post again soon, but I'm not sure any of you would believe me.  Can't say that I'd blame you, of course.  So, until next time...whenever that might be!  ;)

Thursday, July 5, 2012

Our last post was when?!!

What?  When was our last post?  March 19th?!  Are you sure?!!

Yep.  Our last post was on March 19th.  These past couple of months flew by, and strangely have not resulted in a ton getting done around 'ol Shangri La.  We've accomplished a couple of things, but nothing truly exciting.  Rather than bore you with a bunch of jibber jabber, how about we go with some pictures with a tad bit of commentary.  Cool?  OK...let's push on with getting caught up.

These will be in darn close to chronological order, and I'll break it down for you by month.  :)

April

These next few pics are of areas Shelly cleared and cleaned up.  :)

Before Shelly kicked butt
After!
Before Shelly went all medieval.
After!
Before Shelly opened a can of whupass.
After!


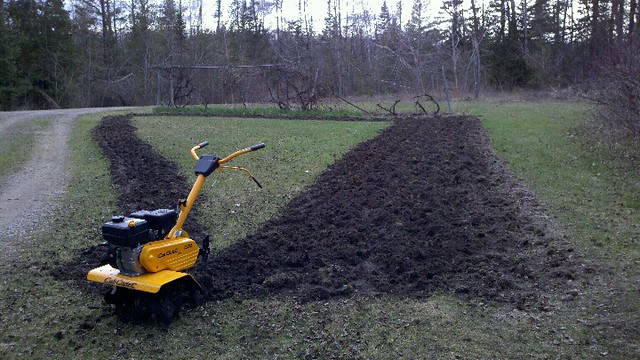
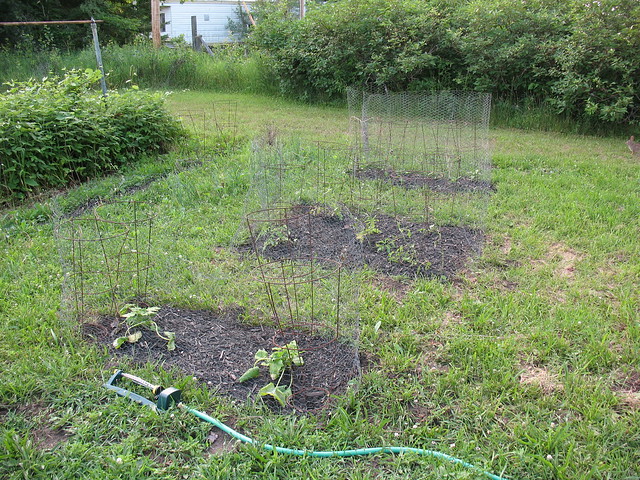
Our first northern MI garden.  In later pics you'll
see that Mother Nature is laughing her butt off at us.


The last update had the first section of basement
insulated and framed.  Section 2...done!
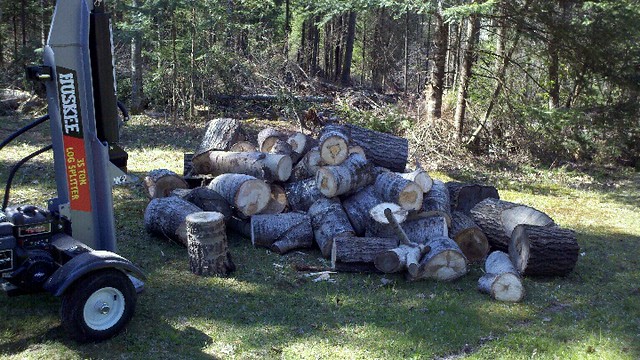
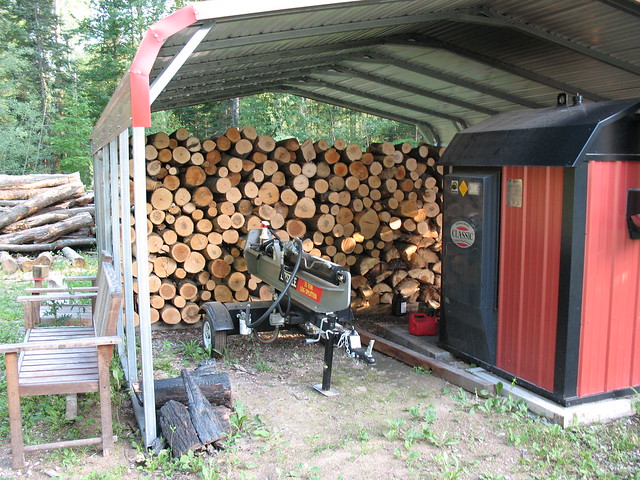
Cut up and split some deadfall, to supplement the load
of firewood we'll need to buy.  Got to feed the beast!

May

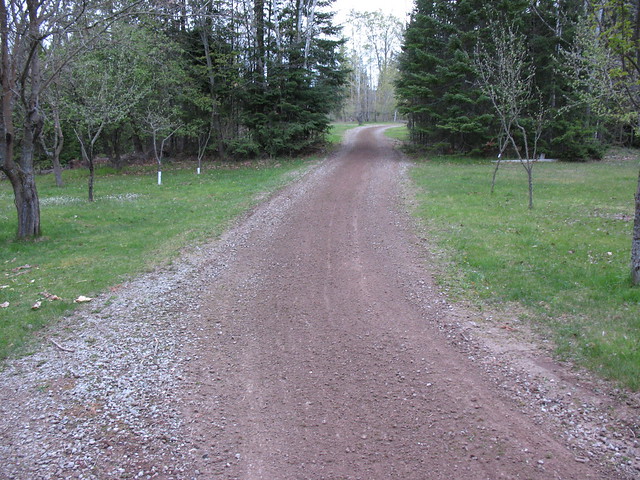
Not too bad of a grading job, for an upside down plow with a
cinder block on it being towed behind a garden tractor.
Ten cord of firewood being delivered and stacked by
a really cool truck.
Ten cord of firewood...delivered!  That should get us
through two seasons.  
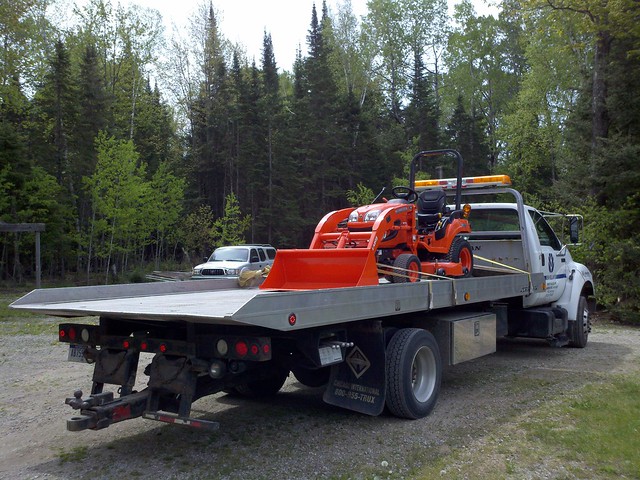
Our new tractor being delivered by another cool truck.
This one is cool only because it's delivering our new tractor.
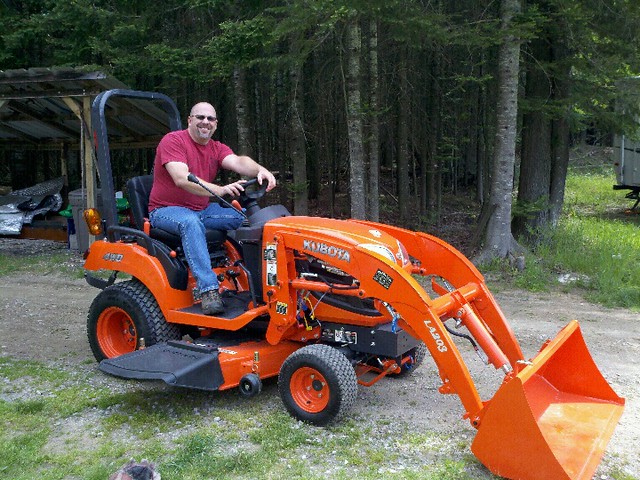
That's me on our new Kubota BX1860.  That smile?  It only
looks like it wraps all the way around my head.
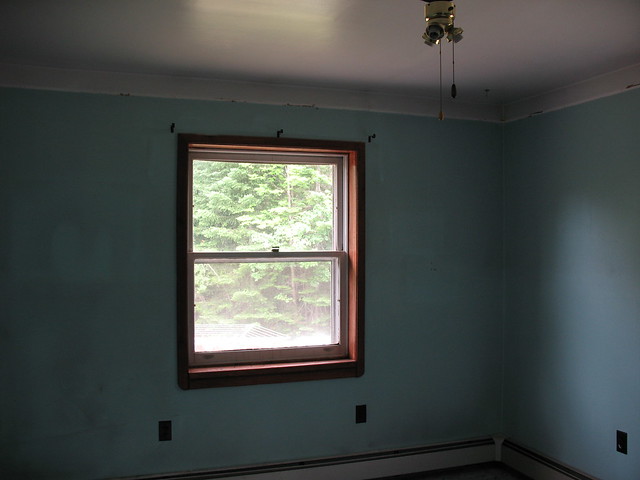
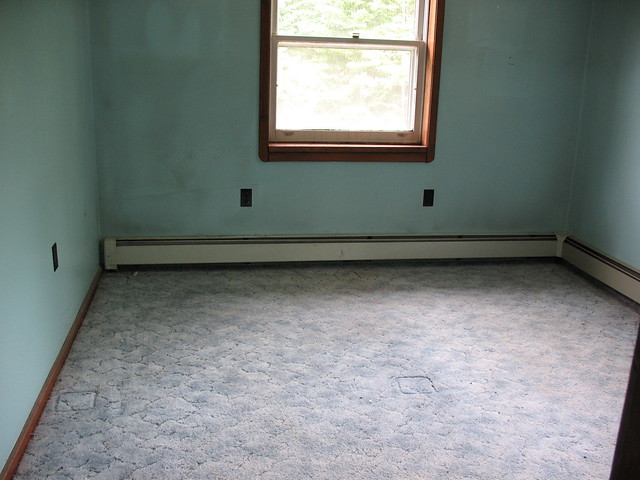
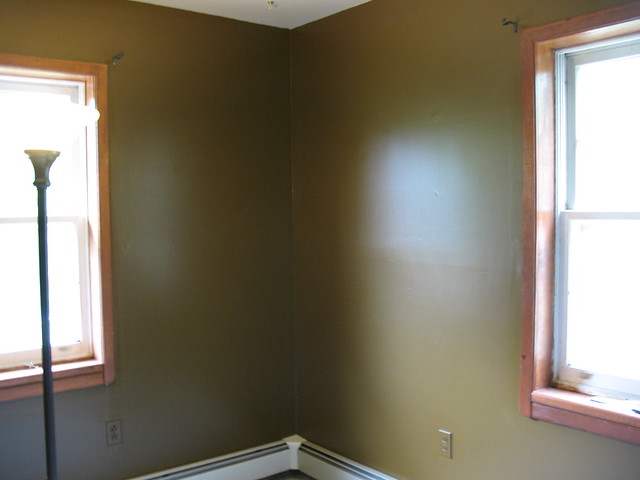
These next pics are befores and afters for the painting of our son Michael's room.  :)


We really have nothing for June as far as activities around here.  It was a crazy month, which included a trip to Arizona for a campus tour for our youngest son's new college.  Yep...June was a blur.  :)

July

That picture of the freshly tilled garden-to-be?  Yeah...this
is that same space.  Did I not tell you that Mother Nature had a good laugh on us?  We left for a
week, and came back to a lawn where a garden should be.
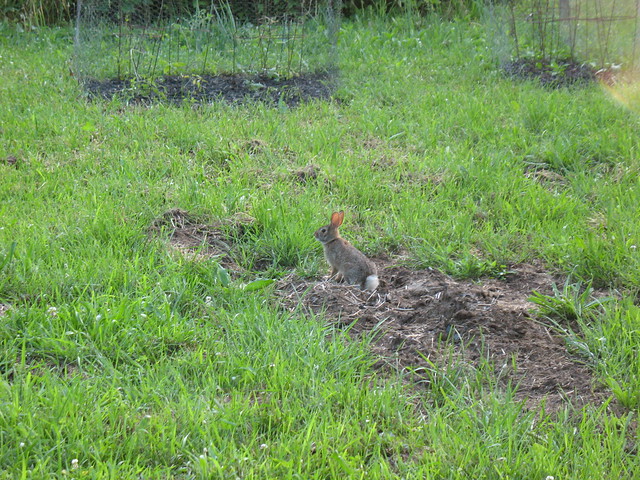
To add insult to injury, what little we've been able to grow is
feeding the local bunny population...which by all accounts is quite
extensive.  Apparently they really do multiply like, well...bunnies.
So, Shelly toned down her ambitions for this year.  She bought
a few plants, and commenced to make them bunny-proof.
That's about two cords out of the ten, cut and stacked.
We're going to wait for cooler weather before we tackle
any more of that pile.  WHEW!
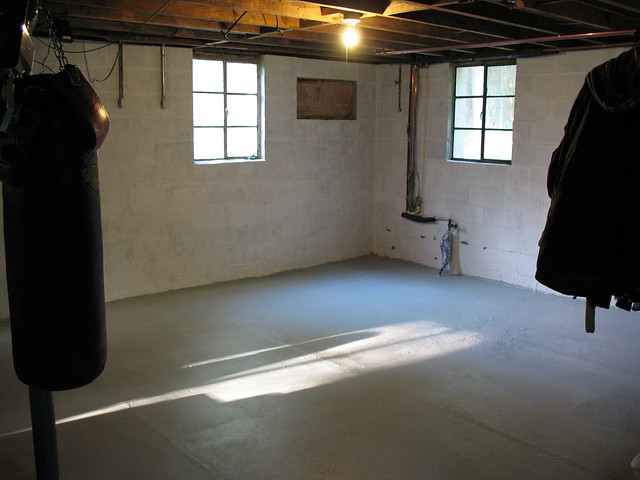
The third 1/4th of the basement, with the walls caulked
and Dry Lok'd and two coats of paint on the floor.  It's all
ready for framing and insulation...after some rerouting of
plumbing, anyway.
So, that gets us caught right up to today.  Literally, to today. I put the second coat of floor paint down just this evening.  

Looking back on it all, I'm going to take back what I said at the start of this post...about not a ton getting done.  We actually did accomplish some stuff around here since March 19th.  I'm glad I did this.  I'm feeling much better now.  :)

Talk to you all soon!