Chronicling the cleanup and restoration of our house and property in northern Michigan

Chronicling the cleanup and restoration of our house and property in northern Michigan
_____________________________________________________________________________________________________________

Monday, October 27, 2014

Pictorial Ketchup...Catsup...Catch Up!

We've had a very busy summer, and it got the better of me as far as keeping the blog updated.  Rather than get all wordy to try to get things caught up, how about I just put captions on a bunch of pictures of stuff we did.  Cool with y'all?  Excellent...here we go, then.

Our last update was back in April, so we'll pick up there.  Well, almost.  We actually got a bit distracted in May and June, even managing to get a bit of camping in.  So, we'll be picking things up in July.
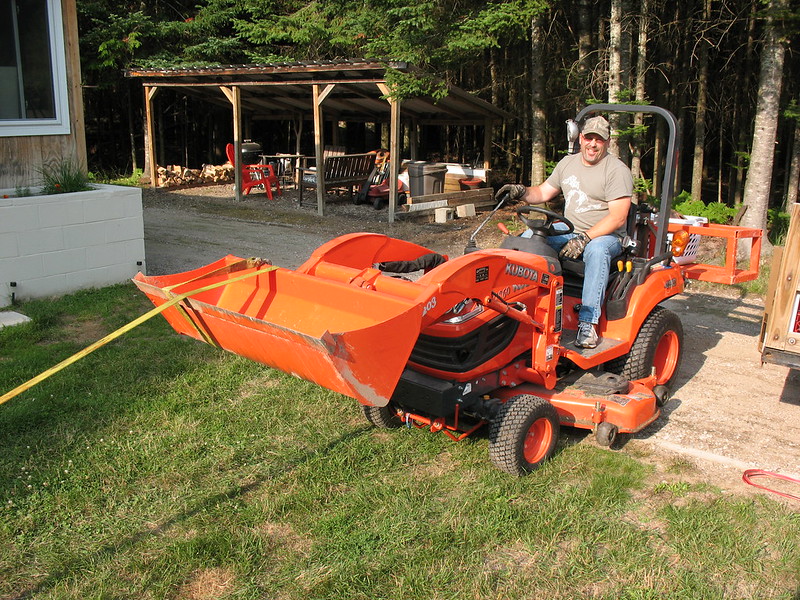
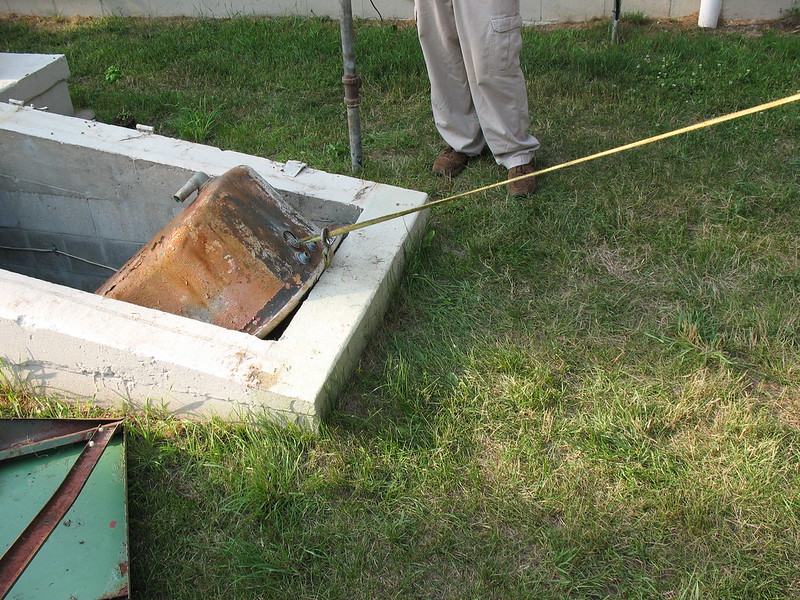
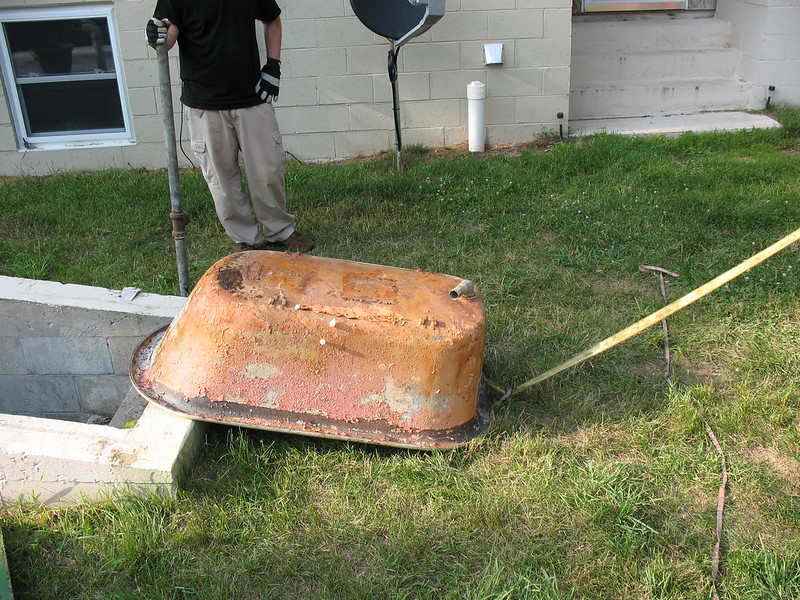
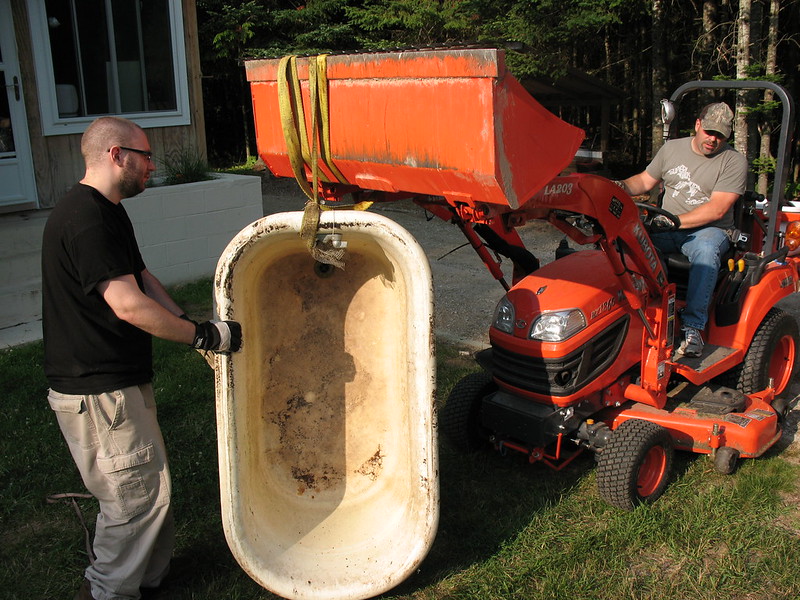
We put the Kubota to work, pulling a heavy steel bathtub out of our root cellar.
No.  That's not a typo.  A bathtub...in our root cellar.

Honestly, if it weren't for the Kubota I'm not sure how we'd have gotten
the tub out of there.  It wasn't cast iron.  It was thick steel.  There was
no way to break it up and haul it out.

If at this point you're really wondering, "Why in the heck was there a bathtub
in the root cellar?!" I'll clue you in.  The previous owner kept minnows in it
for fishing.  Seriously.

We contemplated making some kind of lawn art with it, but we decided instead
to make the local scrap guy's day.  :)

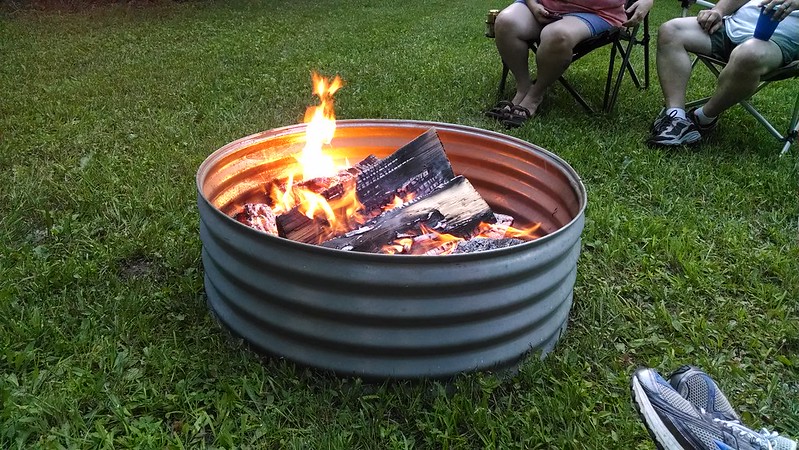
We had been wanting to build a fire pit for quite a while, but other projects have
been far more urgent.  This one required only a drive to the local Ace Hardware. :)


That's all we have for July.  Did I say we did quite a bit of camping this summer?  On to August!  We tackled a few more projects in August, both inside and outside.
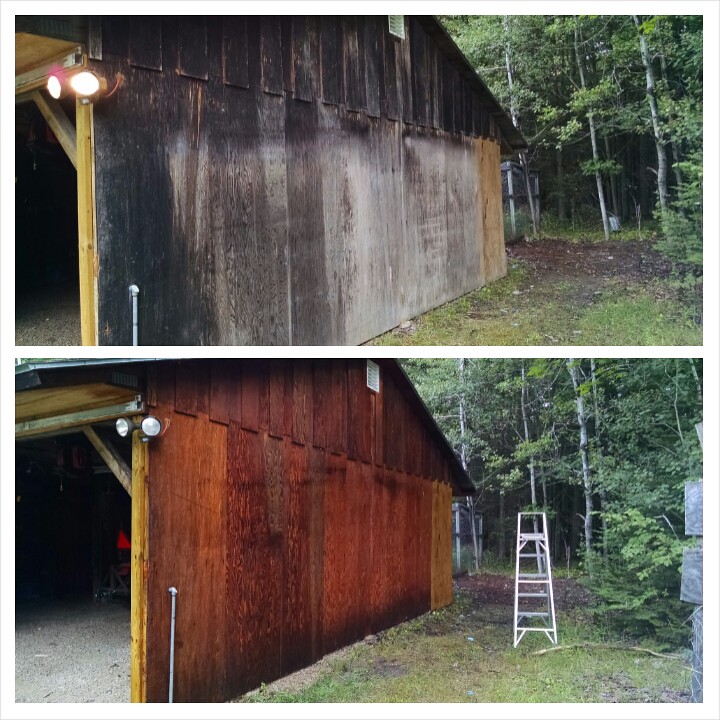
Work on the outbuildings continues.  We added venting to both the gables and the
soffits, and powerwashed all the mold and old sealant.

The other side of the larger outbuilding.

The smaller outbuilding.  Both buildings are now ready for painting, but that's
work for another month.

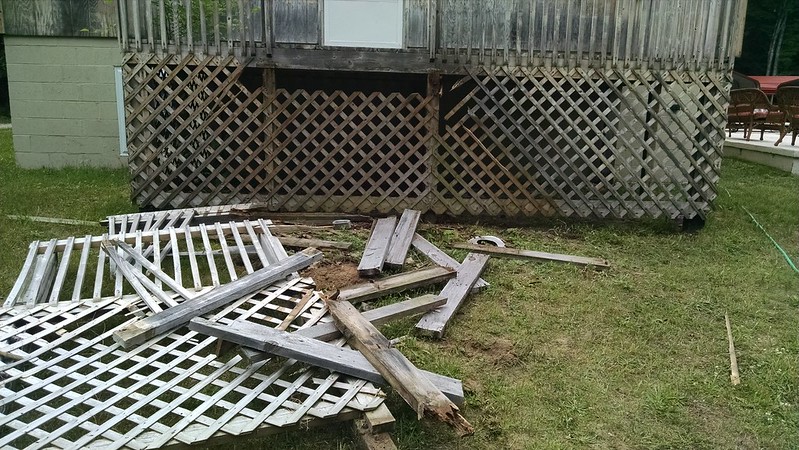
The stairs and landing on the front deck were in extremely bad shape.
Like, "Holy crap, don't stand on that!!!" bad of shape.

The Kubota continues to earn its keep.  It took less than 10 minutes to do this.
The tractor can't take all the credit.  The whole darn thing was held toegether
with just screws.  We'd later discover the entire deck was held together
the same way.  It's now gone....like, we have no deck and that first step
is a DOOZY.

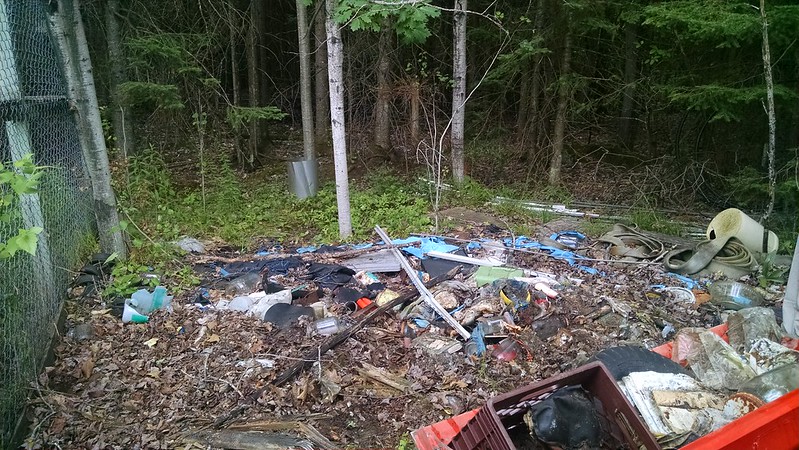
The previous owner's own private landfill.  At least he
put down a pool tarp to put it all on.  Oh, the pool tarp disintegrated,
so we'll have to dig everything out of the dirt and mud by hand?
One huge freakin' mess, and no fun at all to clean up.


All cleared away.  Again, the Kubota earned its keep.  We were able to
fill the loader bucket and dump it all right into a dumpster.  All those
blue scraps?  The aforementioned pool liner.  

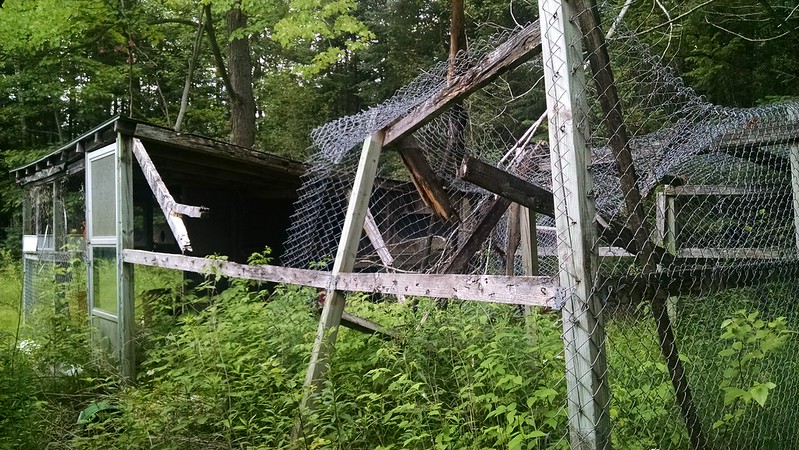
This beauty, here?  That's our chicken coop, and is a tear down project for
some future month.  I took the picture of it, so figured I'd share.  :)

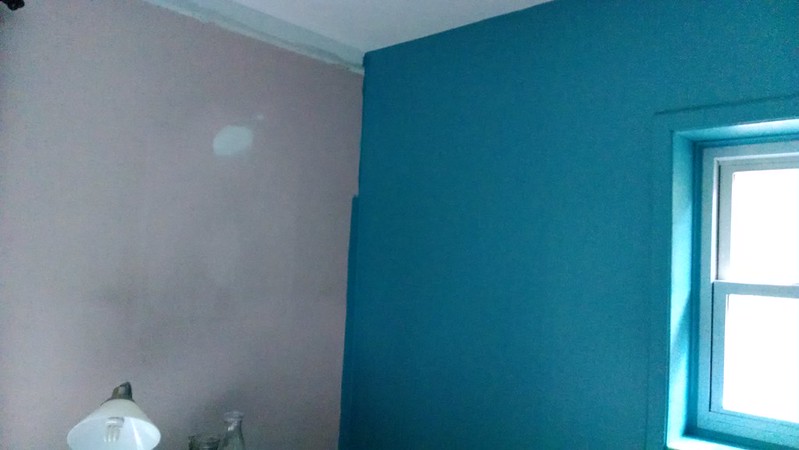
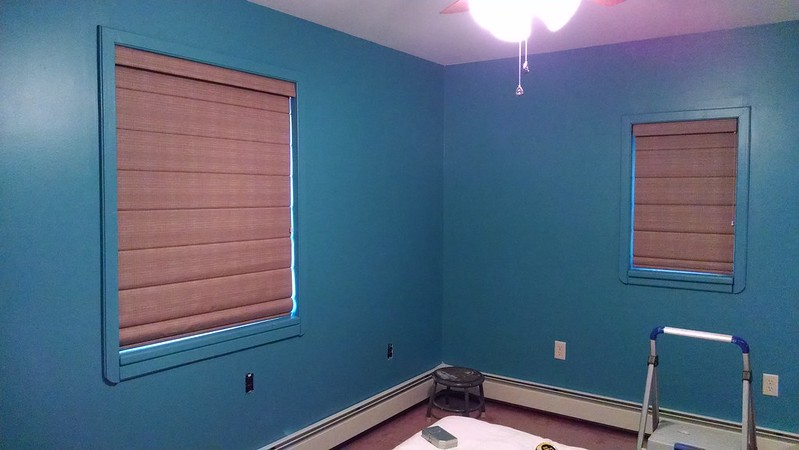
How 'bout we move inside.  This is something of a before and after shot.  These
are walls in our master bedroom.  That ugly pink is the original color.  [[shudder]]

The room got a complete re-do.  We bought new window treatments, replaced
all of the outlets and switches, dismantled and painted the baseboard heat
registers, and installed cork flooring.

A view of the rehabbed heat registers, and of the new flooring going in.

It was a busy August, huh?  :)  Onward to September!
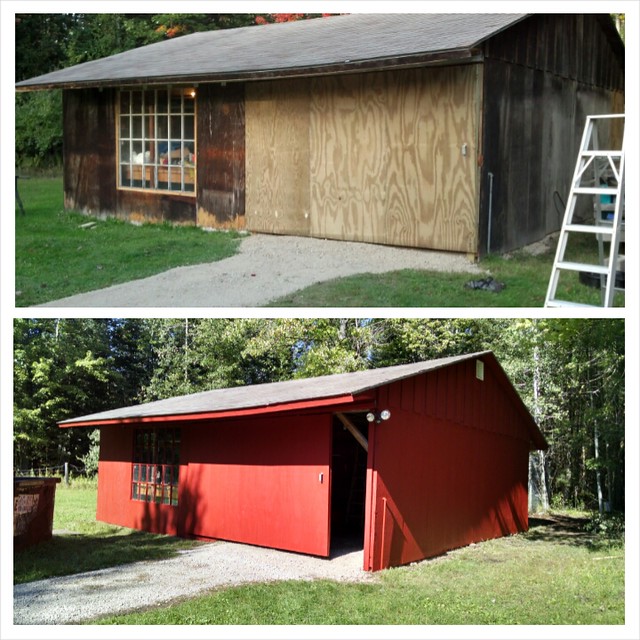
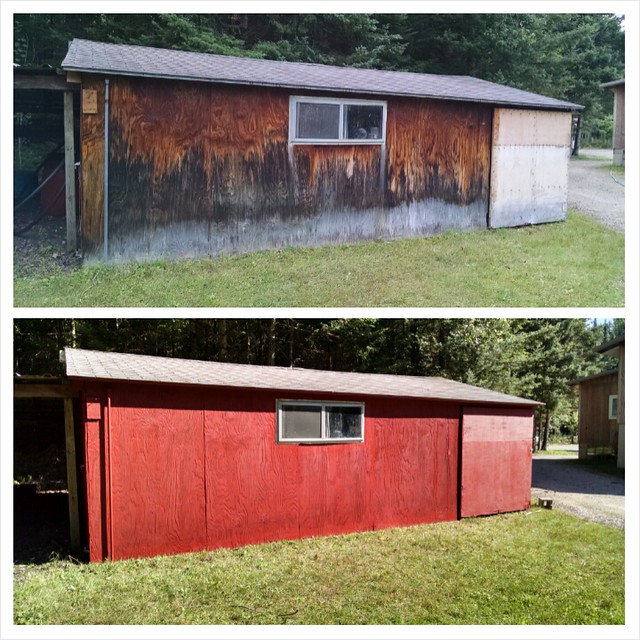
The finished product on the large outbuilding, with a little before
and after action.

Ditto for the small outbuilding. 

We started cutting and clearing the woods around the house.  These were
completely grown right down to the ground, and were out all the way
to the driveway.  We did have some casualties on this project.
A family of bunnies had made a home in the overgrowth, and when
I cleared Peanut found them pretty quickly.  Oops.  At least they're
bunnies.  They'll make more.

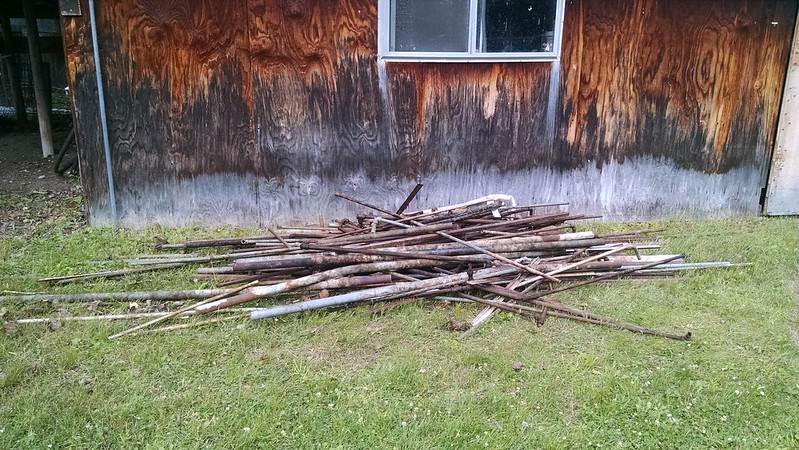
Along with the landfill removal, we also had to dig this pile of scrap pipe
out of the woods behind the barn.  Again, we made the scrap guy's day.

That takes care of September, and brings us right to October.  Let's get to it.


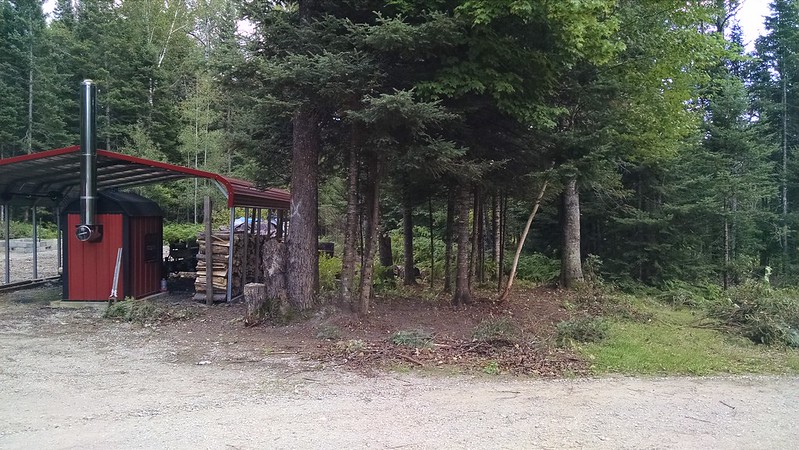
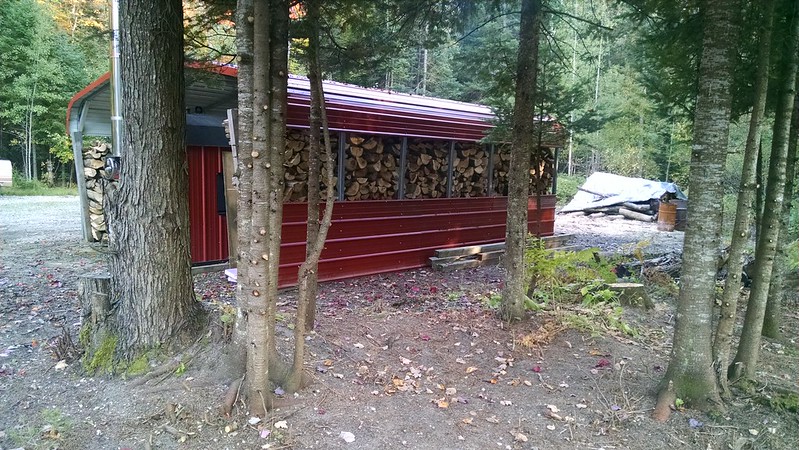
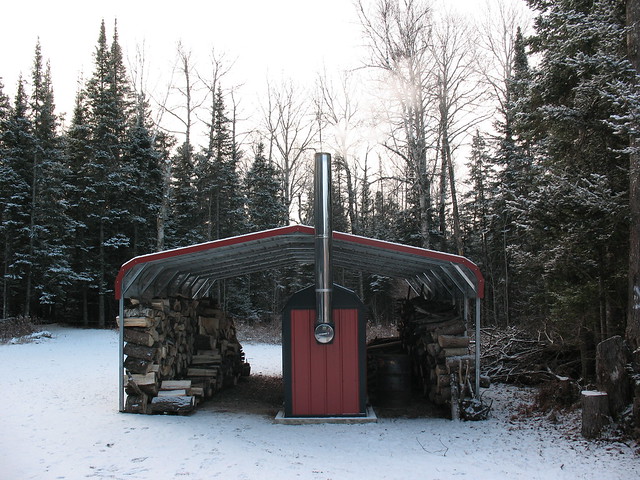
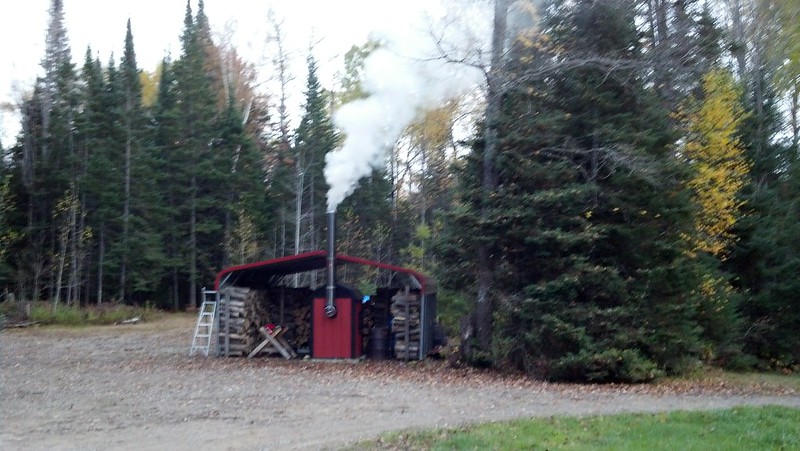
A good bit of October was spent getting ready for the heating season.  We
wound up with two more rows on the inside of what you see, giving us
about six full cord going in to the winter.  Shelly might even let me
start the boiler up soon! :)

Y'all might remember that old ratty wooden car port we tore down.  I saved
the metal roof panels from it, and they've found several new homes.  Two
deer blinds now have metal roofs, and our wood shed now has the half
wall you see...with a matching wall on the other side.

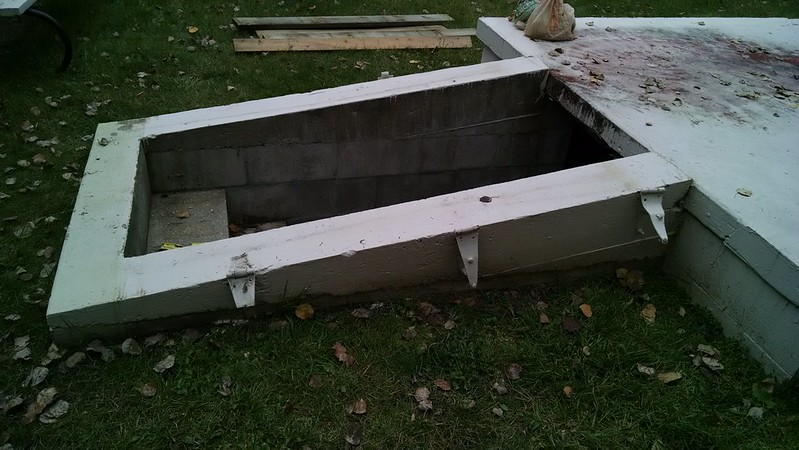
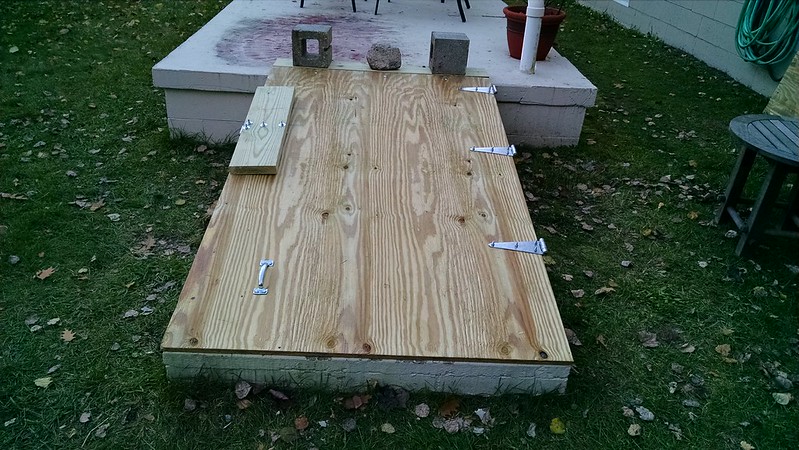
As you can see, we were sorely in need of a door on our root cellar.  The
hinges were beyond repair, but after getting them off we were able to use
the threaded studs mounted into the concrete.

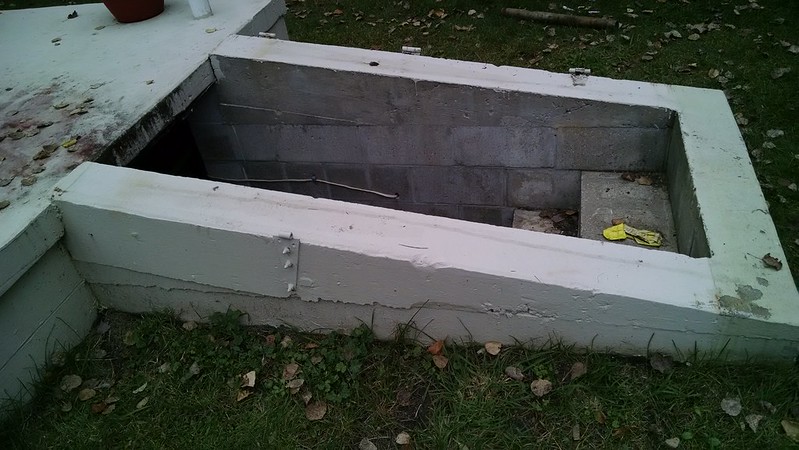
A view from the flip side.  We're figuring they used that half a hinge as some
kind of latch.

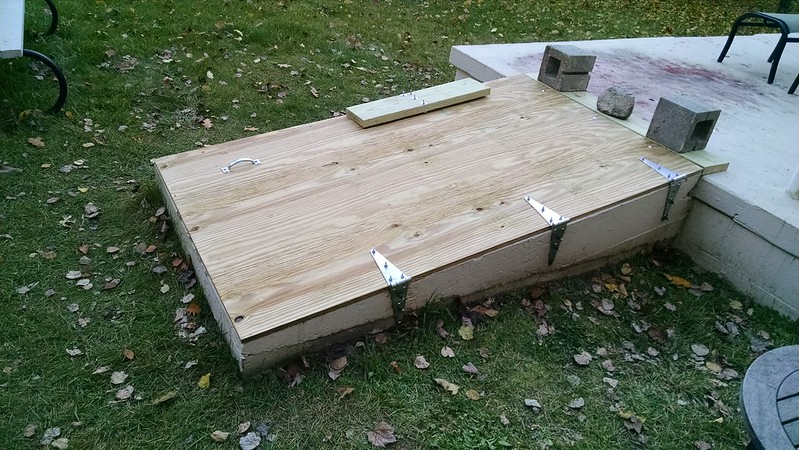
The door was an easy fit.  We just had to shorten the length on a pressure
treated sheet of plywood sheathing. 

We went with a pretty simple latch system.  We're not worried about anyone
breaking in.  We just want the door held down.  That's a section of treated
2"x6" mounted to a hing.  The hinge and the weight of the 2"x6" are plenty
to hold the door down.  

The new cellar door in all its splendor.  One thing not pictured, because it
wasn't done when I took the picture, is a hinged panel at the top of the door.
It covers the gap at the top of the door to keep out the weather.

So, that's it.  That's our summer of projects.  We did a few other things around here that didn't get their picture took.  Shelly worked her butt off in her garden...with great success, I might add.  I worked with a friend and the owner of the property attached to ours on restoring his deer blind and further reinforcing ours.  I moved my home office from the basement up to our spare bedroom, even replacing my plastic card table with a real desk.  We also moved our youngest son from Arizona back to the town we lived in Ohio before moving up here.  Our oldest son moved out, to move closer to his recruiter and to be on his own for a bit before leaving for the Navy in November.

Other than that, did I mention that we went camping this summer?  :)


Rustic camping at Tahquamenon Falls State Park

Until next time...and big changes are a comin' at old Shangri La.  Stay tuned!

Sunday, April 13, 2014

Third Quarter Finished!

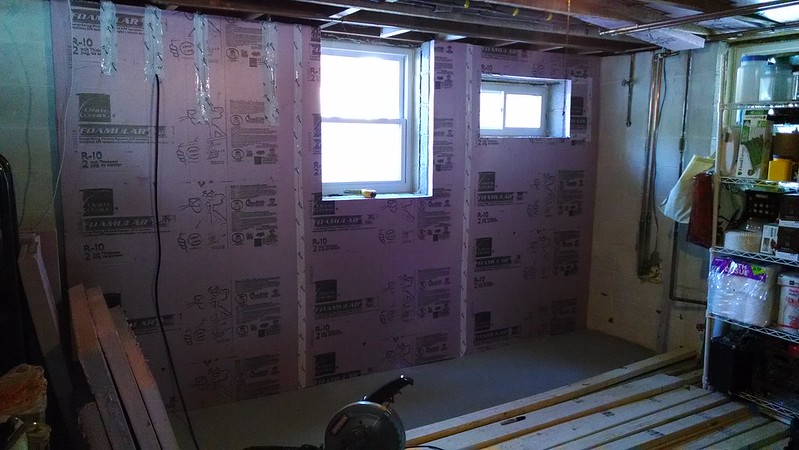
Our last update on the basement had one of the two walls in the third quarter of the basement insulated.  It looked like this here...


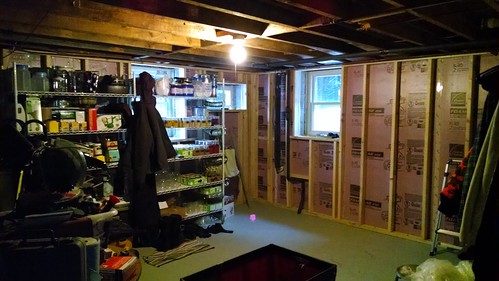
I've been able to make some pretty good progress the past two weekends.  The wall you see above is now fully framed.  The rack you see to the right in this picture is four foot wide, and full of canning supplies and canned goods...and there is another one to the right of it, just as loaded.  Those have been moved to the wall above, making way for me to dive into the other wall.  Man, am I glad we had the foresight to buy wheeled shelving.

I had to tackle more than just the framing on the second wall.  First, since I would be working by the boiler pipes and I was tired of burning my arm on them, I bought enough pipe insulation to cover all of the boiler pipes.  I also covered the main line coming in from the well, because in the summer with the humidity up this pipe would sweat and drip water on the floor.  Problem solved!

Boiler feed and return lines on the left.  Well pump supply line on the right.
Ever since getting the boiler we've had a problem with our bedroom above the boiler pipes being too warm.  That's especially true this time of year, when the weather is warming up and the house remains naturally warmer at night.  The water coming in from the wood fired boiler is an average 170 degrees, and with the majority of the horizontal lines running along the basement ceiling directly under our bedroom, that heat was radiating up through the floor and making it just a bit too toasty.  In addition to the pipes you see in the picture, all of the pipes running horizontally across the ceiling are now also wrapped.  The difference has been immediately noticeable.

I also had to remove and cap a water line running to an outdoor spigot.  As I've mentioned previously, I'll be running new hot and cold lines to a new hot/cold outdoor faucet.  Seriously...I am way too stoked about having a faucet with hot water outside.  :)  As you can see in the pic above, by this point I also had the wall fully insulated.

With all of the above done, there was nothing left to do but start on the framing.  I started on it and finished it today.  :)  Check it out.


The boiler and water pipes will run along the outside of the drywall.  I'll be making a small bulkhead/closet in that corner, to cover the pipes and still give access to the main well pump shutoff valve.  I really had to play with the spacing of the studs, to maintain 16" on center and still have them fall where the pipes weren't.

I had considered running all new lines to contain them within the wall.  That thought was very brief...like milliseconds.    Seriously, those lines represent our heat and our water supply.  With me, plumbing projects always end up taking far longer than anticipated, and costing far more than budgeted.  We'd have been freezing, thirsty, stinky, and broke if I hadn't opted for the bulkhead/closet.  ;)

The PVC waste pipe and cleanout you see on the right in the lower picture will be in a yet-to-be-built good sized closet.  We thought about just enclosing that and some other existing plumbing in that area in a bulkhead, but we could really use the storage space.  So, a closet it is!

The next section I'll be framing is far and away the most difficult.  I'll have several large obstacles to deal with...like a washer, a dryer, a chest freezer, a sink, a circuit panel, and more plumbing and electric attached to the walls.  All of this is why I chose to do this section last.  I'm going to need everything I've learned so far to keep me from completely mucking it up.

It sure does feel good to be making some progress!  :)

Until next time...

Monday, April 7, 2014

Three Year Boiler Follow up

As we're winding down on our third season with our wood fired boiler I thought I would share some observations with you all.  First, if you're wondering "What's a wood fired boiler?" here is a blog post that gives the down and dirty details on our boiler.  How It Works: Wood Boiler Edition


We had our boiler installed in November of 2011 after researching several options. If you would like to see the options we looked at and why we chose the wood fired boiler, check out this post...A Heated Topic.  We had some money from the sale of our home in Ohio, and we were looking to make as large of an impact as possible with it.  Looking at the costs of heating with LP, we knew that addressing the heating system was a good place to target.  We had just paid to have our thousand gallon LP tank filled...THUD!

Our expectation at the time, based on the cost of running our existing LP boiler vs. the anticipated operating costs of the wood boiler, was that we would see a return on our investment within 4 years.  That first season we were able to burn mostly dead fall off of our property.  The next two seasons we've burned delivered pulp hardwood.


Each load of pulp wood is ten cord of 8' hardwood logs, and we're finding that we're burning five-six cord per season.  With adding some dead fall from the property, we're using just half of each ten cord load of pulp wood per season.  A load costs us $800, so we're spending only $400 per heating season for fuel.  Something to keep in mind, our heating season up here is six months long and temps get down below zero when we're deep into winter.  On the generous side for other costs, add in about $100 for gas for the chainsaw, annual door gasket replacement, etc...and we're looking at just $500 in operating cost for the six month long heating season.  That doesn't sound too bad, does it?  Here is where it really starts to sound good.  Depending on the cost of LP, we could have been spending anywhere from $3,000 to $5,000 per season.

The boiler and installation cost us roughly $12,000...with another $1,200 for the carport/wood shed.  Some simple math told us that we stood a very good shot at our estimated four year return on investment.  One thing we didn't expect were the HUGE jumps in LP costs this year.  With this year's price of LP factored in, we hit our ROI before the end of this...our third season.  Here's another cool thing.  The boiler has a 25 year warranty.  That means that it has paid for itself 22 years before the warranty will expire.  WINNING!  I can't think of any appliance that provides this speedy of a ROI with this length of a warranty.


There is a price to be paid to achieve these savings...and it's all in labor.  All of that wood has to be cut, split, and stacked.  Every day the boiler has to be stoked twice per day...once first thing in the morning, and again just at bedtime.  Every two weeks the ash in the fire box needs to be emptied.  Twice a season the water must be tested...similarly to testing pool chemicals.  Once per season the door gasket has to be changed.  At the end of the season any creosote build up has to be removed from the inside of the fire box, the walls of the fire box oiled, and the chimney swept and capped.

However, our labor to run the wood boiler has realized a savings of over $12,000 in three years.  Cutting and stacking the wood?  That's a few weekends of work, and we could use the exercise.  Stoking the boiler?  We have to let the dog out anyway.  The rest of it is just a day or two of work.  I'd say that we are being paid extremely well for our effort.  :)

Until next time!