It's been a busy three weeks since our last update, which is likely why there hasn't been an update in three weeks. Hah! ;-) Probably the best way to do this would be to give you the bullet points, then the details on each. :-)
- Basement Refinish Project
- Spackling & Painting
- Dying Appliances
- Tree Pruning
- Contending with "THE HILL OF DOOM"
These past few weeks Shelly and I have pretty much been taking a divide and conquer approach. Though we're working together on side projects, we're focusing separately on our main projects. My main project continues to be the finishing of the basement. Our last update had the water proof paint on the walls. The floor is now painted in that quarter of the basement. There...that's it...that's the entire update. I've been traveling quite a bit for work since the last update, with a conference in Grand Rapids and training in Chicago. There were also the "Dying Appliances", which we'll get to.
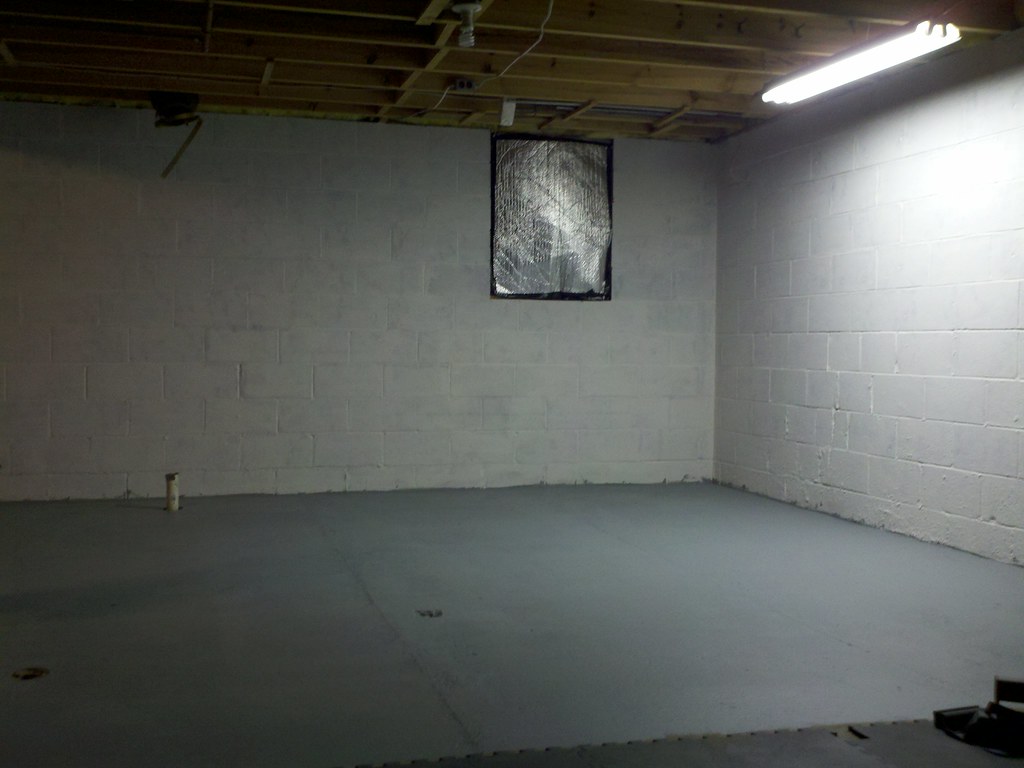 |
| 1/4 of basement, sealed and painted |
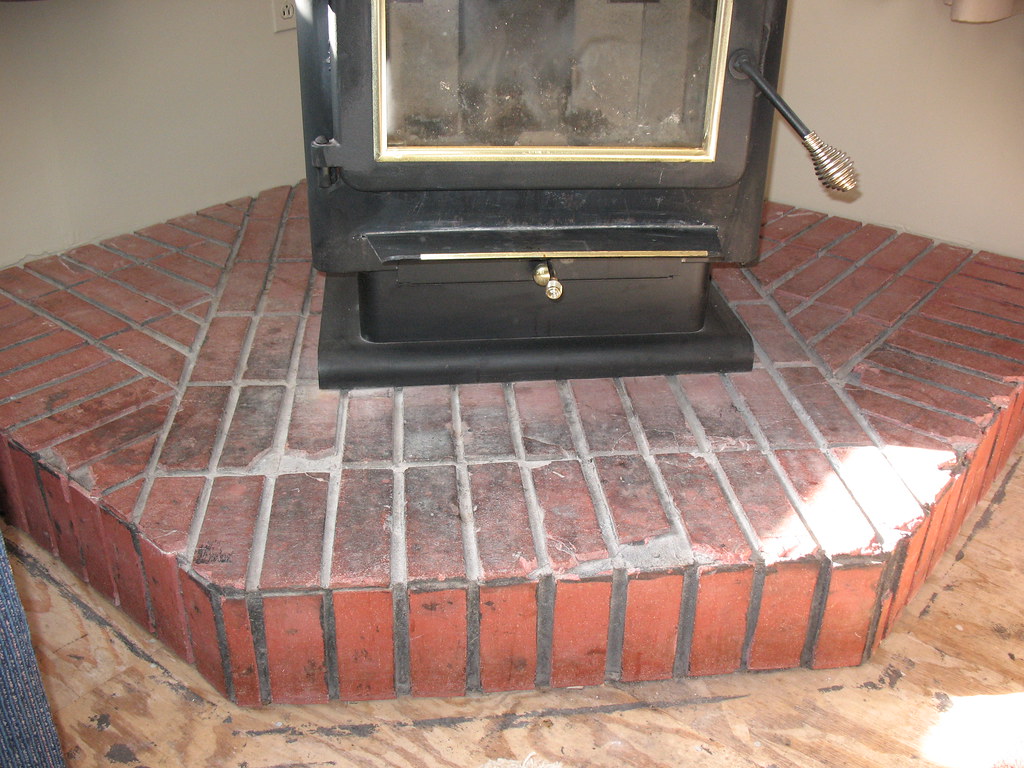
Shelly made considerably more progress than I did. Realizing with the pace we're on that the basement is going to take us as long as a year or more to complete, we knew we couldn't live with the upstairs looking like it does/did. At some point the upstairs will become our project, and there'll walls coming down and sliding doors going in, and etc... But, we just can't stare at these walls any more. The house was built in the 70's, and this is the original paint. It's got to go. So, Shelly set herself the task of prepping the walls and painting and started in the living room. This involved wiping all of the walls with TSP to remove the soot from the wood stove, spackling all of the many holes from various wall hangings, trim, and shelves, sanding said spackling, and painting. In addition to the walls she also painted the hearth for the wood stove. The difference is nothing short of stunning.
 |
| Before |
 |
| After |
 |
| Before |
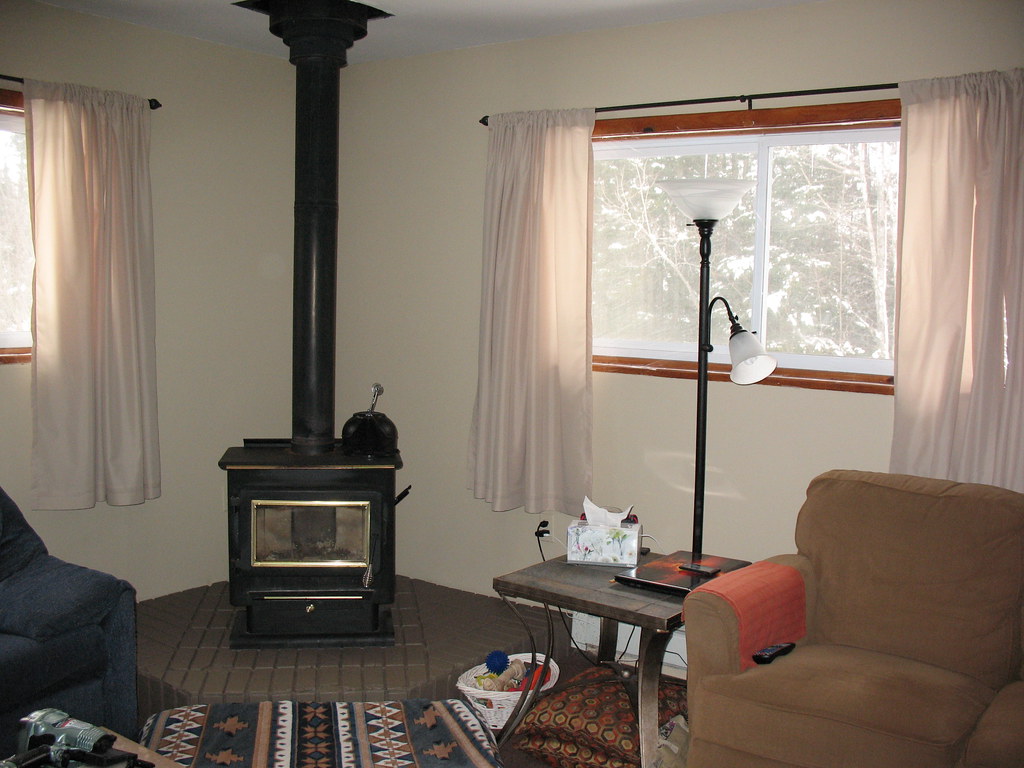 |
| After |
 |
| Before |
 |
| After |
Our major kitchen appliances came with the house, and had quite a bit of use on them. While I was in training in Chicago our refrigerator and stove died. So, on the way back from Chicago Shelly, Michael, and I met up in Gaylord to shop for replacements. We checked out Lowe's first, but we ended up buying from Sears. So, our little kitchen is now equipped with pretty, new, stainless steel, matching Kenmore appliances. They look out of place right now, with all of the outdated and worn out flooring and cabinets, but they'll look great after we remodel. Think to the future, right? :-) Picking up the fridge and moving it in took the good part of a weekend (blech), and part of another to convert the stove from natural gas to LP. Hence the short list of progress on the basement.
 |
| Before |
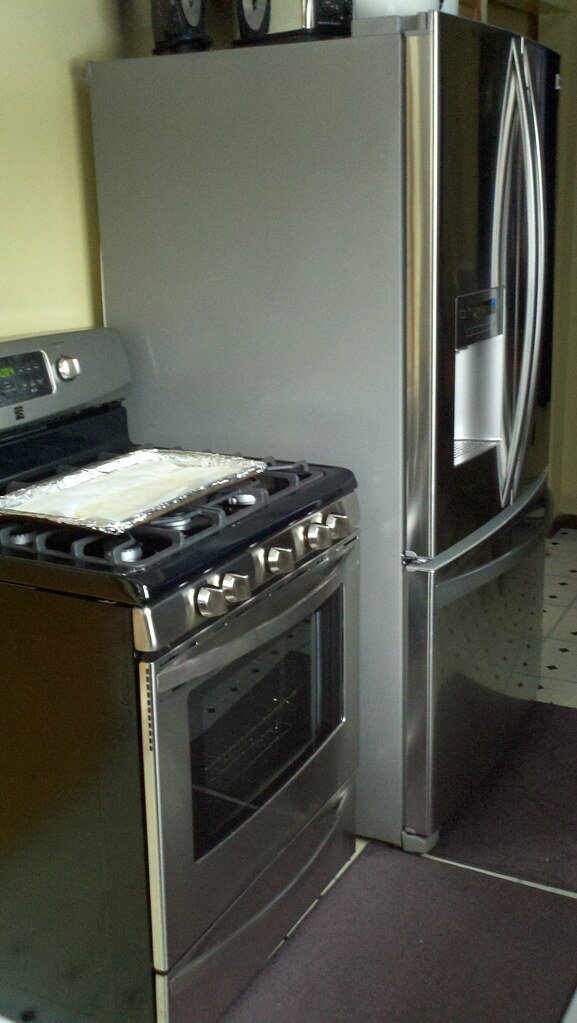 |
| After |
We have a dozen or more fruit trees on the property, which we're just learning how to maintain. Having learned that they need to be pruned in late winter before the sap starts running, and with the warm weather we've been having, I dove into getting them all pruned up. Now, there has been nobody living up here in quite some time, so these trees have been seriously neglected and were seriously overgrown. Armed with my pole saw and pruning shears, and what little knowledge I gleaned from various internet articles, I pruned the crap out of all but a few of our trees. I think I did pretty well for my first attempt, but only time will tell if I really did them any good.
The one thing we've been struggling with more than anything this winter is the entrance to our driveway, aka THE HILL OF DOOM. Our driveway starts from a deep dip in the road. This means that to get into our property you have to climb up a fairly steep gravel incline, or descend down into the dip when leaving. Add some snow and ice, and it can quickly become an insurmountable obstacle if you're not driving a 4x4 equipped vehicle. We've plowed it, snowblowed it, salted it, chopped it, spudded it...but the ice just continues to build up. The only thing that seems to work remotely well is to spud through the ice a trench the length of the incline, about a tire width. As long as we aim well for the trench, so that we can bite onto gravel, we have relatively no problem. Miss it, or if it's not completely cleared down to gravel, and you find yourself sliding backwards to the bottom of the hill. With a ditch on either side of the driveway, and with a sheer drop on the other side of the street opposite the driveway, it's a white knuckle ride in reverse. Digging out the drive to lessen the slope is not an option, as there is a spring under the hill. Digging it up and possibly uncapping it would just add water and mud to the mix. We need a viable plan to address THE HILL OF DOOM before next winter. Sooner or later something bad is going to happen to one of our vehicles, or UPS's, or FedEx's, or USPS's, or the Jehovah's Witnesses', etc...
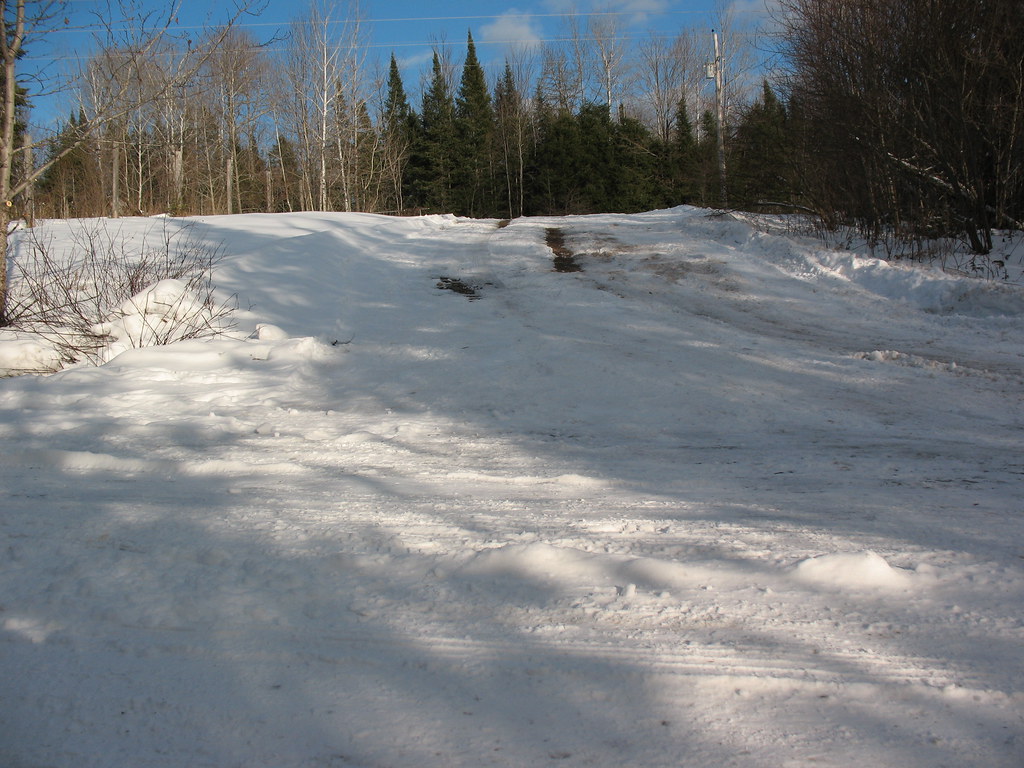 |
| THE HILL OF DOOM! |
That pretty much catches us up to today. Shelly left this morning for Ohio. Kyle is on spring break from Capital University, and she's heading down to spend the week with him. I'll be traveling around the state again this week, so that means no more progress before this weekend.
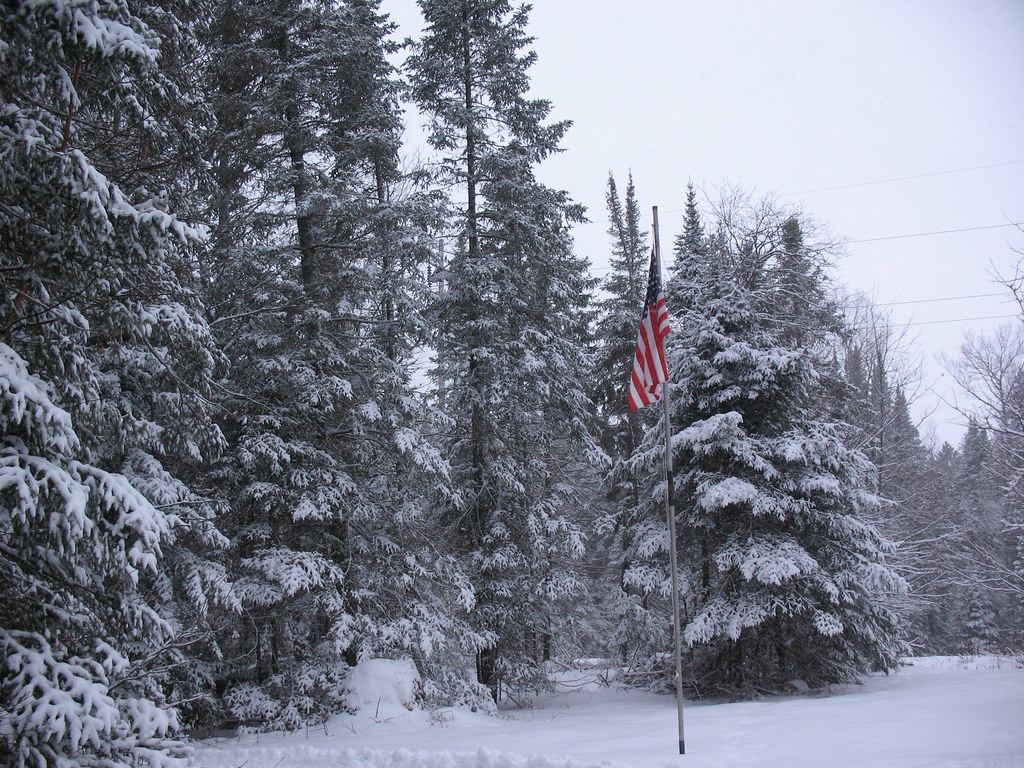
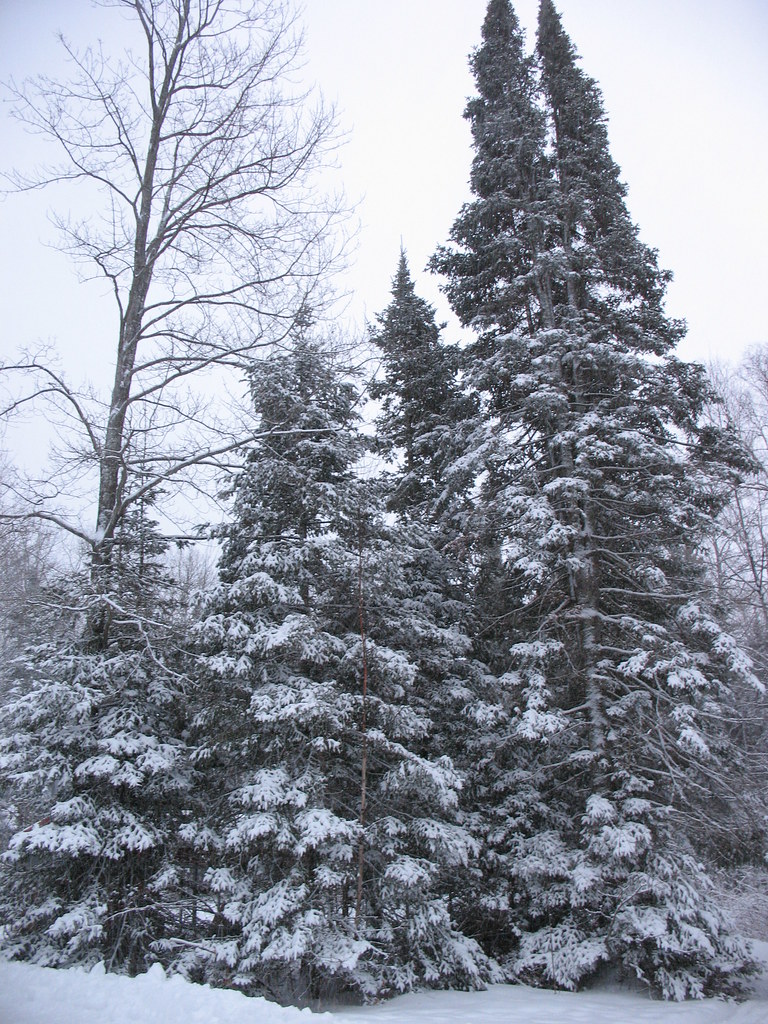
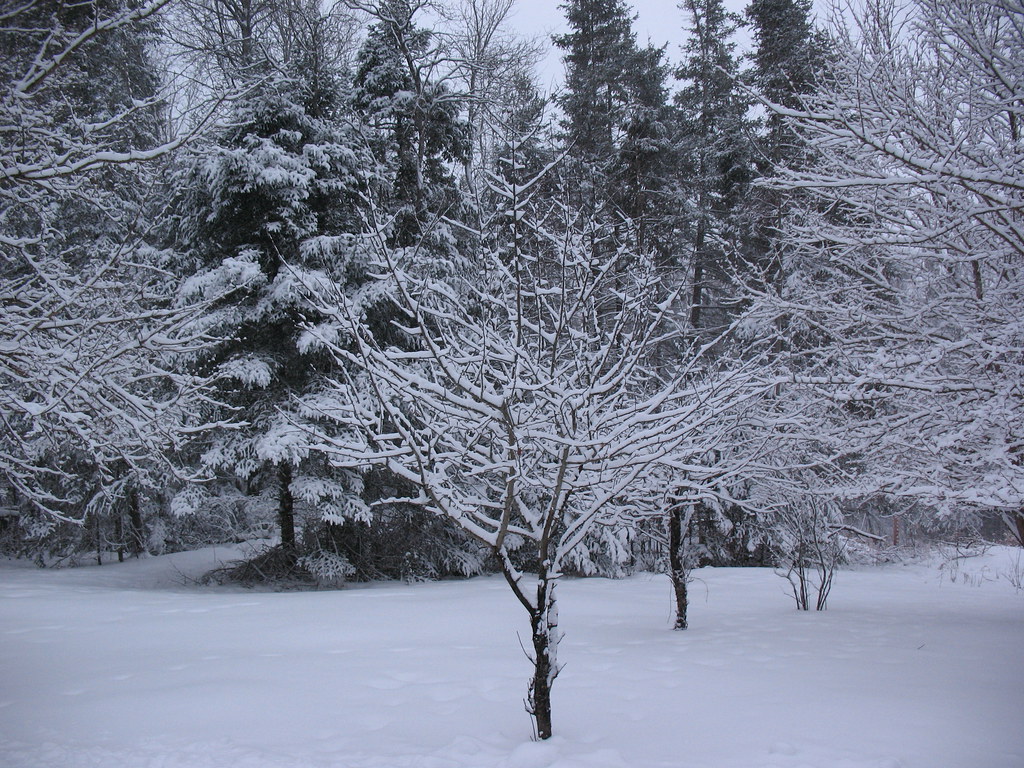
We've been getting more snow lately, compared to earlier this winter. Here are a few shots of the property, all decked out in its winter finery.
Talk to you all soon!


Living the dream....beautiful property, and as always...you guys are doing a great job!
ReplyDelete